

Do you want to create your own fully customized reports? With Website Insight you can! Using our Responsive Site Designer (RSD) and Responsive Layout Maker (RLM), you can customize the reports for you and your clients. Change colors, fonts, remove sections and even style the content all within RLM and RSD.
To get started let's go over exactly how you can customize a layout for Website Insight!
Customizing report layouts
When working with reports using Website Insight there are several different variables, or keys, which you can use to personalize your report. These keys are how Website Insight knows where to place information into the report. It works on the same basic principals of the children's toy Shapes where you have a shape such as a triangle that will only fit into the slot on the board that represents its shape. Keys are located in the file by looking for a percent sign with the name of the key and an ending percent sign, such as %name_of_key%.
Key Names
The names of the keys can not be changed, edited or added onto. They must remain what they are, or they will not function.
The following keys can be used and arranged anywhere in the report as long as they are not placed inside of a looped section:
- Link which report is based: %report_link%
- Date that the report was generated on: %gen_date%
- Date page was scanned: %scan_date%
- File size of the scanned page: %page_weight%
- Time taken to download the page: %download_time%
- Time it took your server to respond to the programs request: %response_time%
- Total amount of HTTP requests on your page: %total_requests%
- The total amount of images found on the page: %total_images%
- Displays the total amount of CSS files your page uses: %total_css%
- Total count of JS files used: %total_js%
- Gives you the total count of media files used: %total_media%
- Gives you an idea of how long winded your page is: %words_total%
- Provides you with the number of internal links: %internal_total%
- Tells you if you link to any external websites: %external_total%
- Oppps, shows the broken links on your page: %broken_total%
- How many results you have on Google: %google_results%
- Google pagerank: %google_rank%
- How many results you have on Google: %bing_results%
- How many backlinks were found on Alexa: %alexa_links%
- Your Alexa ranking: %alexa_ranking%
- How many likes you have: %facebook_likes%
- How many backlinks were found on Twitter: %twitter_links%
- How many Google friends you have: %google_friends%
- Results of LinkedIN: %linkedin%
- How many people are following you: %pintrest_followers%
- How many ask.fm likes you have: %ask_likes%
- How many people have your site bookmarked on Delicious: %delicious_books%
- How many Stumble shares you have: %stumble-down%
- Date your domain was created: %domain_created%
- The age of your domain name: %domain_age%
Other Keys
You will find other keys in the project file. These keys are tied to a Loop and will only work when found inside of that loop. Only the keys listed above can be used anywhere in your project, so keep that in mind when redesigning the layout.
Loops:
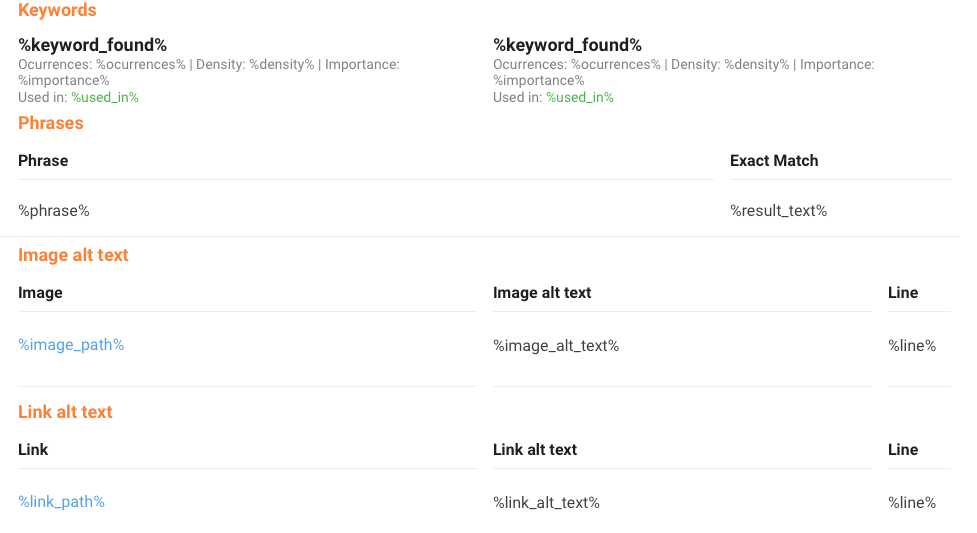
A loop is just a fancy way of saying repeat. Loops help when we have a lot of information to add to a report, but there is an unknown amount of content that can be added. So what we do is create a loop. Let’s say you have ten images on the page that was scanned. However, as you can see in figure 1, there are only two keys that need to be replaced. So where are the other eight images going to come from? Well, this is where the loop comes in, by replacing the existing two keys with ten just like it and filling in the ten image files originally scanned on your page.
When it comes to working with loops, we recommend that you do not move them around. You may style them in any way you see fit, and if you are brave enough you can even move the loops. Just remember that you have to move everything within the Start and End loop otherwise it will not function. If you do not want to include a specific loop in your report, you can simply delete everything between the loop start and the loop end column, including the loop rows themselves.

Custom CSS:
There is some included custom CSS in the head section of the project. It is used to make sure the large length text such as the image paths break and hyphenates rather than staying on one line. There is also a max-height setting applied to the images as some CSS images (such as Sprites or backgrounds) can be vary large. We have limited the height of the images to 200px. It's recommended that you leave this styling in place, but that is up to you. If you create a new report we do recommend that you add this section of code via the Layouts > Manage Project and inserting it into the Head section of the index page.
<style> * {
word-wrap: break-word;
-ms-word-break: break-word;
word-break: break-word;
-webkit-hyphens: auto;
-moz-hyphens: auto;
hyphens: auto; }
img.image-4-3.section-icon-images {
max-height:200px; }
</style>
I do not own Responsive Site Designer or Responsive Layout Maker what do I do?
If you do not own either program, you have two options available to you. One, you can purchase RSD or RLM. Two, you can edit the HTML files that can be found by going to Reports > Open Reports folder allowing you to open the HTML files and make edits. To purchase Responsive Site Designer or Responsive Layout Maker, visit our website.
If you should need assistance in making edits to the HTML files, please visit our forums.
Exporting a report layout
To import a new layout into WI you first need to export it in RSD or RLM. You can do this by following the steps below:
Step 1:
Step 2:
Open sample-project.rsd in RSD or open sample-project.rlmp file in RLM.
Step 3:
Goto File > Export menu. Save your project files to a location you know where to find them.

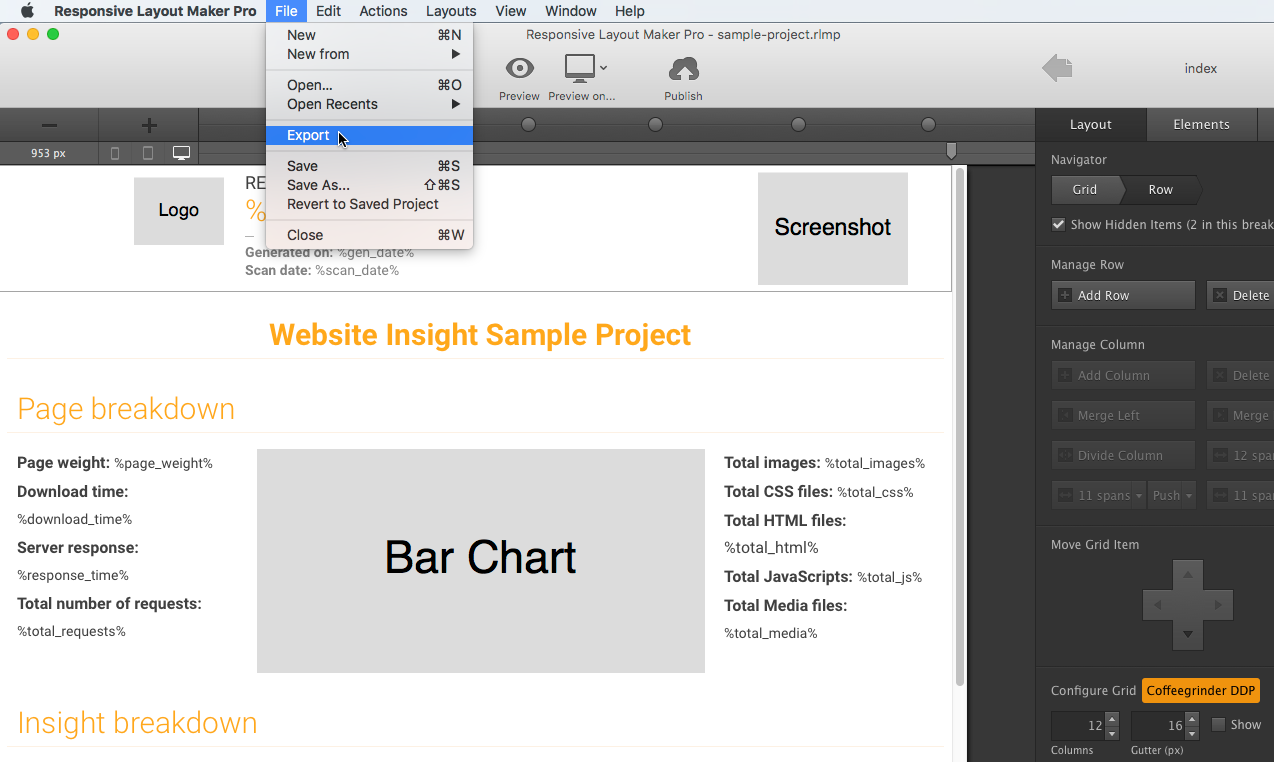
This will export the RSD or RLM file and allow you to import the layout into Website Insight.
Naming your report
You can not change the name of your report as WI requires the HTML file name be index.html. So as tempting as going to Layouts > Manage Project and changing the name of the page to your clients website is, just remember it will break the report.
Importing a report layout
Importing is just as intuitive as exporting your layout. Follow the steps below to import your newly exported report layout:
Step 1:
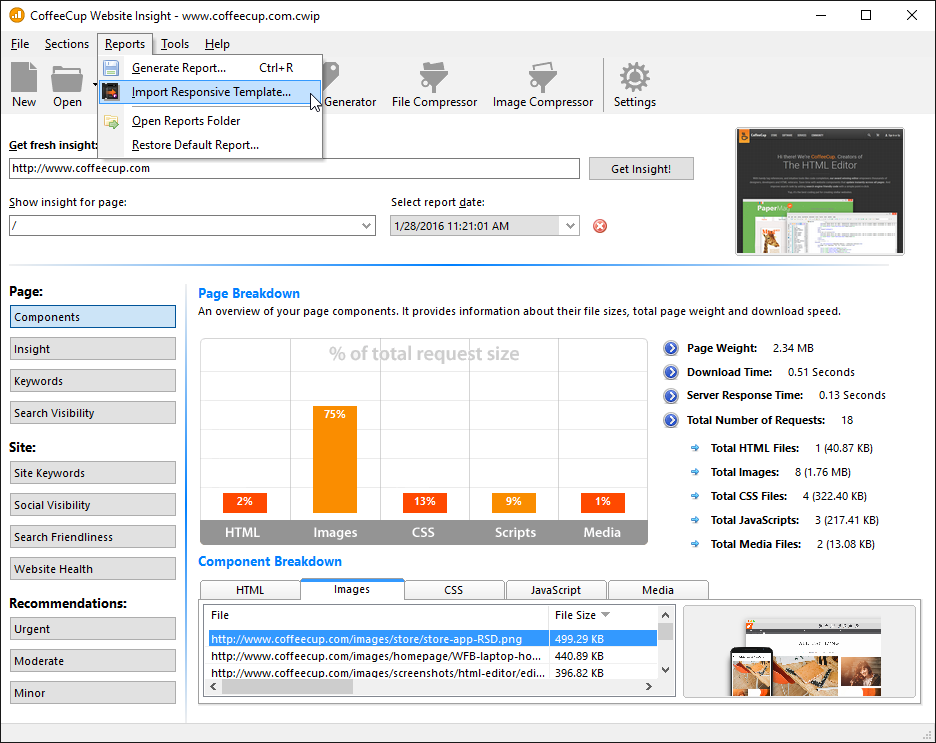
Open Website Insight and navigate to the Reports Menu > Import Responsive Template.
Step 2:
Select the Browse button and navigate to the location of the project you just exported from Step 3 above. You will then need to select the index.html file of that project and click Open.

Step 3:
Click Import and that is it! Now you can go to Reports > Generate Report to start cranking out those reports!
Opps! Something went wrong!
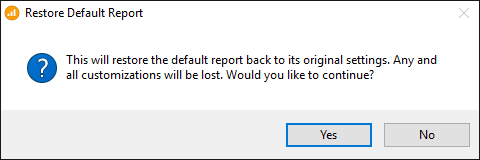
If at any time you need to revert back to the default theme you can do so by going to Reports > Restore Default Report... This will restore the default report back to its original settings. Any and all customizations will be lost.
Please Note!
In order to use these awesome responsive layouts, you must use Responsive Site Designer or Responsive Layout Maker. These layouts are exclusively only available with the purchase of Website Insight Report Layout Pack (just $18) and are not sold separately.