Now that your layout is ready for the public, you’ll want to explore your options for putting it on the web. You can publish to S-Drive by entering your CoffeeCup account information, export your layout for hosting on a web server, or simply add it to a website project that you’re working with on your local computer.
Single-click publishing
Once you’ve entered your CoffeeCup account information, you’ll be able to put your layout on the web with a single click! The even better news is that it’s amazingly simple to set this up. To do so, click the Settings toolbar button and switch to the Publish section.
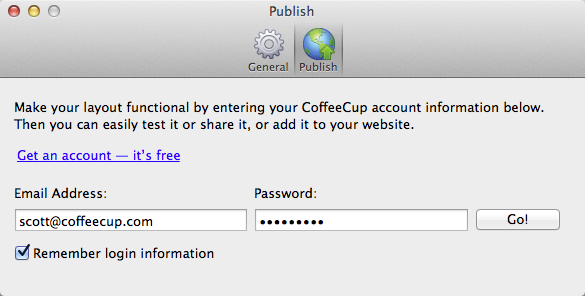
Simply enter your CoffeeCup account information in the Email Address and Password fields, then click Go! If you don’t have a CoffeeCup account, you can sign up on the CoffeeCup website for free. You can have more than one CoffeeCup address depending on how you’ve got S-Drive setup. Once you log in with your CoffeeCup account information, Responsive Layout Maker displays all of your web addresses that support layout publishing.
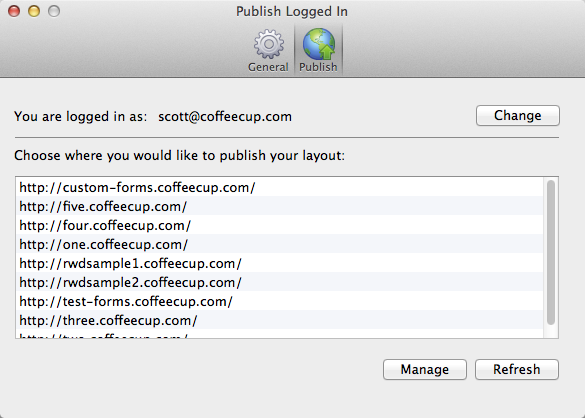
Select the one you wish to use for one-click publishing, and everything’s set up. Click Manage if you need to make administrative changes to your S-Drive account; click Refresh if you’ve enabled a web address that’s not in the list.
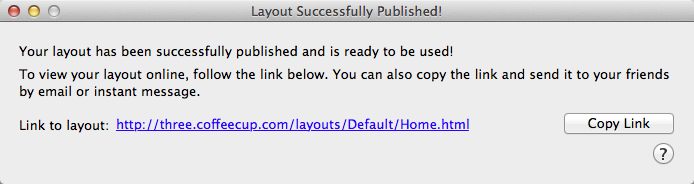
Now, when you’re ready to put your layout online, just click the Publish toolbar button.
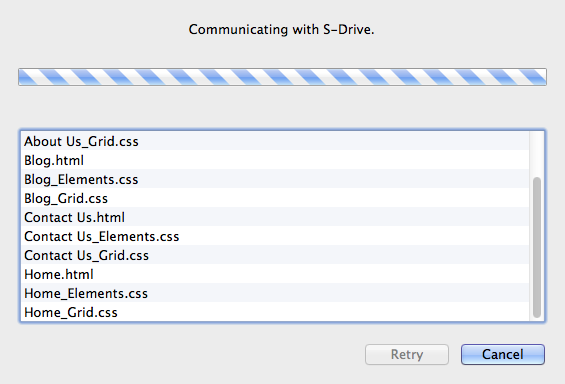
You can click the link shown here to test the layout in the real world - right on the web! It’s not just a really good preview, it’s the real deal.
Exporting
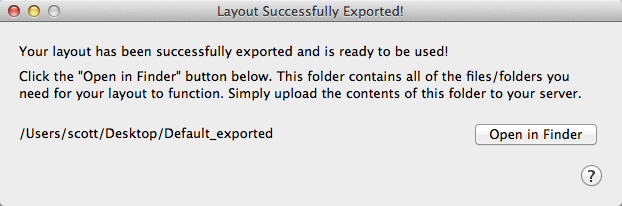
Publishing to S-Drive is the easiest way to get your layout on the web, but you do have another option in the File > Export Menu. This excludes S-Drive entirely and requires you to upload all the layout files to your web server manually or place them in a website project that is local.
When it’s done, the exported window will open telling you the process is complete and where to find the files.