

Hook a Web Form Builder script with Form Designer
Form Designer is a fantastic front-end design tool for creating interactive forms that are unique and responsive. It works by connecting your own backend script. However, if you don’t have a script nor desire to write your own code, Web Form Builder can help you out. Generating form scripts is how it became famous!
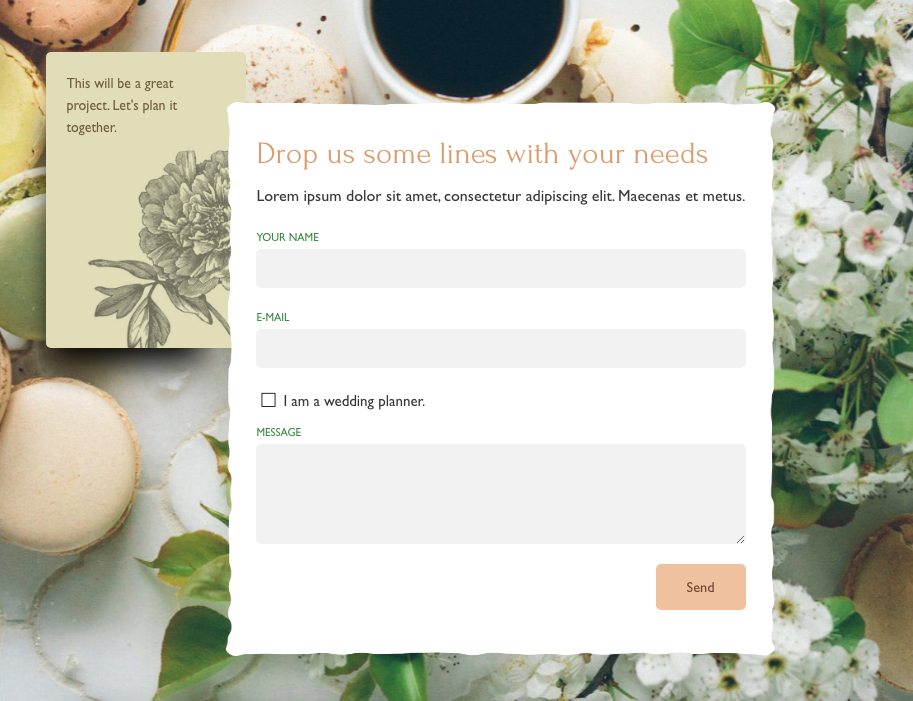
This is a basic tutorial demonstrating how to connect the two apps together to make a Form Designer project operational. Below, we have a site with a basic Contact Form made with Form Designer embedded into the page. After we explain how to hook up the backend, we’ll show you how to embed the form into your Responsive Site Designer page.
Example Contact Form project files needed for this tutorial:
![]() Web Form Builder Project. ContactUs-Example.fb
Web Form Builder Project. ContactUs-Example.fb
![]() Form Designer Project: the ContactUs-Example.fd
Form Designer Project: the ContactUs-Example.fd
![]() Responsive Site Designer Project: ContactUs-Example.rsd
Responsive Site Designer Project: ContactUs-Example.rsd
Combine Form Designer with Web Form Builder
The goal of this section is to have Web Form Builder generate a backend script for our Form Designer project.
Step 1: Build Form in Web Form Builder.
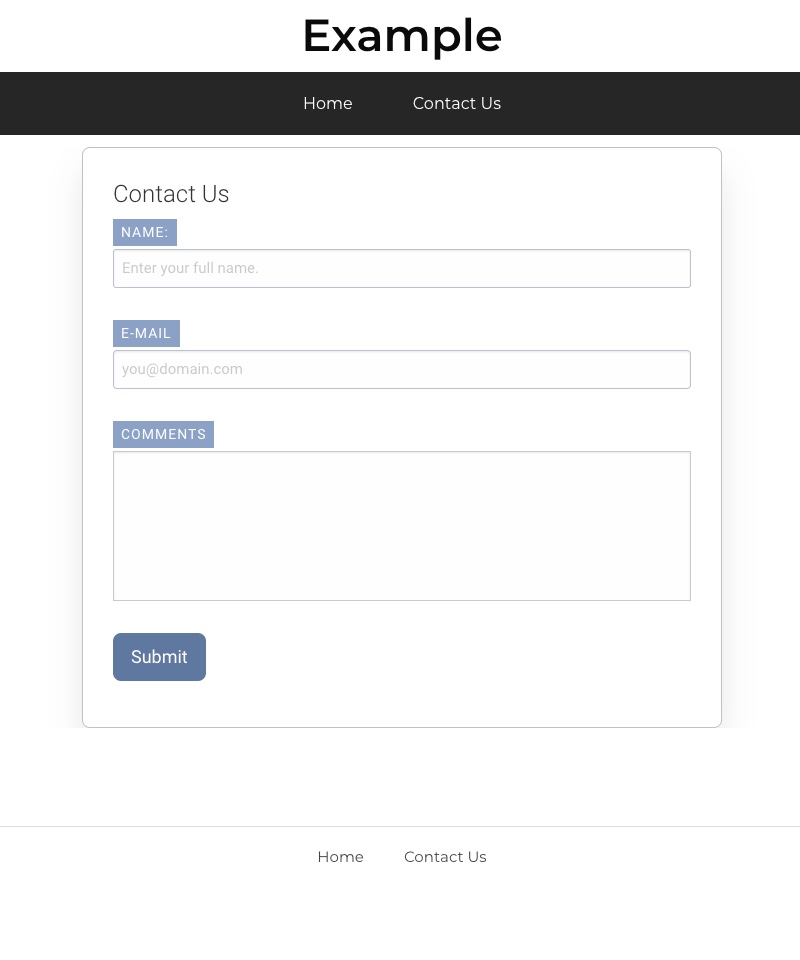
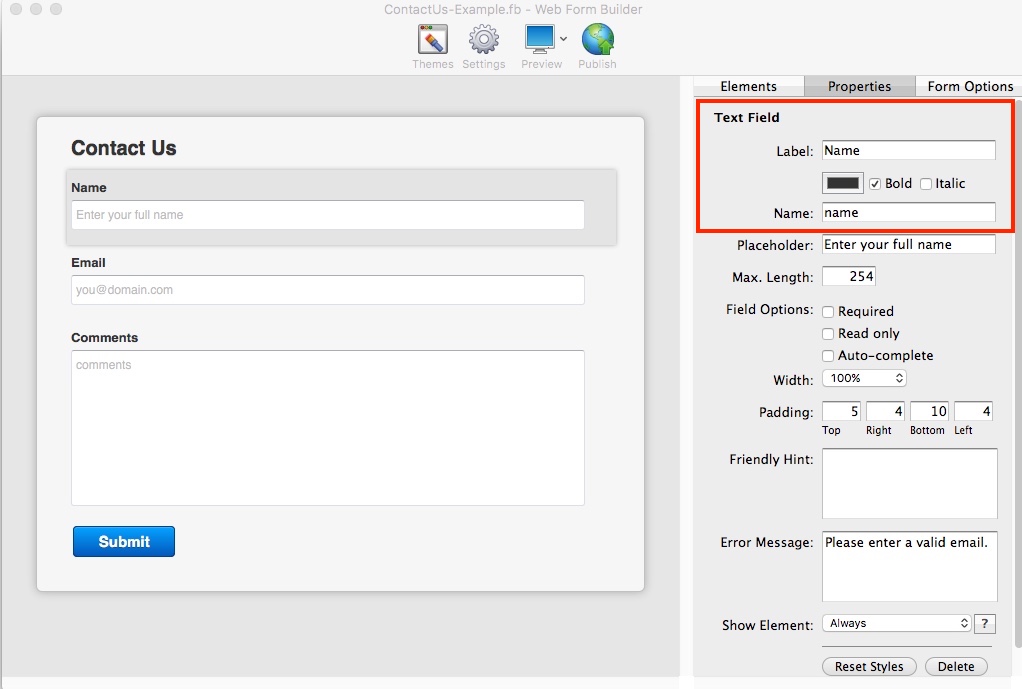
Create your form with the desired elements. Don't worry about adding any styles or themes. While you create the form, please keep in mind these steps will only work with simple data collection forms. Advanced controls such as the Show Element property won't work for this. For this tutorial please refer to the ContactUs-Example.fb project file.
- Our form gets three elements added to it:
- Field Label for Name with the attribute name:
name - Field Label for the Email with the attribute name:
email - Field Label for the Comments with the attribute name:
comments - Next, go to Settings. Here we will configure what actions the form will take once someone submits the form. Under the Confirmation Page section select which redirect option you prefer. On this specific example, we selected a Redirect to another URL so we could send users to a special landing page in the site.
- Publish your form to S-Drive (or your own server).
While we’re not using the Confirm Email and Notification for this tutorial, you’re welcome to configure them.
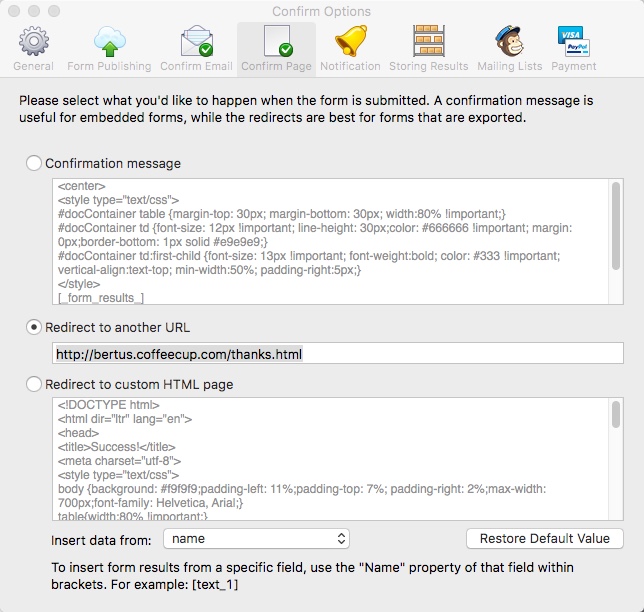
At this time is recommended that you publish the form to a different location from your site. Conflicting CSS code might cause wackiness here so using a different upload location will help prevent this. Note that we are working on a solution for this. Our form has been uploaded to slug bertus-forms which produces the following URL:
http://bertus-forms.coffeecup.com/forms/ContactUs-Example/
Publishing to S-Drive
In this tutorial we upload to our convenient S-Drive hosting service. This service eliminates pesky FTP and simply allows you to publish using your CoffeeCup account info. In one-click, your upload will be started and the content will go live. Forms hosted on our servers include real-time form statistics so you can see how it is performing with visitors and it stores the submissions for you. Check out the various service plans.
However, if you would like to use your own server that’s cool too. :)
Step 2: Build the form again using Form Designer.
That's right. Next, you’ll build your form again but this time you can apply styles. Use background, apply effects, use mouseover controls — go wild! The app unlocks countless style controls so that you can build highly customizable forms that match your site. You will need to make sure you have the exact same form fields that you set up in Form Builder. With the design in place, you’re ready to configure the settings.
- From the Element pane
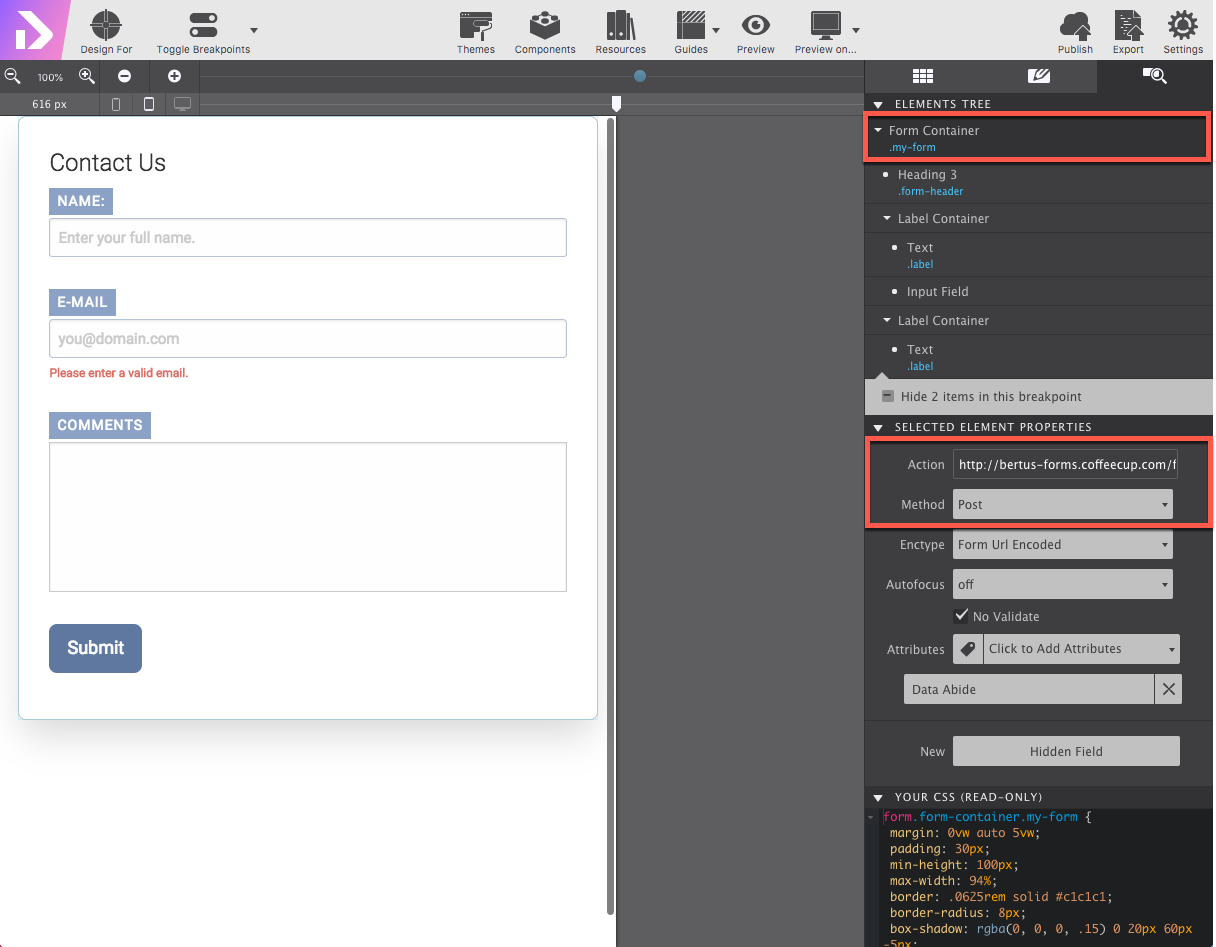
 setup the form endpoint options. Select the Form Container at the top of the element tree and apply these settings:
 - Action: You will need to use the published url from WFB. In our case that was
https://bertus-forms.coffeecup.com/forms/ContactUs-Example/. - Method: Ensure it is set to
Post - Replicate each of the fields that are included in your Web Form Builder project. Select each field and in the Element pane apply the matching field name in the element properties section.
- Input element will be matched with the Name field.
- Name: Use the same value for the attribute name
name - Email element will be matched with the Email field.
- Name: Use the same value for the attribute name
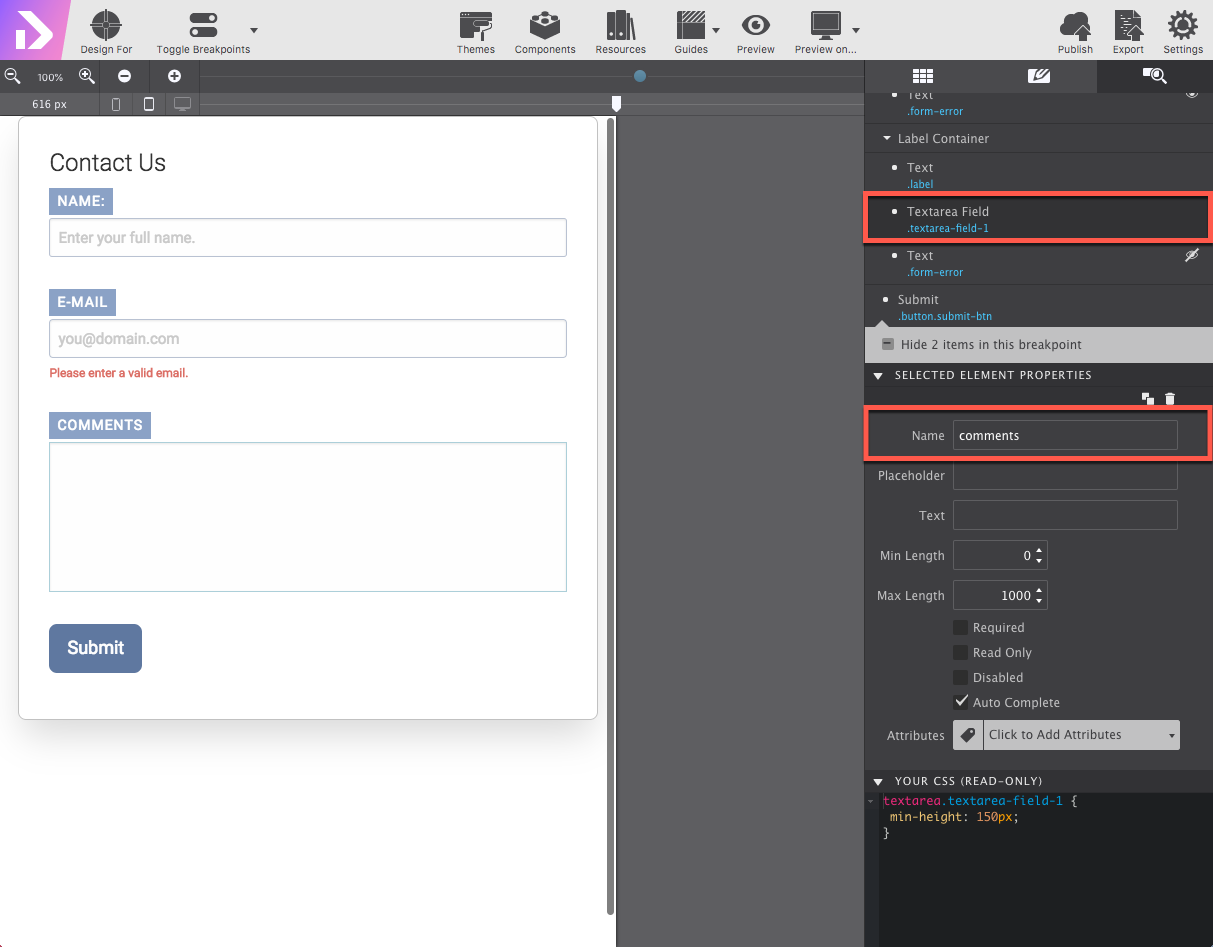
email - Textarea element will be matched with the Comments field:
- Name: Use the same value for the attribute name
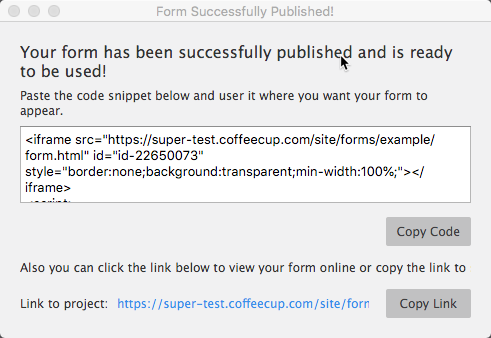
comments - Publish the design. If using S-Drive, your form be uploaded to the sites folder and an embed code will be generated. Copy the code that appears on the. You will paste this code into your website where you want the form to appear.
Radical! You have successfully combined the Web Form Builder script with a custom design made with Form Designer. It’s now live with the user submissions saving directly to the S-Drive Dashboard.
Step 3: Embed your form into Responsive Site Designer
In these final steps, we’ll show you how to embed the Form Designer project into RSD. Please note that the process works the same if you are using Foundation Framer or Bootstrap Builder.
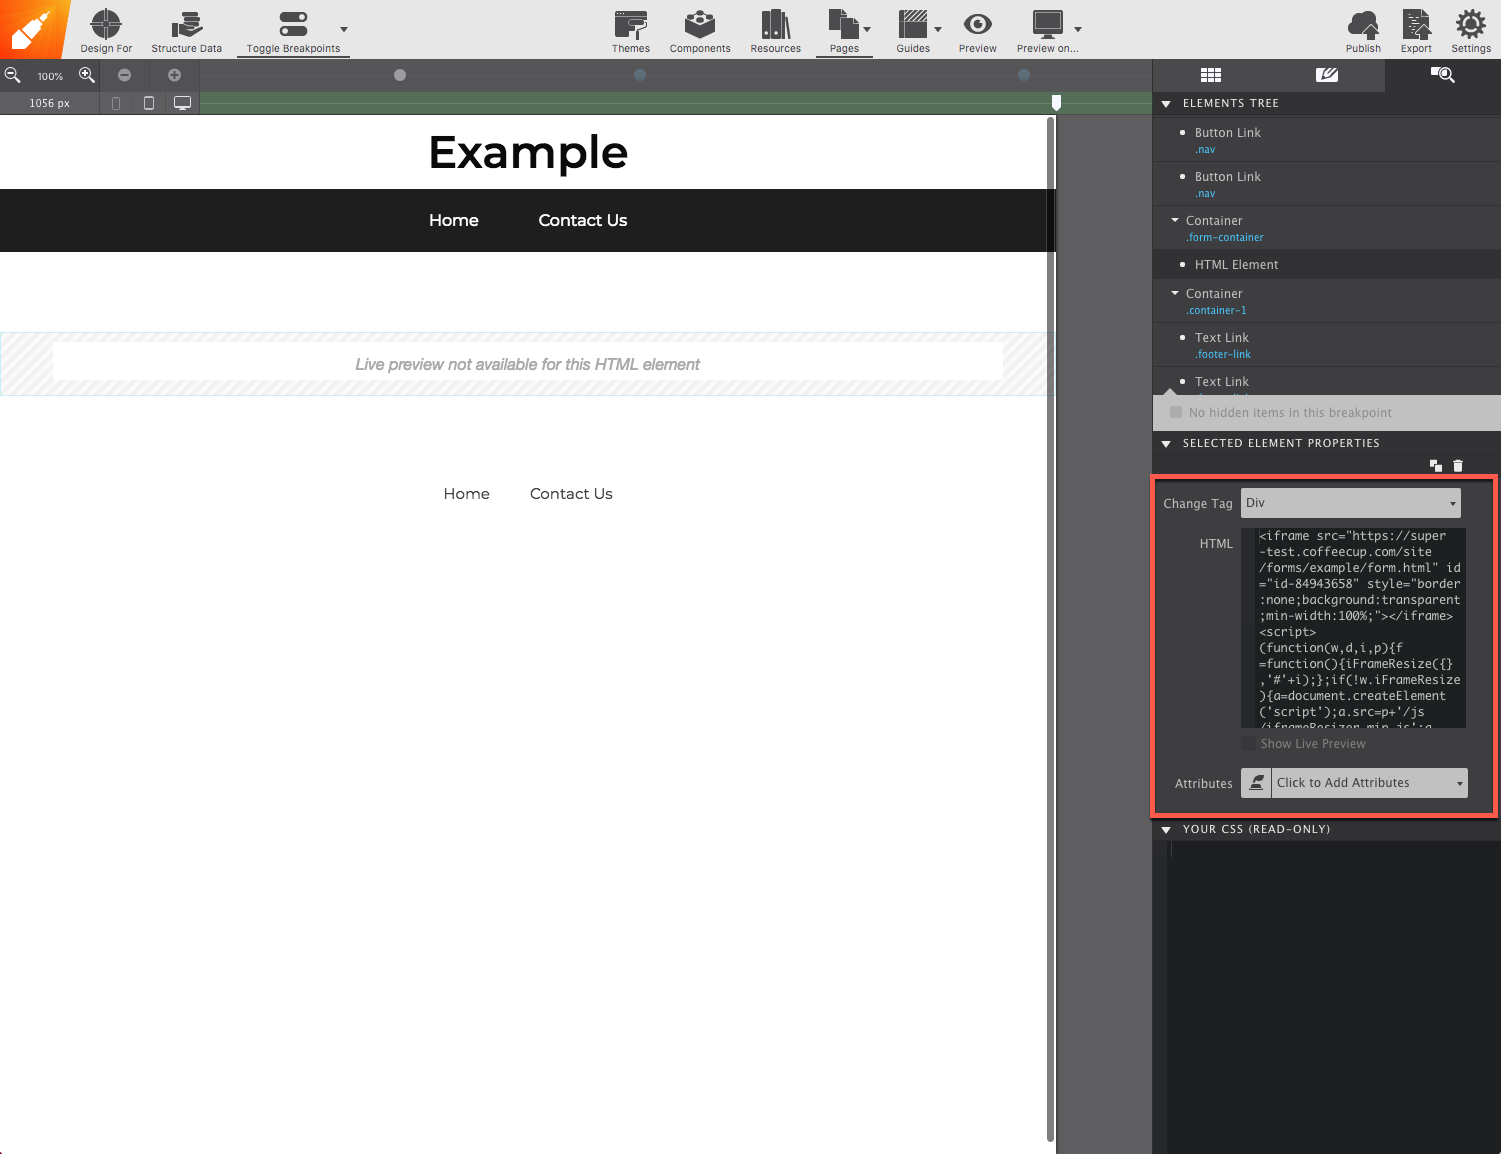
- Now it is time to put the form into the webpage. Open the page where you want the form to display. Add an HTML Element on the canvas. Then go to the Element pane to paste the code generated in the previous step.
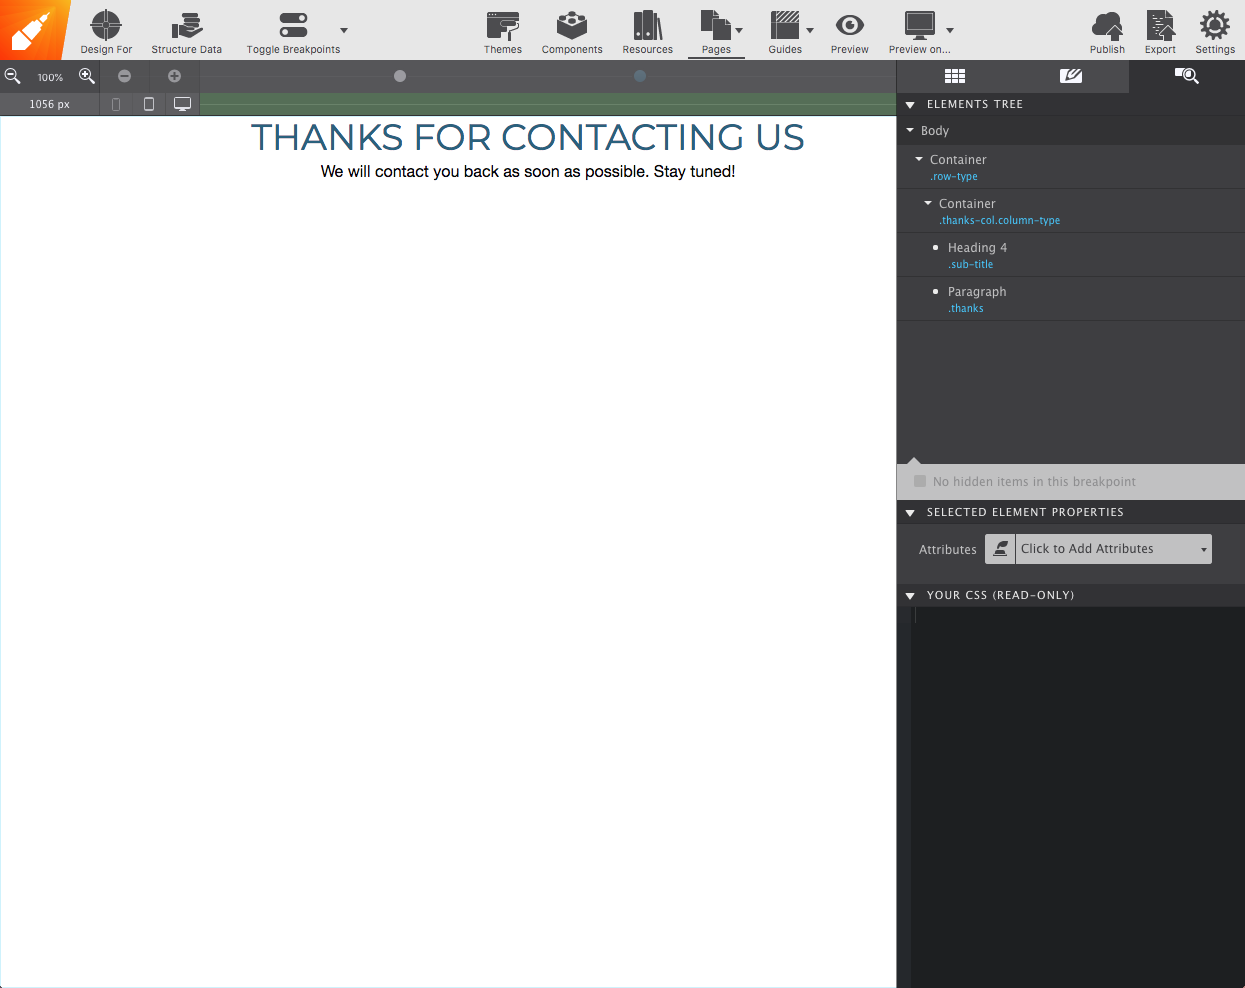
- At this point the form is in the page — high-five! However, you will not be able to view it until you publish. One last thing before we do that. Remember in Web Form Builder when we set up the form to redirect users to a custom ‘Thank You Page’ confirmation page? Well now we need to make sure we have that landing page in place. Click the Pages icon
 to create a ‘Thank You Page’ to re-direct people who fill out the form.
 - That’s it! Simply click the Publish icon
 to make your RSD webpage with embedded form live.
You’re all done!
Now you can share your website form with the world and start collecting the submissions!
Pop Quiz Time!
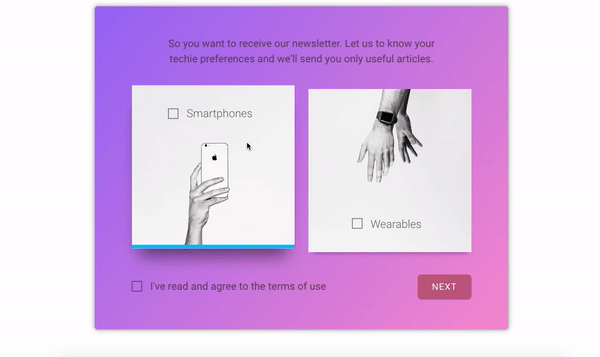
Ready to test your skill? Download the free Gerbera Form Designer theme below and use the steps above to power it up. It is pretty similar to the example, but take notice of the checkbox!
Developer's Notes
- For client side validation on Form Designer we use the Abide plugin. Learn more about it here: Foundation Abide