

Good day to you, web form building enthusiast!
Want to use a drop-down menu as a contact list? Notice that "Use as Contact List" checkbox under the Drop Down element? Let's take a moment to describe what this option is really used for.
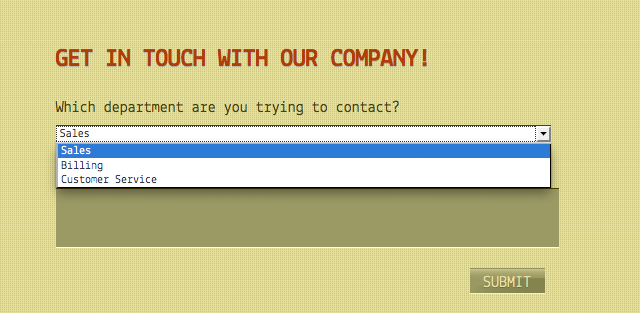
In a contact list, each option selects a different email address. This means that you can have a drop-down in your form that asks people where they want their email to go, and they can choose from a list of, for example, departments within a company. Or people within that company. The options within that drop-down might look like this:
"But wait," you say, "How does Web Form Builder know where to send the email? Just picking 'Sales' doesn't make much sense."
This is where proper configuration of your contact list is necessary!
Configuring Your Contact List
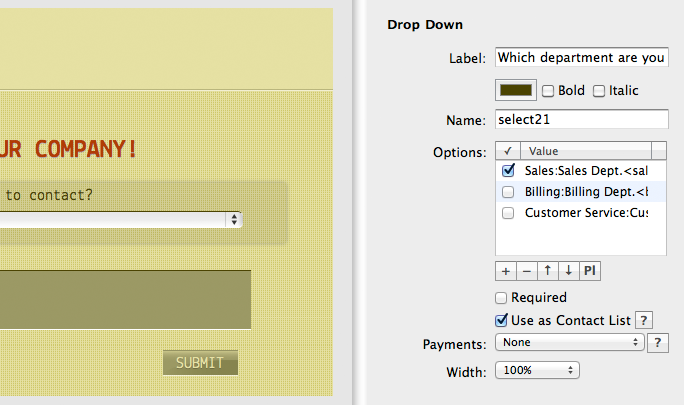
First, select your drop-down element and go to the Properties tab. Check the box next to Use as Contact List.
Now look at your options values: They're all formatted with a default name and email address! So instead of "Sales", you now see "Sales:Name<you@domain.com>".
Here's how it works: Everything to the left of the colon (:) is what will be displayed in your drop-down menu, and the two components to the right of the colon are the name that will be displayed in email conversations and a valid email address. Take this example of an option value:
Customer Service:Customer-Service-Department<help@coffeecup.com>
The drop-down menu in your form will show an option called "Customer Service". When someone selects this option, the form will be emailed to "help@coffeecup.com" and appear to come from "Customer Service Department". Get it?
Here's a final look at the behind-the-scenes configuration of a successful contact list:
My option values keep changing!
Checking the Use as Contact List box will automatically add ":Name<you@domain.com>" to the end of your values. You have the option of (and definitely should) change these values to a proper name and a valid email address. If you remove them entirely, WFB is just going to add them back!
Unchecking Use as Contact List will remove ":Name<you@domain.com>" from your option values, but won't remove any other email addresses. They'll continue to appear in your drop-down unless you remove them manually.
Configuring Email Notices
There's one more thing you need to do! See that Name property up there? The one that says "select21"? Make a note of what your element's Name property is, because we're going to need to use it to set up the Email Notices tab.
Click the Settings toolbar button and then click the Email Notices tab.
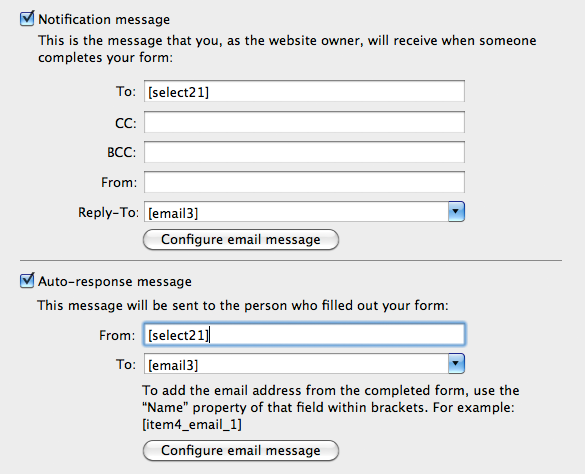
In order for those email to actually send, you'll need to put that Name property (in brackets) in the To: field of the Notification message. Web Form Builder knows to look at this element for the selected email address and then send the email to that address. Please note You can not enter any other emails into this field. If you are wanting to include any other email address, you will need to add it in the the CC or BCC field.
Last thing! Place that same Name property (in brackets) in the From: field of your Auto-response message if you use one. That way response emails will come from the email address that was selected in the form.
That's it! Enjoy your smart contact lists!