

So you want to create your own theme? Great! All you need to do is create a new theme, edit the default.css file until it's styled the way you like, and put all your referenced images in the images folder.
Okay, it's a little more complicated than it sounds. But with just a little work, you'll be ready to go with your new custom theme.
Need some inspiration, or looking for a good starting point? Check out our form theme store.
Using the OS X version? You need to read this article.
Step 1: Set Up a New Theme Package
If you haven't created a new theme yet, follow the steps in this article. Then come back here when you're ready to go.
Step 2: Export a Form Using Your New Theme
If you're really brave, you can edit default.css without seeing how your changes affect a form. But if you want to do it the easy (and smart) way, you'll need to export a form using your new theme. If you did everything correctly in the previous step, you should be all set to do this.
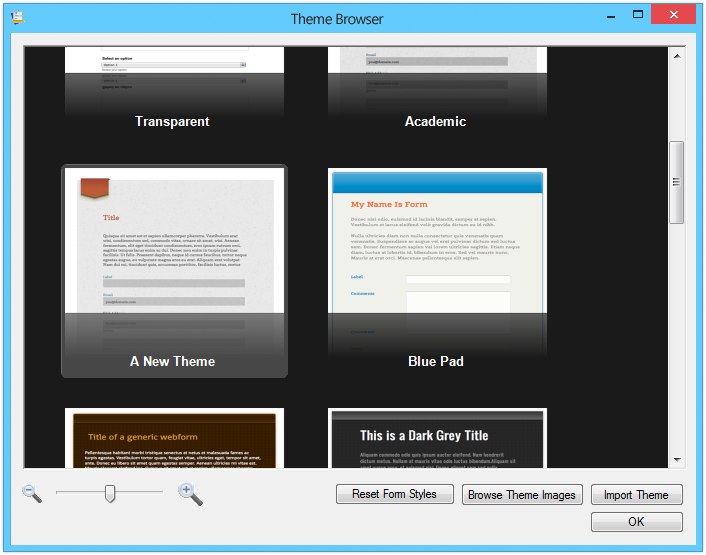
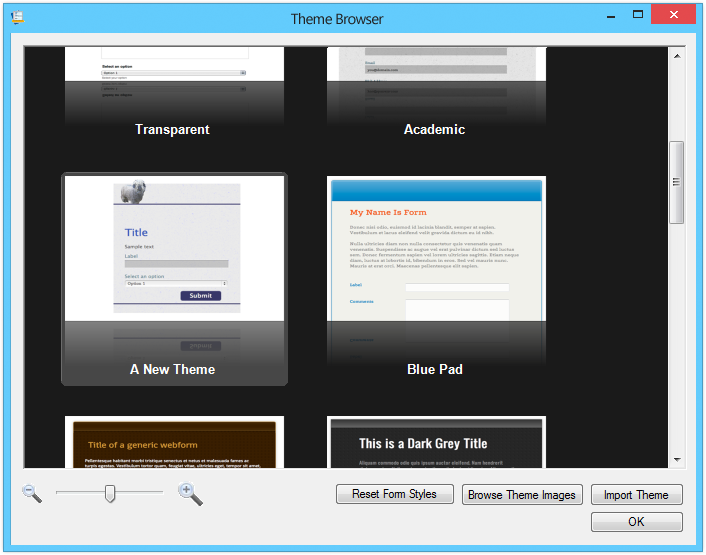
Do you see your theme in the Theme Browser in Web Form Builder? We do!
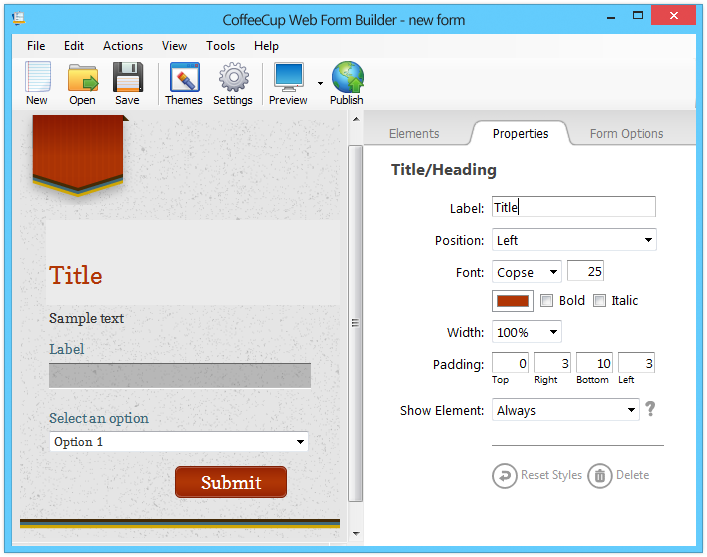
Create a form using your new theme, and add in a few elements so you'll see what they end up looking like. Include a header, some text, and a few inputs.
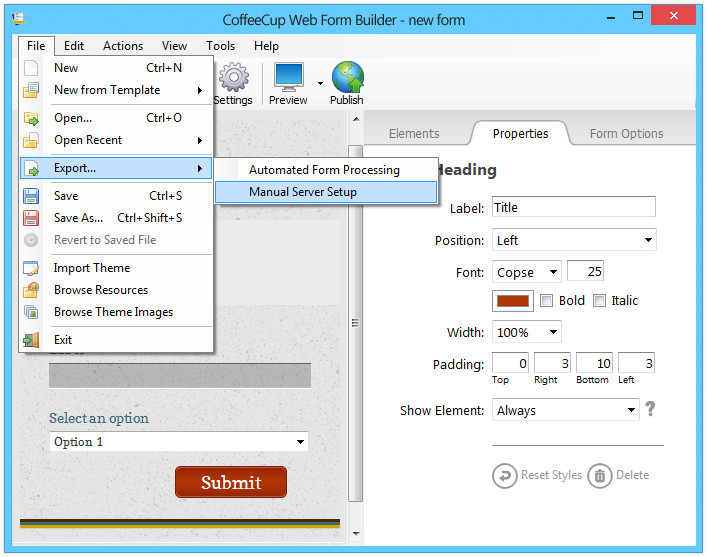
 Now go to File > Export and choose one of the two options to export your form's files. We'll use Manual Server Setup for this tutorial.
When the Form Exported window appears, click the Open in Explorer button at the bottom.
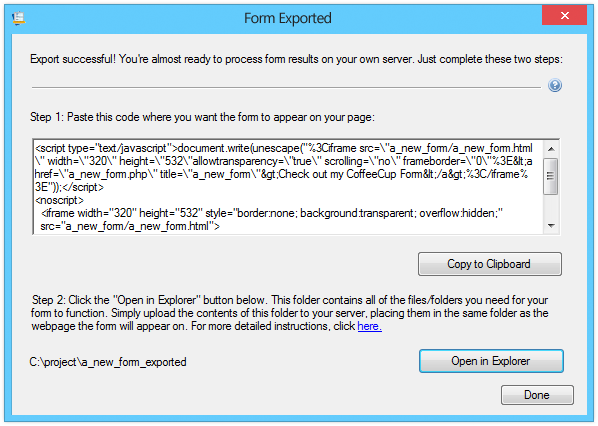
This opens the folder where all your exported form's files can be found.

You're going to create a new website project using the files in this folder so you can edit the theme while seeing a preview of your work. To make these changes, we recommend using our own HTML Editor.
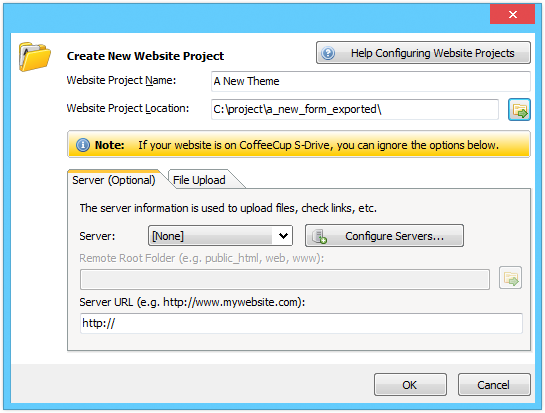
Step 4: Create a Website Project Using Your Exported Form's Files
You'll need to create a new project using the form files you just exported. In The HTML Editor, go to My Websites > New Website Project…

Give your project a name in the Website Project Name field, choose the folder where your exported form's files are in the Website Project Location field, and click OK.
Now all your form's files appear in the leftmost pane of the Editor, allowing you to make any changes you like to the theme. Double-click the HTML file on the left to open it, and go to View > Split-Screen Preview to display it in the preview pane. Then navigate to default.css by clicking the + next to the theme folder, the folder with your theme name, and the CSS folder. Double-click this CSS file to open it in a second editing tab. You're ready to go! Remember that you can click elements in the preview to highlight their associated CSS code in the editor pane.
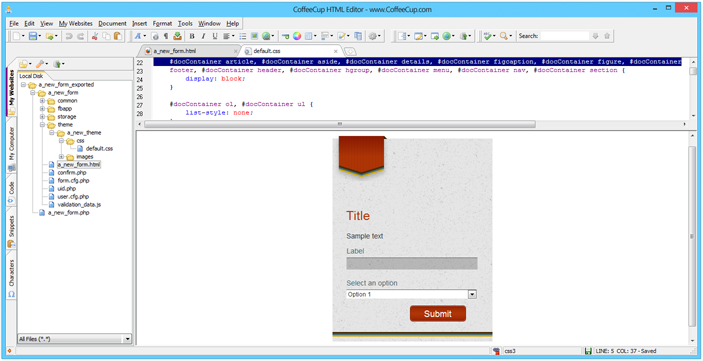
Step 5: Make a Bunch of Changes to Your Theme
You can go nuts now, making all the changes you like to the styling of your form. Edit CSS, replace the images found in the images folder, and anything else you need to do.
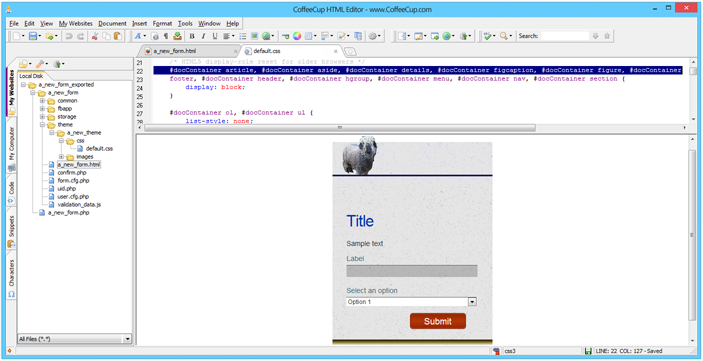
When you feel like your theme is sufficiently styled, make sure you're on the default.css tab and go to File > Save.
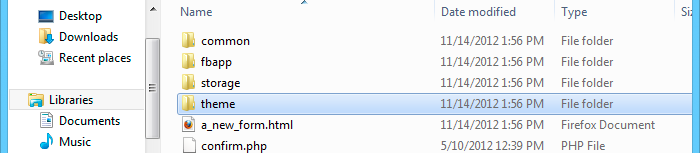
Step 6: Copy the Edited Theme into the Unpacked Theme Folder
Now you need to take the CSS and images you just edited in that exported form and copy them over to the folder that contains the theme's unpacked files. Basically, you're taking the theme folder you worked on in the last step and copying it over the other theme folder.
Copy this folder by right-clicking it and choosing Copy.
Then paste it over this folder by right-clicking in the white space below the descriptor.json file and choosing Paste.
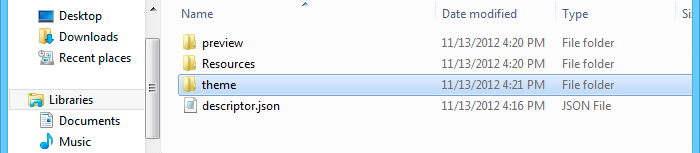
When you are prompted to replace the existing files, do it. Almost done!
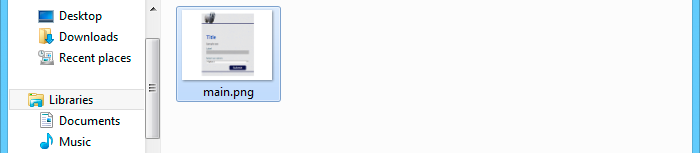
Step 7: Make a Preview Screenshot
Now you need to add a preview image of your theme so that it shows the correct new design in the Theme Browser. You can always do this step later if you need to. In Windows 7, you can use the Snipping Tool to do this. Draw a rectangle around the preview of your form with the dimensions of 460x360 pixels. Save this file as main.png into the preview folder inside your unpacked theme folder. You'll need to save over the existing main.png file.
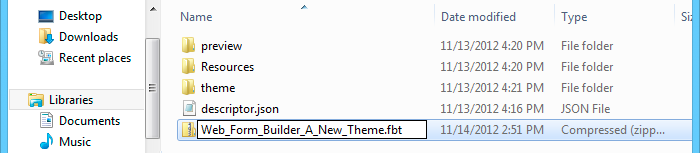
Step 8: Zip Up Your New Theme
Once you've made all the changes you intend to make to your new theme, you need to recompress everything into a nice, neat FBT package.
Select all four of the files in the main folder of your theme. Right-click and choose Send to > Compressed (zipped) folder.
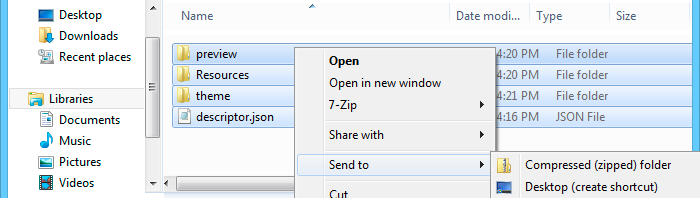
This creates a ZIP file in this directory called preview.zip that contains all four of these items.
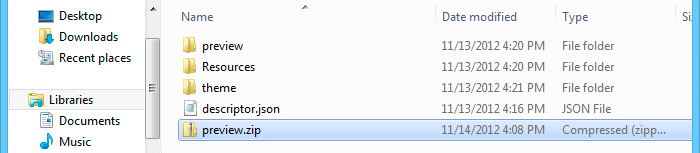
Single-click preview.zip and rename it. We recommend calling it "Web_Form_Builder_[your theme name].fbt". Don't forget the .fbt on the end!
Step 9: Install Your New Theme
Double-click the new .FBT file and the theme will self-install. Click the Themes toolbar icon and your new theme will now appear in the Theme Browser.
Congratulations! You just unlocked the power of unlimited themes.
Now, are you ready to learn how to make ultra-easy customizations to theme images?