

Publishing your Site Designer website project.
Site Designer is very flexible with how you can control your content giving you two options; publish to the CoffeeCup S-Drive servers or export your files to host them on a third party server.
With S-Drive, Site Designer does all the work for you by automatically uploading all files to your CoffeeCup Account. No muss, no fuss! When using the export method, a folder will be generated that contains all of your website files. You then need to upload everything in this folder to your own hosting service.
In this tutorial we will discuss these methods and break down exactly how you get your work online.
- Publish to S-Drive
- How to get S-Drive Account
- Host your Website on Another Server
- General Export Settings
Publish to S-Drive
Whether you are pushing your site live or just testing your design in a live environment, uploading to S-Drive is fast and easy. All you need is your CoffeeCup email address and password. If you don’t have an S-Drive domain go ahead and sign up for a free domain name.
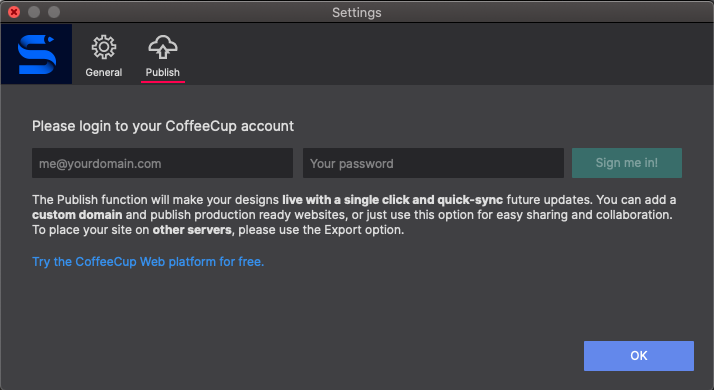
Get A CoffeeCup Domain NameWithin Site Designer, click on the Settings toolbar icon and choose Publish. You will be prompted to log into your CoffeeCup account. Enter your CoffeeCup email and password and click Sign me in!
Once you log in, you’ll see a list of your available domain names. Click on the address you want to connect to and click OK.
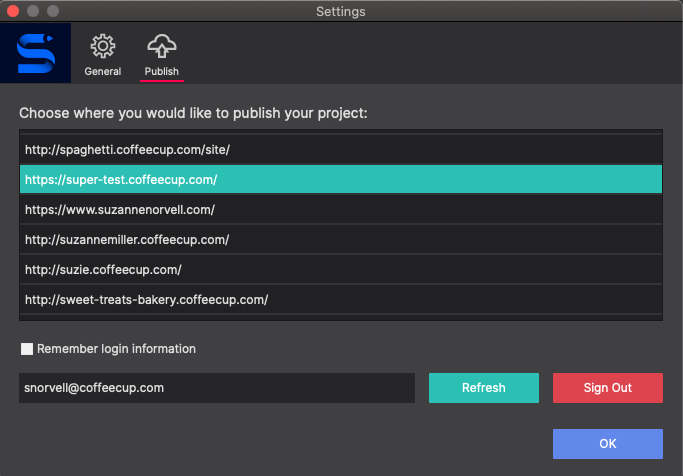
BOOM - now you’re ready to rock! Just hit the Publish button in the toolbar and watch as your website files zoom on by as they upload! Once it is done, a link to your file will pop up on screen.
Share your work in progress with S-Drive.
You may not know this, but S-Drive makes a perfect testing environment. When making several iterations of your work, publishing to the CoffeeCup servers is a fast and convenient way to see your content online. The best part is you can share your web link with colleagues or clients so they can follow along with your progress.
Setting Up S-Drive account
Get a free CoffeeCup domain name. Simply log into your account and go to https://www.coffeecup.com/sdrive/
A box at the top will appear where you can choose your ‘slug’. Enter the name you wish to apply to your account.
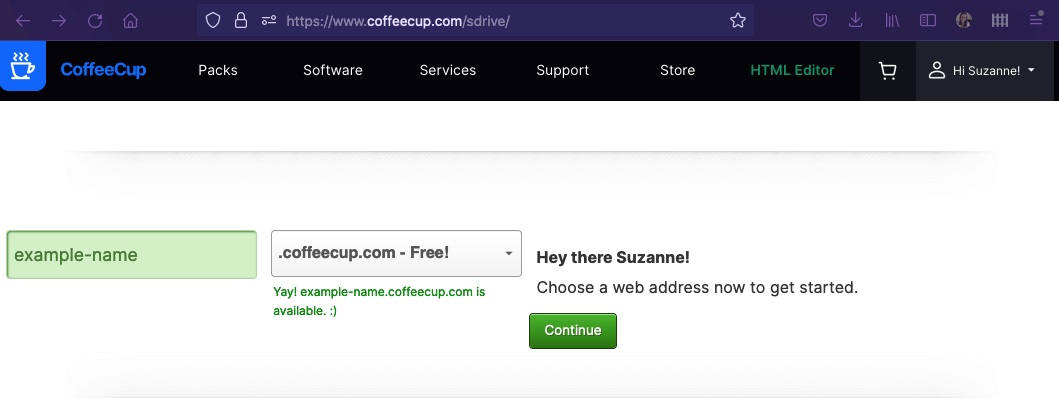
Your free domain name will have a *.coffeecup.com extension. If you wish to have a .com, .net, or .org use the drop down to select the premium option of your choice.
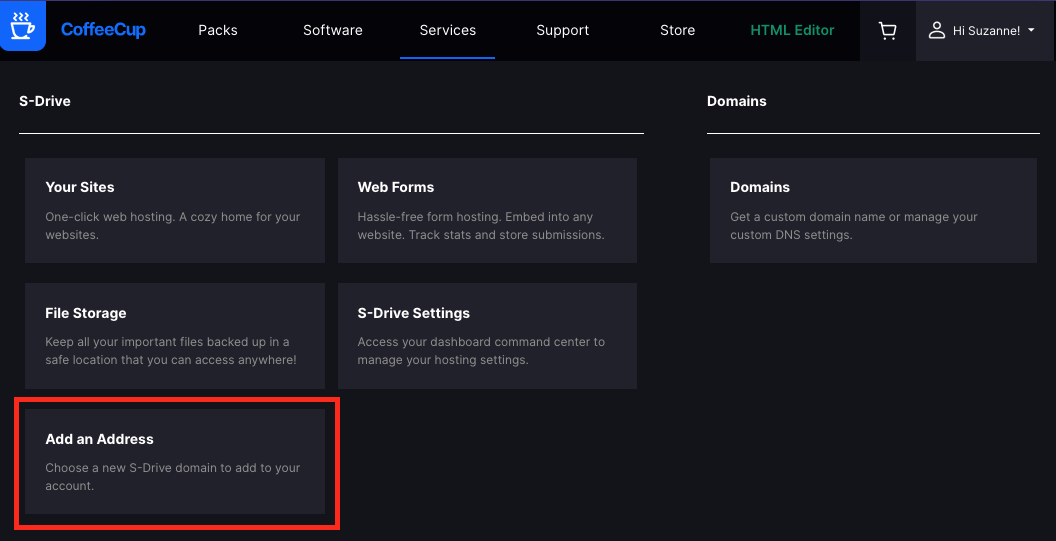
Already have an S-Drive account and want to add another *.coffeecup.com address? From the main CoffeeCup menu, go to Services > Add an Address. Or go directly to: https://www.coffeecup.com/sdrive/dashboard/add/
From your CoffeeCup Software programs, your newly chosen domains will now appear when you connect to your account.
Using PHP and ASP?
If your website includes any scripting languages like PHP or ASP linked in through the Resources, you will not be able to publish these to S-Drive as they are not supported by our service. Instead, you will need to export your website and upload it to another server.
Export to publish to another host
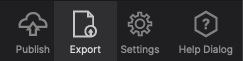
Exporting your design allows you to generate and save all the website files to your local computer. Then you may upload using any FTP utility of your choice. To start click on the Export toolbar icon or go to File > Export.
You will be prompted to save your project file as well as choose the location on your computer where the exported files will be saved. After the export completes a dialog box will appear confirming the action and will give you a link to your exported files.
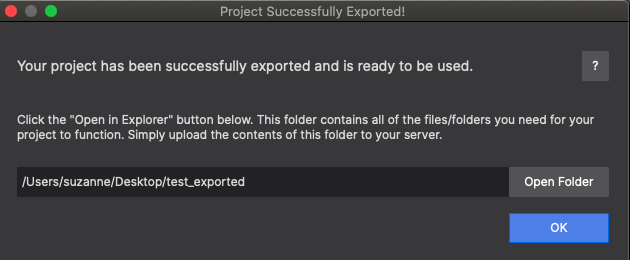
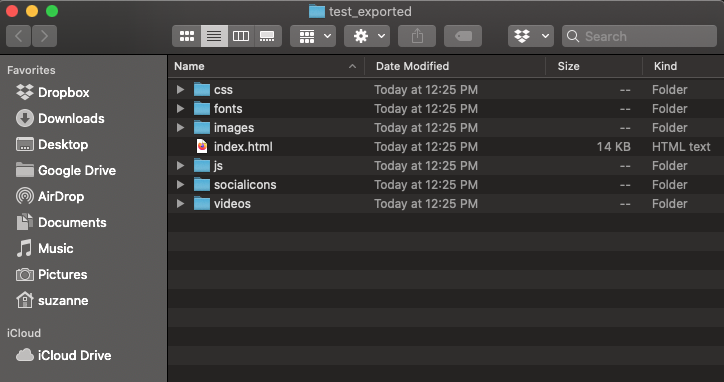
If you click on the Open Folder button you can open the exported folder and view all of the contents. The folder will be labeled as ‘your-project-name_exported’.
Next, you will use any FTP app or your server’s Cpanel dashboard to upload the contents of the exported folder. It is important that you upload the CONTENTS of this folder and not the _exported folder itself. If you don't have a preferred FTP app we do have a Free FTP tool you can use to connect to your server.
General Settings
There are some settings in Site Designer that will have an impact on how the content of your site is exported. Here we will show you what each of these settings are for and how to configure them. We recommend you leave the default configuration but feel free to customize them all you like. Access these options by choosing the Settings toolbar icon and then General.

Project Name
The project name is the name used for exporting and uploading of your project. When you export or upload your project, the file name gets substituted with the project name. Let's say you name your project MyWebsite. When you export or upload, your file structure will be MyWebsite_exported. Easy, right?
Folder Structure
With Site Designer there are two export options:
Modular Export: Most web developers use this option as it provides an extensive file tree with compartmentalized folders.
Flat Export: This is the option that provides a compact file version that most web designers are used to. All the files are located in the following format:
| Modular Export | Flat Export |
|---|---|
| Framework | CSS |
| coffeegrinder | coffeegrinder.css |
| coffeegrinder.css | coffeegrinder.min.css |
| coffeegrinder.min.css | main.css |
| wireframe-base.css | wireframe-theme.css |
| img | wireframe-theme.min.css |
| styles | fonts |
| customizations | img |
| main.css | js |
| fonts | index.html |
| layout | |
| grid.css | |
| wireframe-theme | |
| default.css | |
| default.min.css | |
| index.html |
If you do not want these features to be exported with your project simply disable them under Settings > General tab and they will not be included with your CSS, making your CSS cleaner and more compact.
Level up with the Site Designer help guide.
Site Designer gives you the power to work with CSS visually. These code-free controls allows you to experiment with new styles and layouts without having to be a pro at hand coding. Discover the power of Site Designer and start dragging, droppping, clicking, and sliding your way to an epic website.