

We cannot stress enough how important Website Projects are. If used correctly, this tool can make broken links a thing of the past. You'll never see those pesky red X's instead of your images again. Your website's structure will be organized and intuitive. You'll rule the world!
Okay, you won't rule the world, but you will save yourself a ton of headaches. So, how exactly does this awesome tool work? This question actually has a really lengthy answer, so we'll go over the basics here.
Okay, let's dive right in!
Quick Links
Step 1: Creating a Website Project
To create a new Website Project, go to My Websites > New Website Project. This opens the Website Project Settings window, which allows you to configure settings for your Website Project.
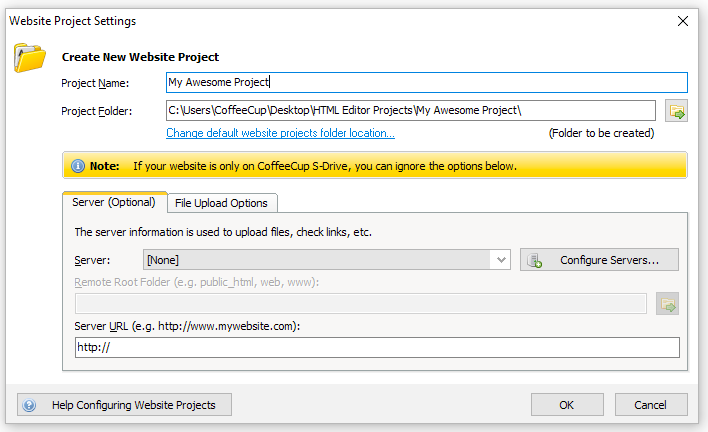
Here's what goes in the provided fields:
Website Project Name
This is the name of your Website Project. Since it's just a personal reminder, you can name it anything you want. Our recommendation, just to keep things simple, is to give your Website Project the same name as your website.
Website Project Location
This is the location where your Website Project files will be saved. Use the Browse Icon to browse your computer for the desired location.
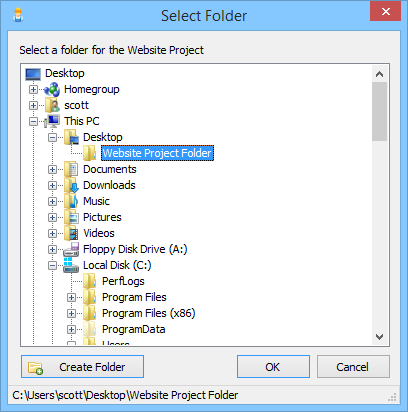
If you want to create a Website Project using preexisting files, select the folder that contains the files you want to use. If you are starting from scratch, you will need to create a blank folder where your Website Project files will be stored. To do this, browse your computer for the place where you would like to store this folder, and then click Create Folder. Give the folder a name, make sure it is selected, and then click OK.
Server
This is where you will choose which server to publish to based on the nickname you have given to your server. If you need to add or edit a server's information, click the Configure Servers button.
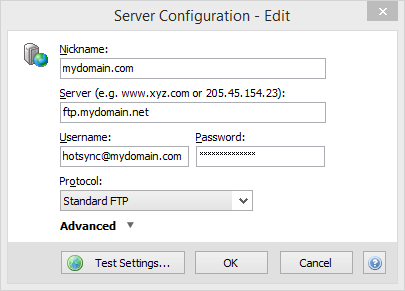
Configure Servers
This is the server where your website files will be stored. You can select one of the servers you have already defined or define one using the fields in the Server Configuration window.
You can only assign one server per Website Project. If you want to upload any or all of your Website Project files to a different server than the one specified in this field, you have two options:.
- Go to My Websites > Website Project Settings, switch the server, and then upload the file(s).
- Go to the My Computer tab, right-click the file(s) you want to publish, and select the server and folder where you want to upload them. If any of your published documents reference these files, the path to the files you are uploading must match the path specified in your HTML code.
You can choose to Add a new server, Edit an existing server, or Delete an existing server. Whether you choose to Add a new server or Edit an existing one, you will be brought to a new window in which you will add or edit information that the program needs to be able to upload your website.
Remote Root Folder
This is the root folder where your website files are stored on your server. Common names include www, public_html, or web. If you are not sure of this information, contact your hosting provider.
Server URL
The location where your website can be viewed. Generally, this is in the form of http://www.mywebsite.com or a similar address. This is so the program knows which website to launch in the browser after publishing your website.
File Upload Tab
Click this tab in the Website Project Settings window to configure a few more file upload settings.
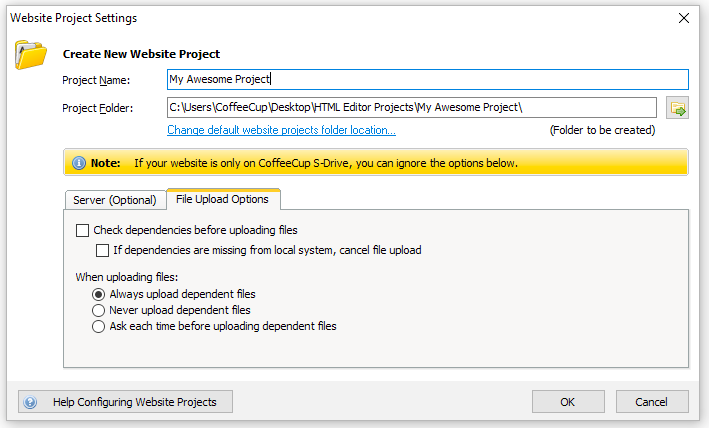
Check Dependencies Before Uploading Files
This checks your document dependencies before uploading your files to your server to make sure they are referenced correctly. Website Project dependencies are links and external files, such as style sheets, images, etc. — basically anything that your HTML file links to. If one or more of your document dependencies aren't referenced correctly, you will receive information about the incorrectly referenced dependency.
If Dependencies Are Missing From Local System, Cancel File Upload
Checking this box cancels the file upload if any of the document dependencies are not located in the right place in your Website Project.
When Uploading Files...
You can choose to always upload dependent files (like images and style sheets), never upload them, or have the program confirm with you before uploading them. When you're done filling out these fields, click OK. Your new Website Project will appear in the My Websites tab.
Step 2a: Adding Individual Pages to Your Website Project
The next thing we’ll cover is adding pages to your Website Project. First, create a new page by going to File and select New From Quick Start, New Blank Page, or New From Theme/Layout. For more information about these options, read Creating a New Webpage.
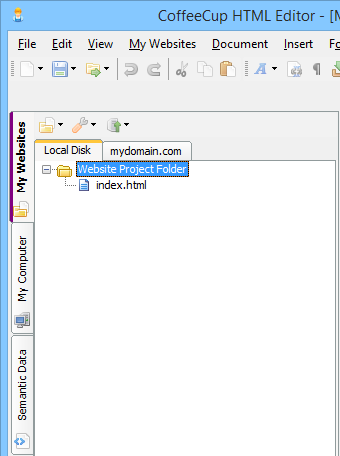
Next, save your page by going to to File > Save. This opens a window that allows you to choose the location where your new page will be saved. By default, the program will prompt you to save your page to the root folder of your Website Project. Enter a name for your page and click OK.
Name your files correctly!
If this page you are creating is going to be your website homepage (the front page), make sure to name it index.html. As with all file names, make sure each character is lower case (no mixed cases).
Your new file will appear in the My Websites tab.
Step 2b: Adding Themes to Your Website Project
An alternative to adding individual pages to your Website Project is to start with a theme (also known as a template). A theme includes several pages that include the HTML and images for a basic design, which means all the hard work is done for you. (For more information about themes, read the New From Theme section of Creating a New Webpage.)
To choose a new theme, go to File > New From Theme/Layout. This opens the Theme/Layout Chooser, which allows you to select a theme you would like to use as your website.
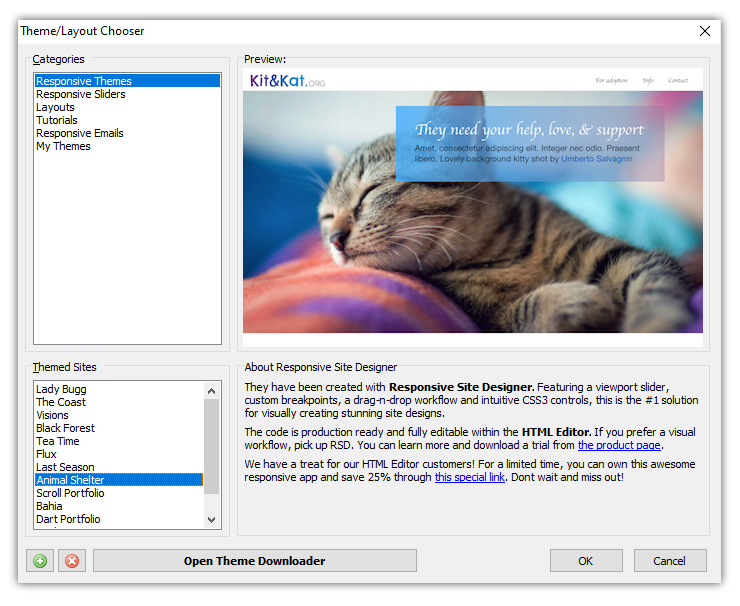
Select the theme you would like to use, and then click OK. This opens a window prompting you to choose the Website Project where you would like to save your theme.
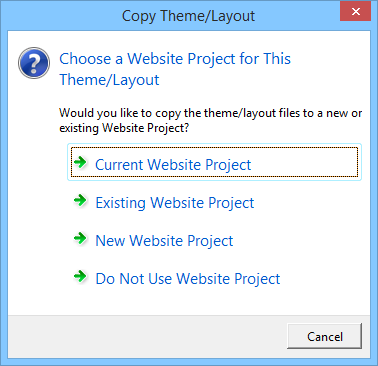
Choose Current Website Project. The theme files will appear in the My Websites tab.
Step 3: Adding Folders to Your Website Project
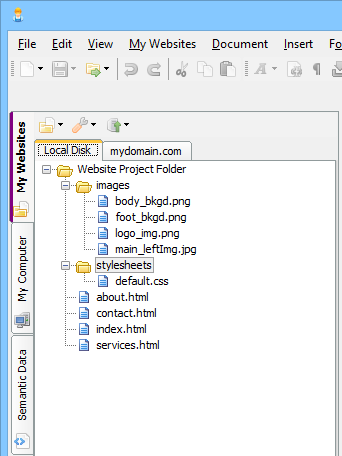
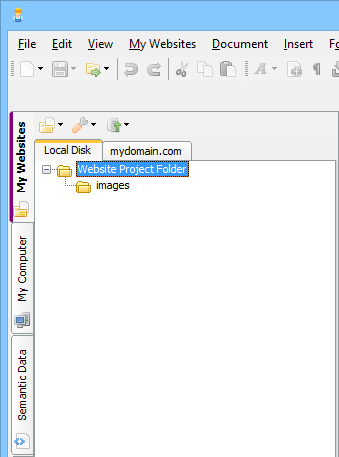
An organized, intuitive structure is a really important aspect of a well-designed website. One of the first things you can do to help organize your website files is to create folders for specific page elements. Take a look at the Website Project created from a theme. See those subfolders of the main website — css, images, and js? Each of those folders is clearly labeled with the name of the type of file it contains. This system helps keep everything in its own place.
Let's emulate this structure in our blank Website Project. (Of course, you can also add folders to a Website Project created with a theme.) To create a folder, right-click anywhere in the My Websites tab. This opens a right-click menu that contains options for working with your Website Project:
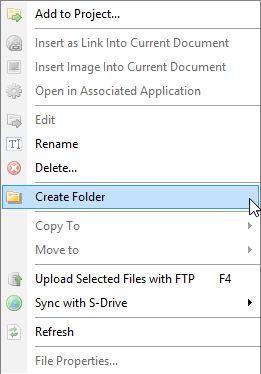
Select Create Folder. This creates a new folder. By default, it will be named New Folder 1, but you can give it any name you want. For this tutorial, let's call this file images and use it to store — you guessed it — images.
Step 4: Adding Other Files to Your Website Project
Next, let’s add some images to our images folder. To do this, switch over to the My Computer tab.
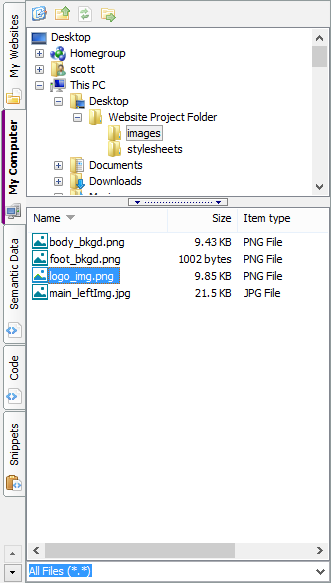
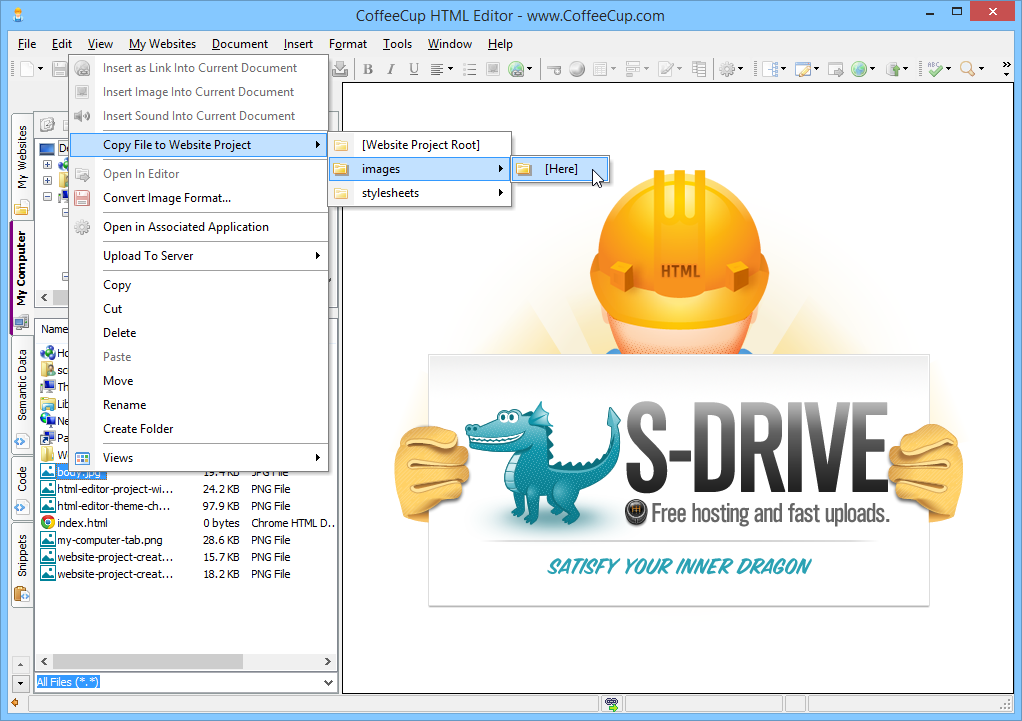
Use the area at the top to browse your computer for the image you want to add to your page. Selecting a folder in the top area opens all its files in the bottom area. When you find the image you want to use, right-click on the file and select Copy File to Website Project and then select where within the project you would like the file stored at (in this case, it would be images).
And there is more....
For a detailed tutorial about other ways to add an image to your page, read Adding an Image to Your Page.
Step 5: Linking to Files and Pages in Your Website Project
Let's create a link to another page in your Website Project. Of course, before we can do this, we'll have to add another page. To do this, use the method described in Step 2a. For this tutorial, name your page about.html.
Next, switch over to index.html by clicking its tab above the code editor.
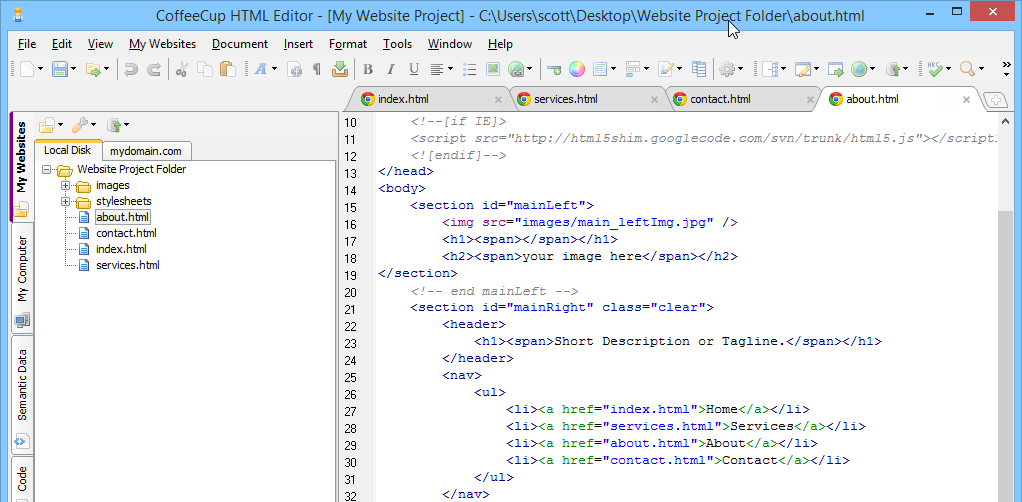
Next, right-click about.html and select Insert as Link Into Current Document. This inserts the HTML for a link in the place where your cursor was positioned in the Code Editor. The code looks like this:
<a href="about.html"></a>Next, let's enter some link text, which is the text your user will click to be taken to about.html. By default, link text is blue and underlined. For this tutorial, we'll use this as the link text: Learn more about us! Your code will look like this now:
<a href="about.html">Learn more about us!</a>Finally, just for the sake of formatting, let's put this link in some paragraph tags. To do this, highlight the link HTML and go to Format Menu > Paragraph. For a detailed description about other ways you can add a link to your page, read How to Insert a Link.
Step 6: Previewing Your Website Project
Let's take a look at how your webpage looks! To do this, press F12 to open the Split Preview Pane. This pane acts as a built-in web browser so you can test your webpage in as you work on it.
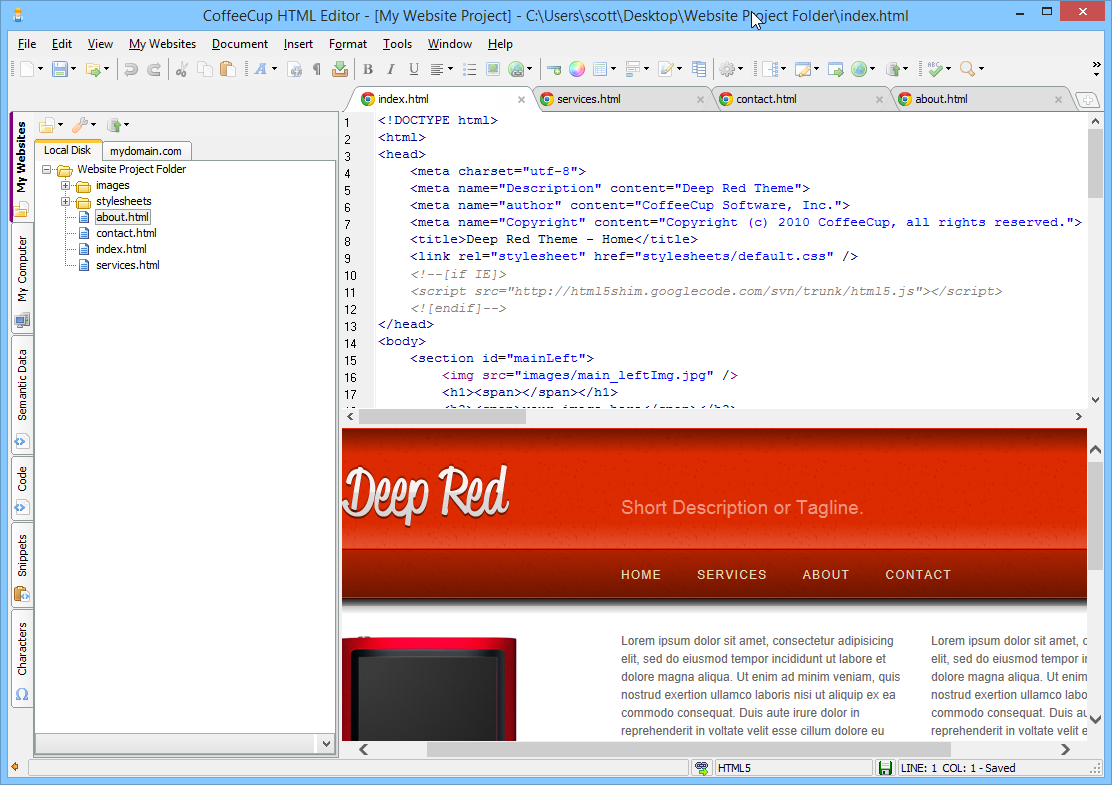
Okay, admittedly it's probably not the website of your dreams, but it's a start. Your image displays correctly, and your link points to your About Us page.
For a detailed tutorial about the many different ways you can preview your work, read Previewing Your Work in the HTML Editor.
Step 7: Uploading Your Website Project
Even though your website isn't quite done yet, let's still walk through the steps involved in uploading it.
Using FTP
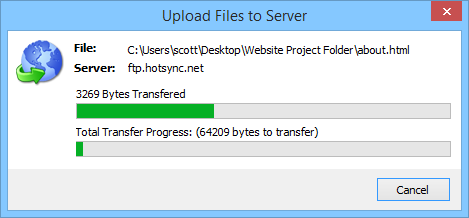
It's pretty simple — Press F4 or click the Upload Icon then select FTP Upload > Upload Entire Website Project. This opens the Upload Files to Server window, which displays the status of your file upload.
What if you don't want to upload your entire Website Project?
Easy: Just select the file(s) you want to upload, and then use one of these options:
- Click the Upload Icon then select FTP Upload > Upload Selected Files.
- Right-click the selected file(s) and select Upload Selected Files with FTP.
The cool thing about Website Projects is that even when you're uploading individual files, your file structure will still be preserved.
And with that, you’ve learned how to use Website Projects. Congratulations — your websites are about to be a lot more organized!
Using S-Drive
S-Drive is a set of integrated web development services offered by CoffeeCup that include website hosting, live updates/blogging, online store payment processing, web form processing, and more. S-Drive is integrated directly into The HTML Editor as a publishing option. When you use this option, your website will be uploaded to the S-Drive server, where your files can be accessed.
Once you’ve configured your S-Drive account, you’ll be able to upload your website with a single click.
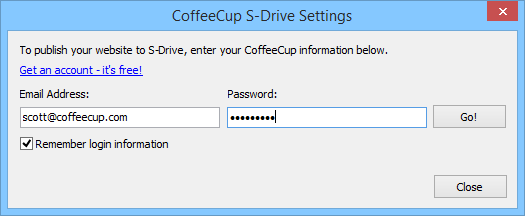
It’s amazingly simple to set this up. Click the Upload Icon and select Upload to Server > Sync with S-Drive and select CoffeeCup S-Drive Settings.
Simply enter your CoffeeCup user name and password in the Email Address and Password fields, then click Go! If you don’t have a CoffeeCup account, you can sign up for free.
You can have more than one CoffeeCup address depending on how you’ve got S-Drive set up. Once you log in with your CoffeeCup account information, all of your web addresses will be displayed.
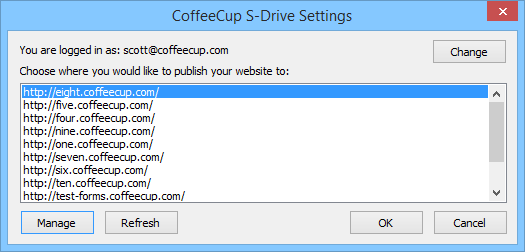
Select the one you wish to use for one-click publishing, and everything’s set up. Click Manage if you need to make administrative changes to your S-Drive account; click refresh if you’ve added/enabled a web address that’s not in the list.
Now, when you’re ready to publish your website, click the Upload Icon and then Upload to Server > Sync with S-Drive and choose the address you would like to publish your website to.
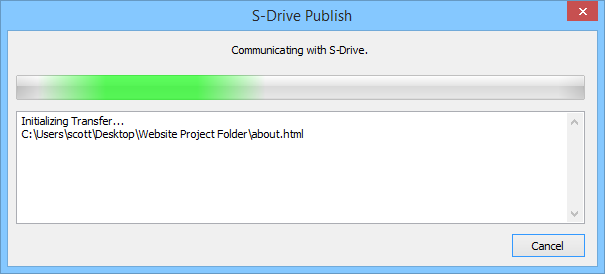
Your website will be published to S-Drive, letting you know what’s happening along the way.
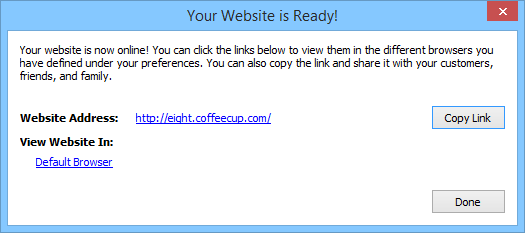
If there are no errors, then your website is available on the web! Congratulations!
Remember, syncing replaces the contents of your S-Drive Site with the contents of your website project. Any files in your Site folder that are not in your website project will be removed.Please ensure that important documents have been backed up before syncing.