

There are three ways to create a new page in the HTML Editor: using the Quick Start Wizard, starting from scratch, using a layout, or using a theme.
Quick Links:
New HTML Page With Quick Start
Step 1
Open the HTML Editor and select New HTML Page from the Welcome window.
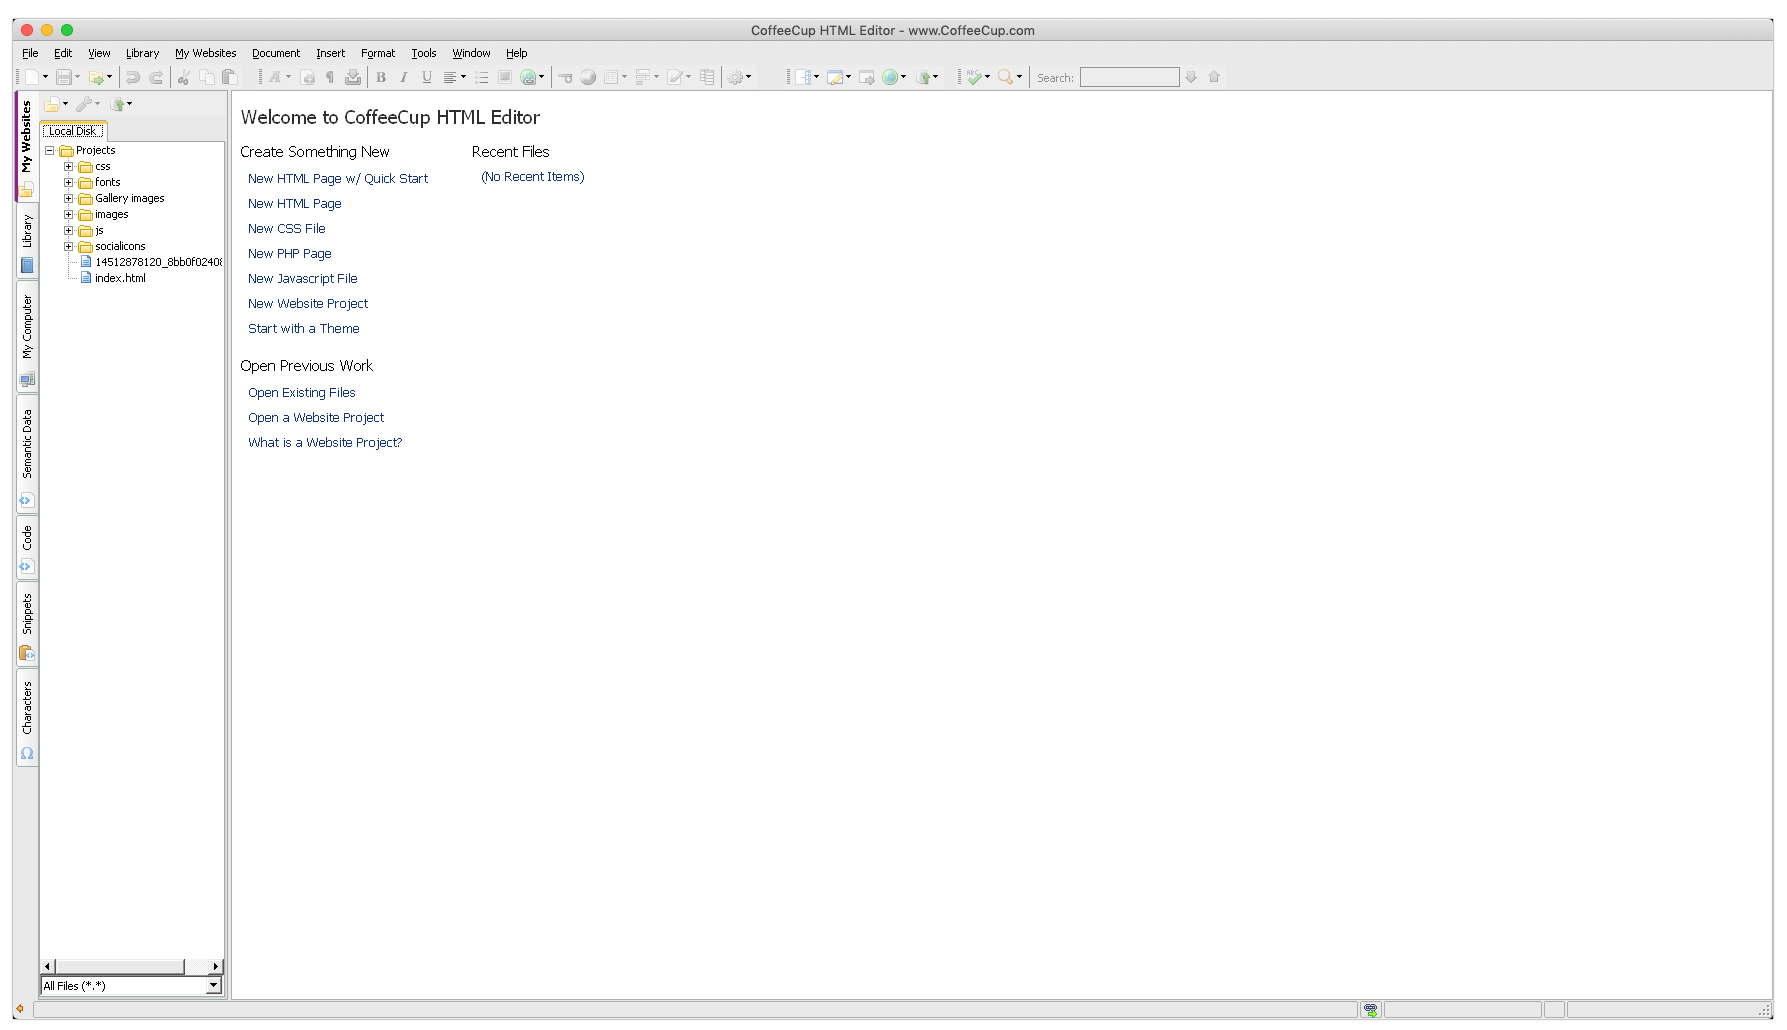
If you already have the Editor open, go to File Menu > New HTML Page.
Step 2
The Quick Start Wizard lets you specify some basic page properties, including the title, DOCTYPE, character set, meta information, background, and color scheme. When you're done specifying this iformation, the corresponding code is automatically added to your page.
By default, new pages include some basic HTML to help get you started. This includes the DOCTYPE, html, head, title, meta, and body tags, and an HTML comment stating that the page was created with CoffeeCup HTML Editor.
Step 3
Configuring the following settings as needed in the provided fields in the Quick Start window.
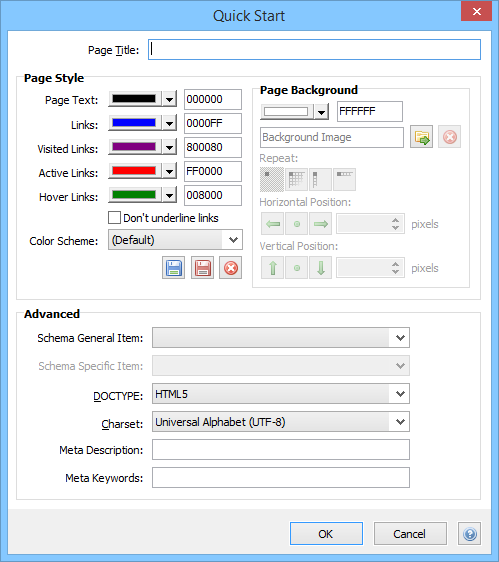
Page Title
The text displayed in the bar across the top of a web browser and that also appears in search results. A good page title succinctly describes the content on the page. For example, let's say your website is named "My Himalayan Adventures," and you use it to blog your adventures climbing in the Himalayas. If this particular webpage describes your trip up K2, your page title could be any one of these:
- My Himalayan Adventures | Conquering K2
- My Himalayan Adventures | My Trip up K2
- My Himalayan Adventures | Climbing K2: What the Hell Was I Thinking?
You may have noticed that the name of the website is included in all these titles, and the rest of the description is separated by the pipe character. This isn't required, but it looks nice and keeps the name of your website fresh in your visitors' minds.
Colors
There are five color options available: page text, and three different states of links: visited, unvisited, active, and hover. A visited link is a link that has already been clicked by the user, and an unvisited link has not been clicked by the user. A link is active while a user is clicking it, and it is in the hover state when the user hovers their mouse over it. To change the color of any of these elements, enter the hex code in the provided field or click the color swatch next to it. This opens a drop-down list of 40 basic colors. Click whichever color you would like to apply. To browse even more colors, click More Colors. This opens a rainbow gradient that allows you to adjust brightness and select from a wider range of colors.
To change the color of any of these elements, click the color swatch next to it. This opens a drop-down list of 40 basic colors. Click whichever color you would like to apply. To browse even more colors, click More Colors. This opens a rainbow gradient that allows you to adjust brightness and select from a wider range of colors.
Color Scheme Drop-Down List
If you would like to use a predefined color scheme for these color options, you can select one from the Color Scheme drop-down list. To preview how a scheme looks, select it from the list. You can always customize it or return to the default by selecting (Default). Save
If you do choose to use one of the color schemes, but decide to change one or more of the options, click this button to save these changes to the scheme. This overwrites the default scheme, so make sure you really want to replace it before you save over it!
Save As...If you create a custom color scheme or customize one of the existing themes and don't want to overwrite it, click this button to save the changes under a new name. This opens a window that allows you to enter a name for your new scheme. Once you name it, click OK, and the scheme will be available under the Color Scheme drop-down list.
Don't Underline LinksCheck this box if you would like to remove the automatic underline from your links. We recommend keeping the underline — it's one of the main ways your visitors will be able to distinguish your links from your normal text, so why make things more difficult for them?
Page Background
If you would like to use a color for your page background, you can specify it in the same way as you specified the text and link colors. To select a background image for your page, enter the file path in the provided field or click the Browse icon to browse your computer for the image you wish to use. To remove a background image, click the red X icon.
Once you have selected a background image, you can choose whether you want it to repeat and, if so, whether it will repeat horizontally, vertically, or both. If you choose not to repeat the background image, you can specify its exact horizontal and vertical position.
If you choose to use a background image, it should be clean and simple. Flashy background images can be distracting or look amateurish. The HTML Editor automatically repeats the background image to fit the size of the page, so your image should look natural when repeated. When you browse for a background image, the default folder contains predefined backgrounds that come with the HTML Editor. You can use any of these in your website, or use them as a guide for what your custom background image should look like. For this tutorial, we’ll browse for an image, open the beige folder, and select basket.jpg.
Schema General Item and Schema Specific Item
For more information on Schema and how it works, please refer to Chapter 7: Semantic Markup.
DOCTYPE
Select the desired DOCTYPE from this drop-down list. A DOCTYPE tells the web browser the type and version of the language the page is written in.
Charset
Select your preferred character set from this drop-down list. A character set is the set of characters available to be used in your code and on your website. For example, if you want to create a website using Cyrillic, that would use a different character set than a website that used the Latin alphabet.
Meta Description
This is a short description of your website that sometimes appears in search results. It should be no longer than 50 words.
Meta Keywords
These are words that describe your webpage. They must each be separated by a comma and a space.
Step 4
When you're done entering this information, click OK. The code will be inserted into your page for you. You're all done getting started — the rest is in your hands!
New From Layout
This option allows you to choose a basic layout to start with. A layout contains the HTML for a basic page structure. This is a good starting place for people who want to start with a bare bones structure and add a design from there. Here's how to get started with layouts:
Step 1
Open the HTML Editor.
Step 2
Open the Theme/Layout Chooser by going to File Menu> New From Theme/Layout.
Step 3
Select the desired layout from the Theme/Layout Chooser.
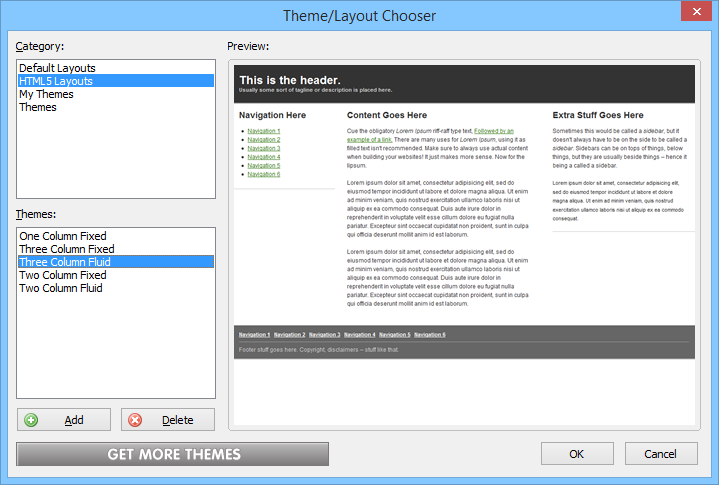
You can preview how the different layouts look in the Preview area. (FYI, liquid layouts resize automatically to fit the size of the user's browser, whereas fixed layouts always stay the same size.)
Step 4
When you find a layout you like, click OK. The code will be inserted into your page for you. Once the code is inserted, you can replace the generic text with your own, tweak elements of the code, add images, and whatever else you need to complete your webpage!
New From Theme/Template
Step 1
Open the HTML Editor and select Start With a Theme from the Welcome window.
If you already have the Editor open, open the Theme/Layout Chooser by going to File Menu > New From Theme.
Step 2
Select the desired theme from the Theme/Layout Chooser.
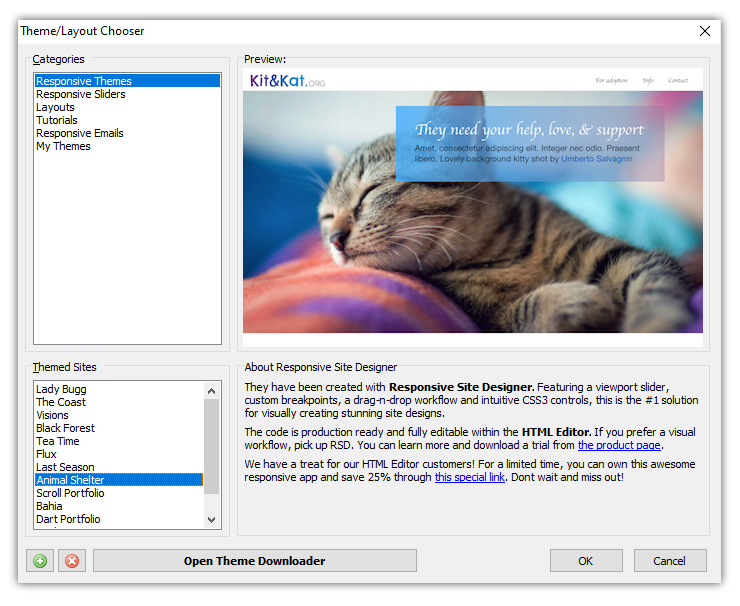
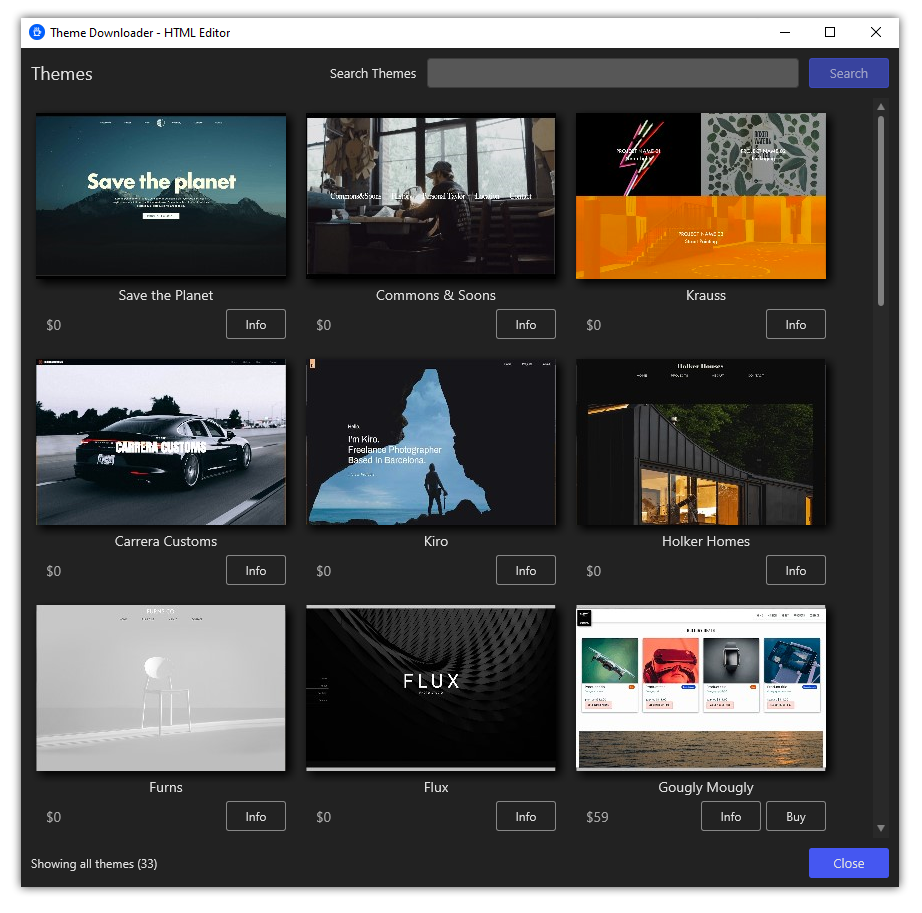
You may download additional templates into the HTML Editor by clicking Open Theme Downloader. This will launch the template shop. Browse the collection of designs and import them into the app.
You can preview how the different themes look in the Preview area.
Step 3
When you find a theme you like, click OK. The code will be inserted into your page for you.
Once the code is inserted, you can replace the generic text and images with your own, tweak elements of the code, and do whatever else you gotta do to complete your webpage!
Congratulations!
And that's all there is to it! Let the coding begin.