A new version of Site Designer is now available. Here’s what’s new in the March 2026 release.
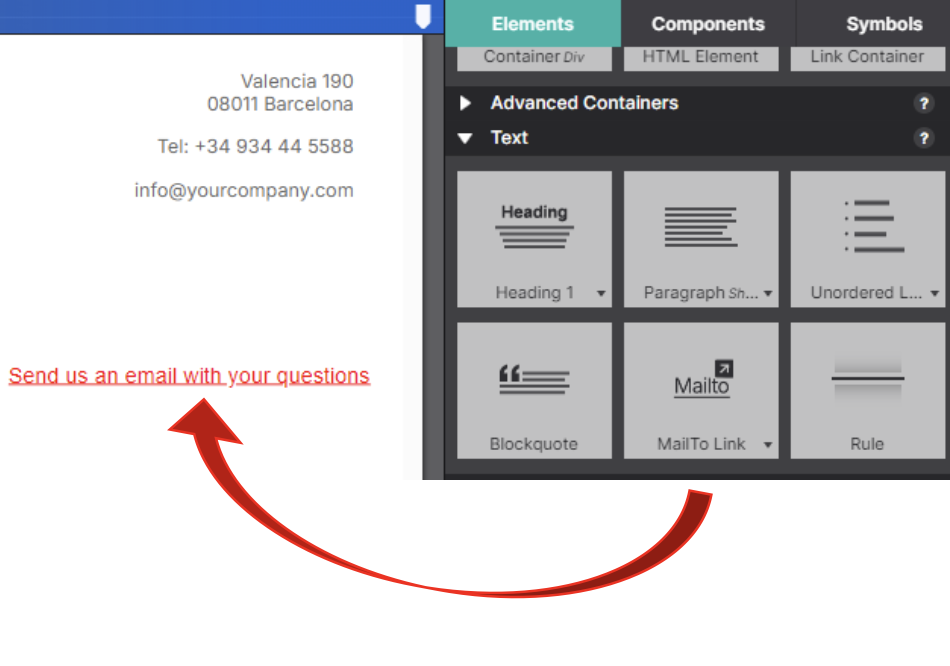
New Mailto Element
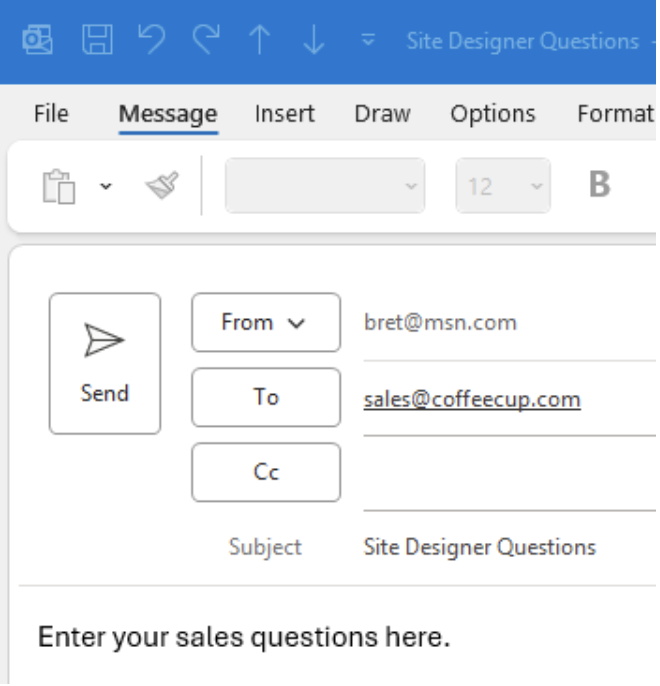
A new Mailto element allows users to create mailto links and specify the subject, one or more recipients, Cc and Bcc fields, and the email body.
The Mailto fields can be entered or edited in the Element Properties pane.
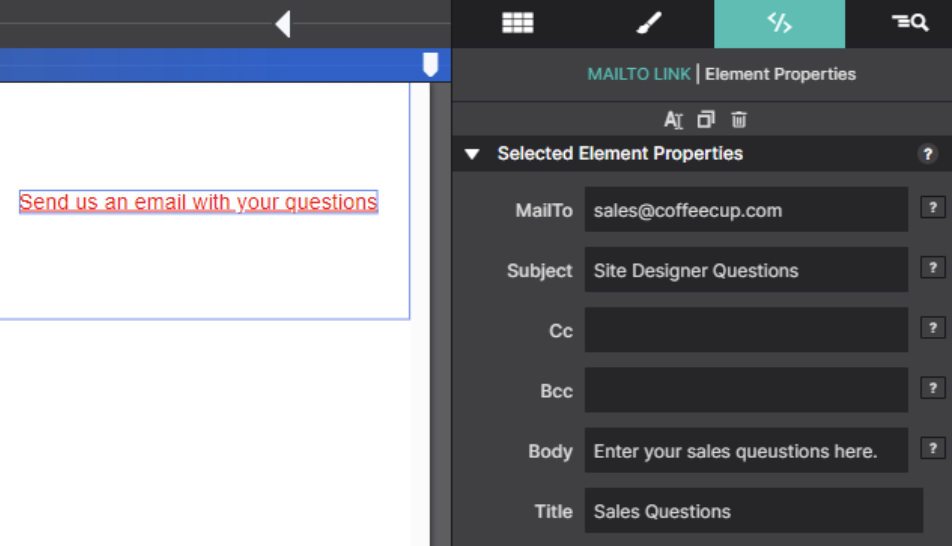
The Cc, Bcc, and Body fields are optional.
A multi-line body can be created using “\n” as a line separator.
For example, if the body text is:
Hello customer support,/nPlease send me the user guide for your coffeemaker model CC1250
The email body will be:
Hello customer support,
Please send me the user guide for your coffeemaker model CC1250
When previewing or exporting, Site Designer generates a standard HTML mailto link. Text values are URL-encoded automatically.
<a class="link-mailto mailto-link-1"
href="mailto:sales@coffeecup.com?
Subject=Site%20Designer%20Questions&
body=Enter%20your%20sales%20questions%20here."
id="test-email" title="Sales Questions">Send us an email with your questions</a>
When the link is clicked, the mail app pops up with mail fields pre-populated.
 New Image Element
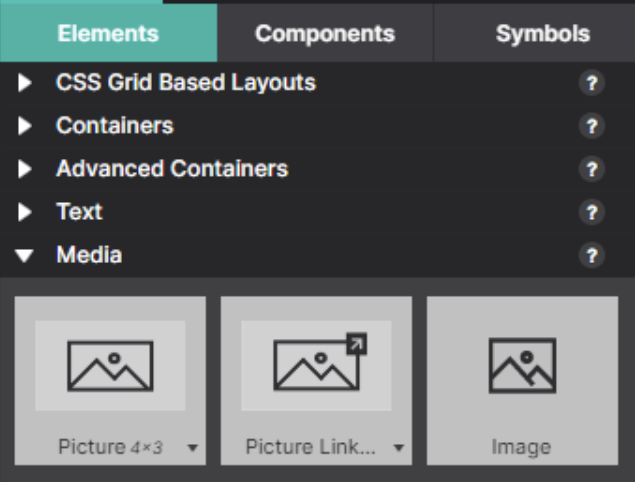
The image element is used to add a regular image (`<img>`) to the canvas without a wrapper (unlike the existing picture element that includes a div wrapper).
The Image element allows you to add a standard <img> tag to the canvas without a wrapper. This differs from the existing Picture element, which includes a div wrapper. For example, custom JavaScript code or a JavaScript plugin may require access to the image id, class, etc. This is not possible with the Picture element because it includes a div wrapper around the image.
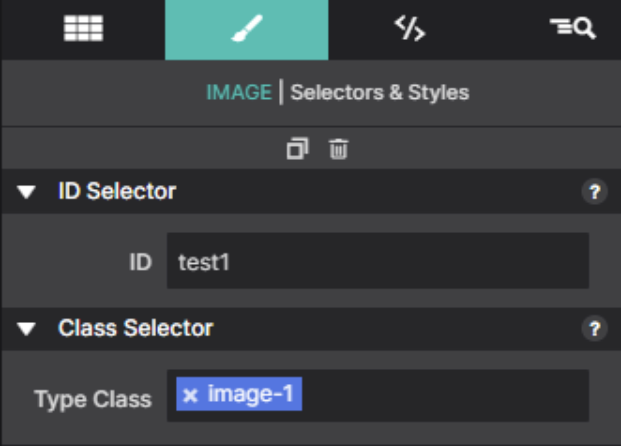
The generated HTML will look like this (just an img element with no wrapper):
<img class="responsive-image image-1" alt="Placeholder Image" src="./images/neonbrand.jpg" id="test1">
Remove Empty Breakpoints
Added Actions menu item to remove empty breakpoints.
Sometimes, empty breakpoints can exist due to user error or by moving styles of one breakpoint to another. Empty breakpoints can be removed by selecting Actions > Remove Empty Breakpoints.
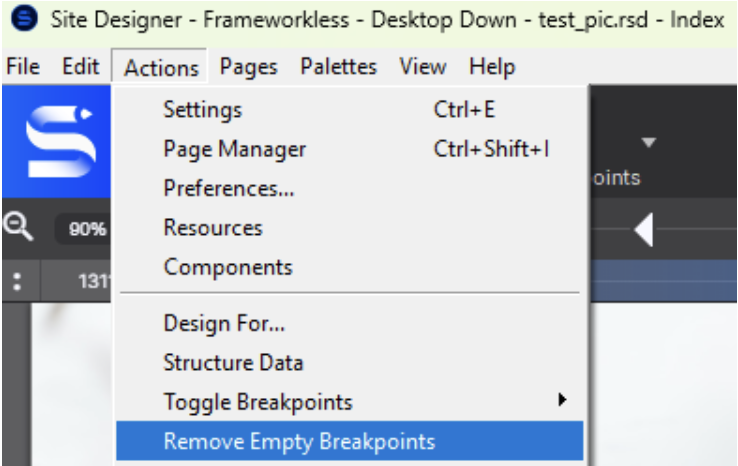
Default breakpoints or any of the fixed breakpoints for each framework will not be removed.
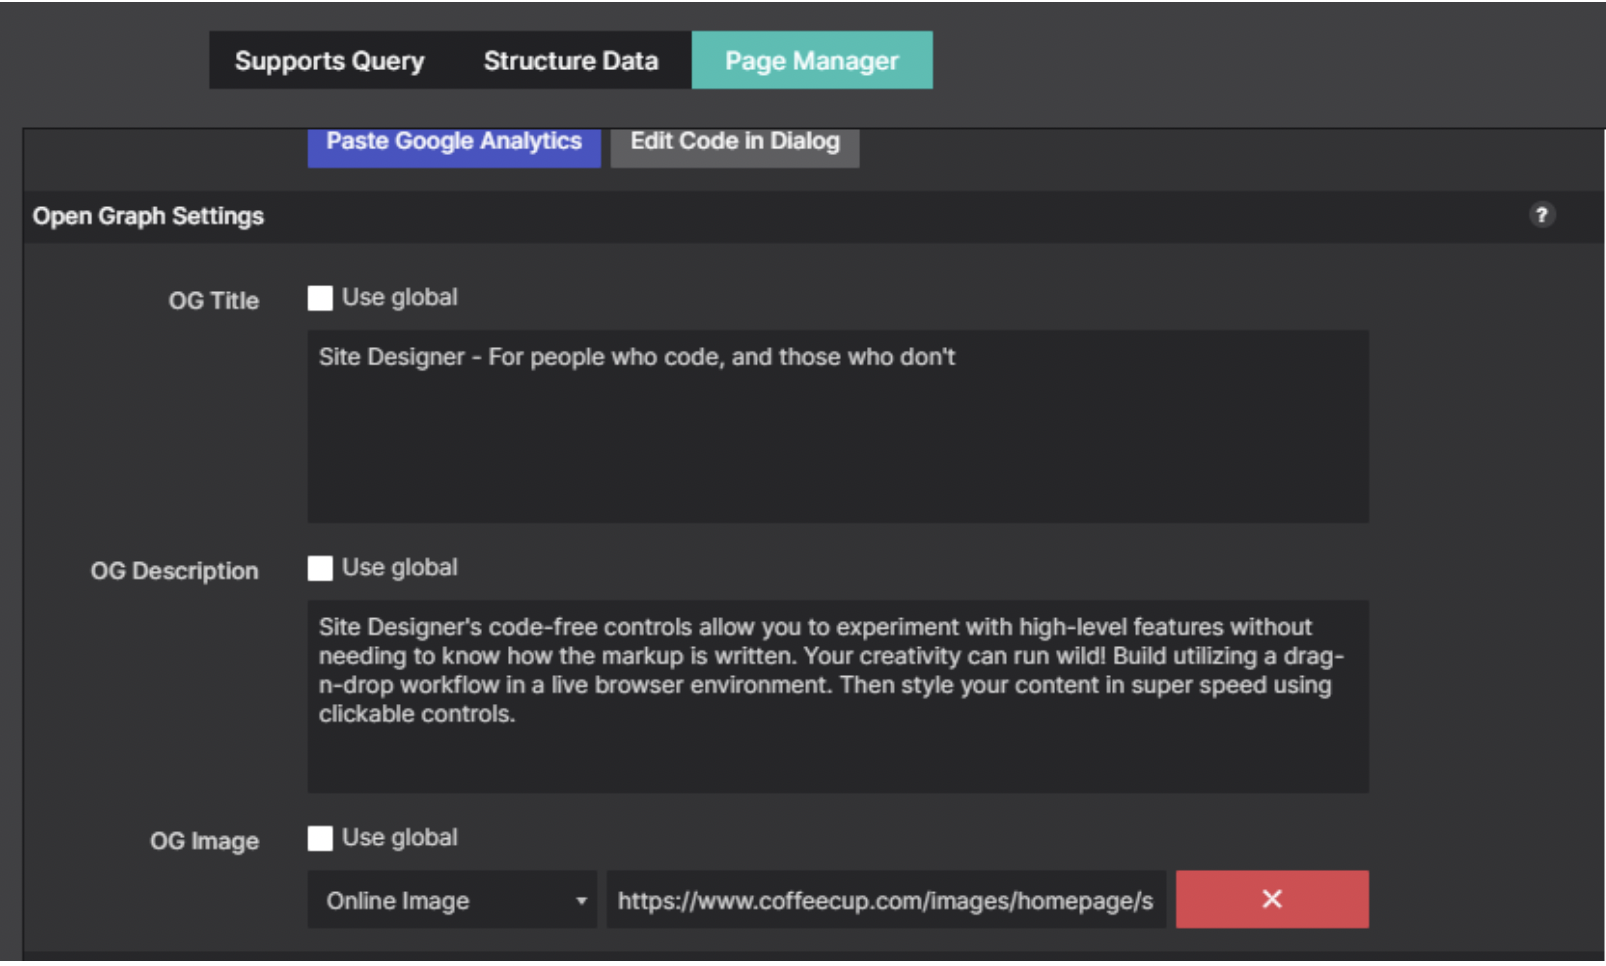
Twitter/X Cards Added to Page Manager
A new Twitter/X Cards Settings section has been added to the Open Graph area in Page Manager.
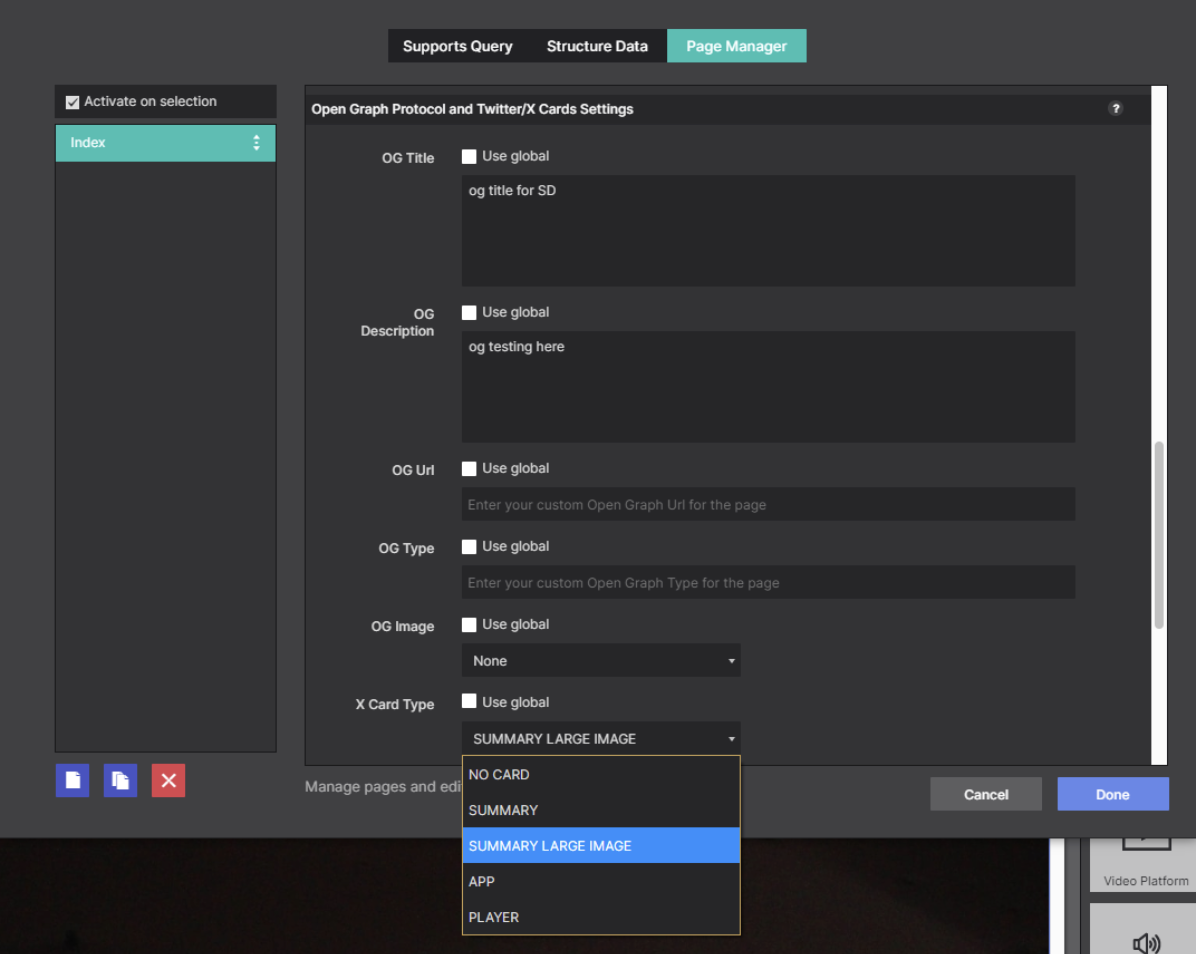
To configure a Twitter/X card, select one of the card types from the X Card Type list. The available card types are “summary”, “summary_large_image”, “app”, or “player”. Select No Card to disable Twitter/X cards.
The generated HTML markup in the page <head> section will look like this:
<meta name="twitter:card" content="summary" />
Open Graph settings used with Twitter/X cards.
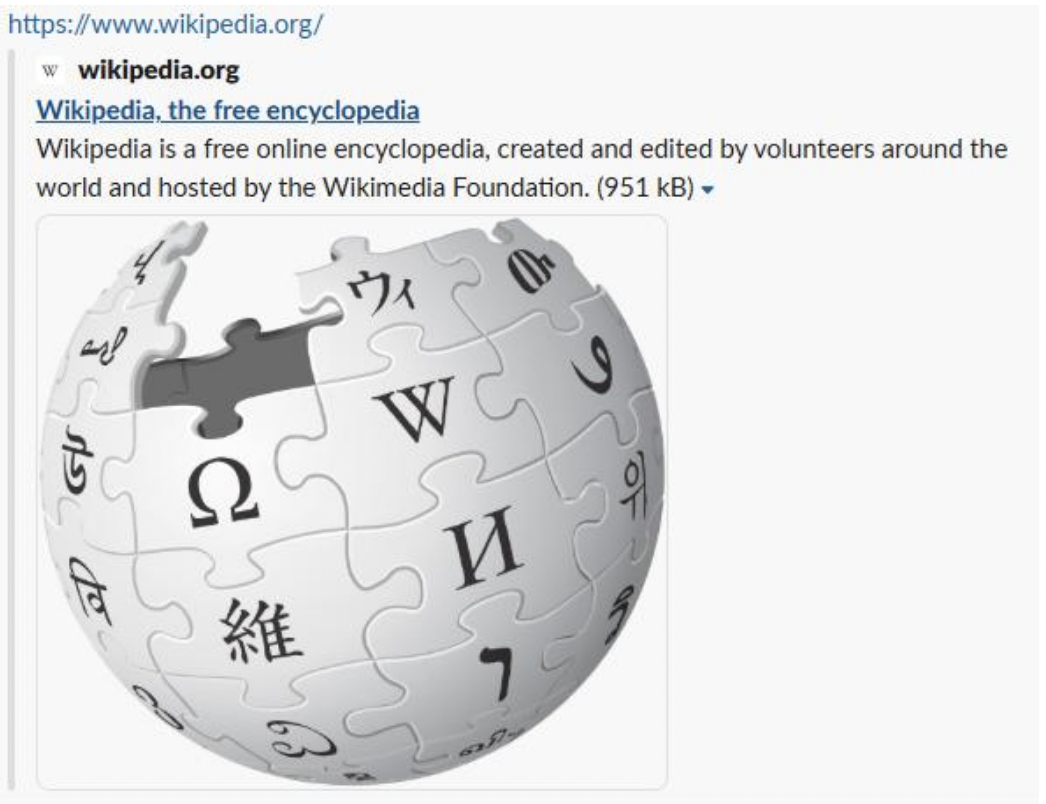
For summary and summary_large_image types, the following Open Graph settings are required:
- og:title
- og:description
- og:image
For type summary, the image should be square. For type summary_large_image, the image should be large and rectangular.
The Twitter card types “app” and “player” do not have Open Graph settings. To use these types, some additional twitter-specific fields need to be added in the custom head section of the page manager
.
The “app” type is used to promote an app available at the Apple store or Google Play. More information about the “app” settings can be found here:
https://developer.x.com/en/docs/x-for-websites/cards/overview/app-card
The “player” type is used to play a video. More information about the “player” settings can be found here:
https://developer.x.com/en/docs/x-for-websites/cards/overview/player-card
Live Preview: Export PHP Files to Custom Paths
In the previous release, Site Designer introduced the ability to configure a custom preview path. (See
https://www.coffeecup.com/forums/site-designer/site-designer-change-logs/?page=5).
This feature is now called
Live Preview.
Live Preview now supports exporting PHP files to the configured export directory. This means that if you have a LAMP stack installed on your local PC or a local directory shared with a local Linux server, you can test both the front-end and back-end of your Site Designer project on your local machine.
Setup PHP on your local PC.
https://www.coffeecup.com/help/articles/how-to-install-php-on-windows-for-local-testing/
PHP and MySql with XAMPP
https://www.coffeecup.com/help/articles/setting-up-xampp-for-local-php-development/
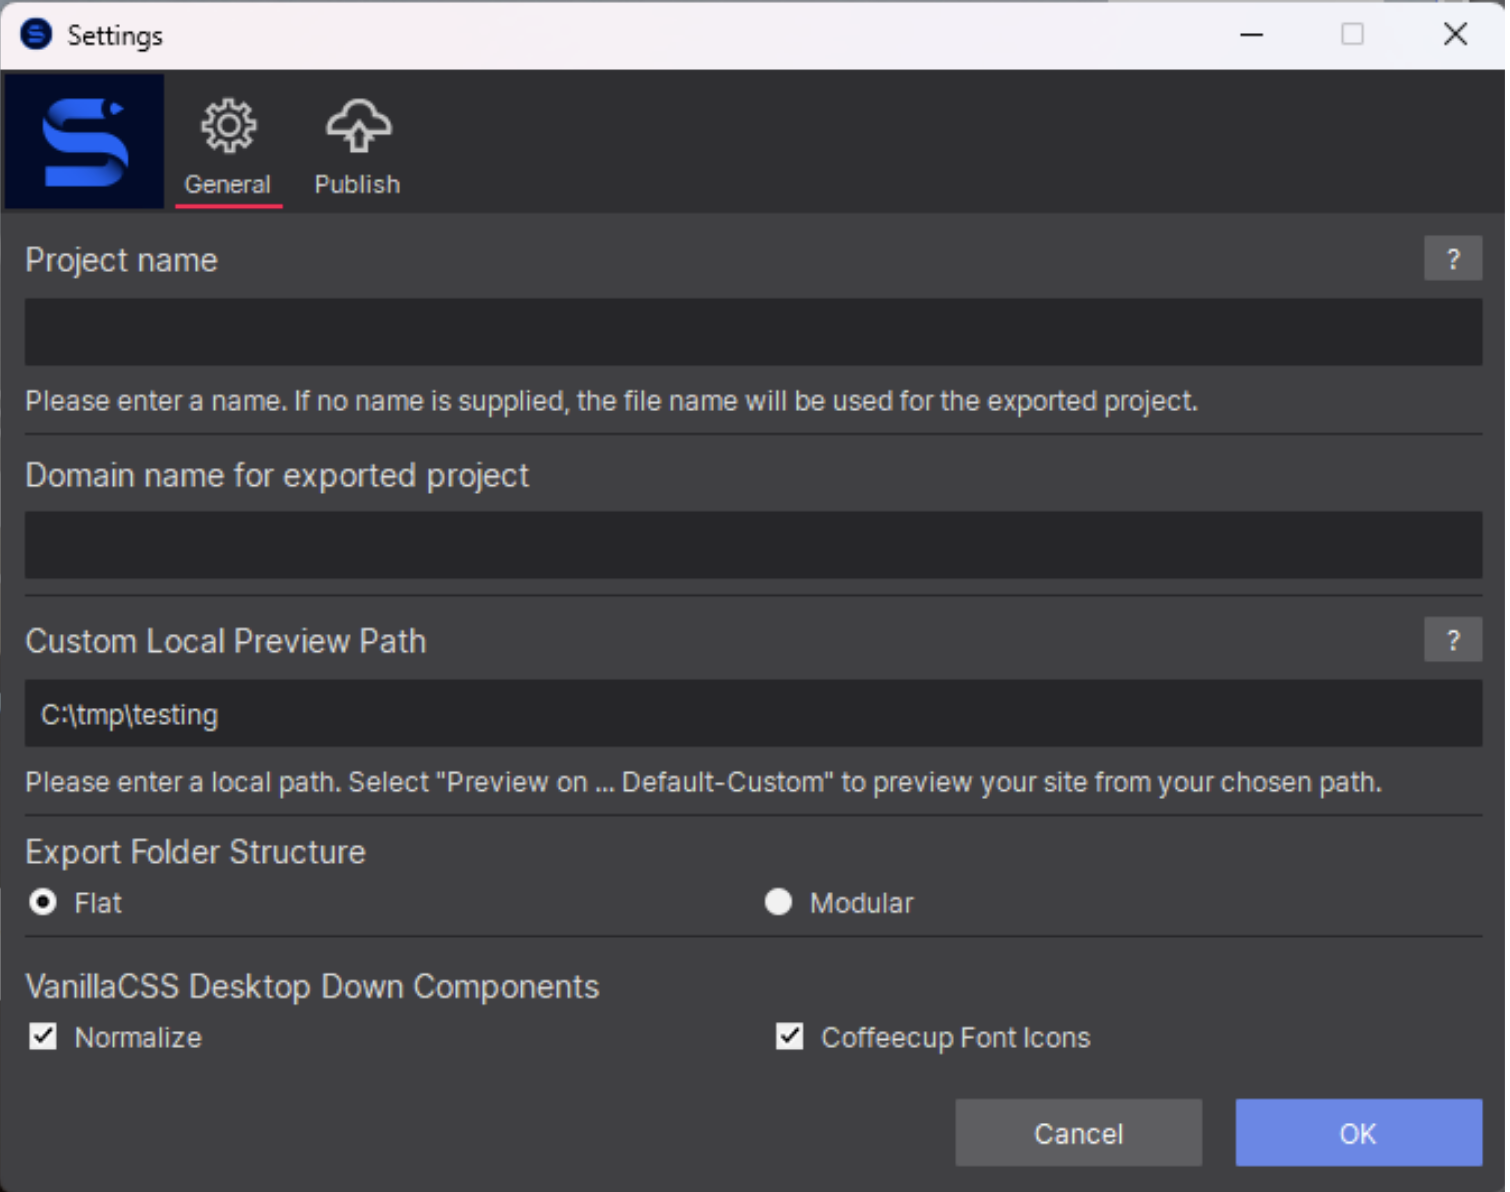
Specify a Base URL for Live Preview
To test PHP files with Live Preview, the browser must open an HTTP or HTTPS URL instead of a local file path.
A new field has been added to Live Preview settings:
Live Preview Server URL.
The url to the web server used for testing goes in this new field.
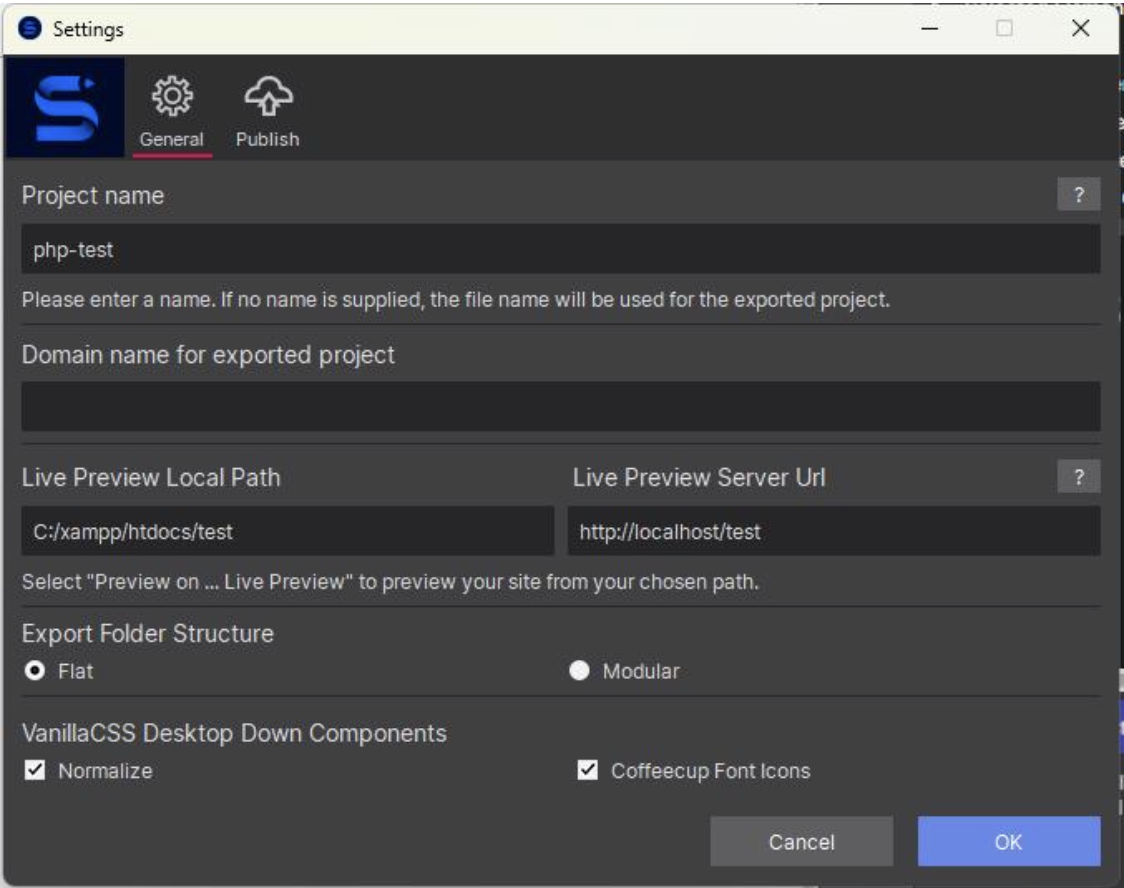
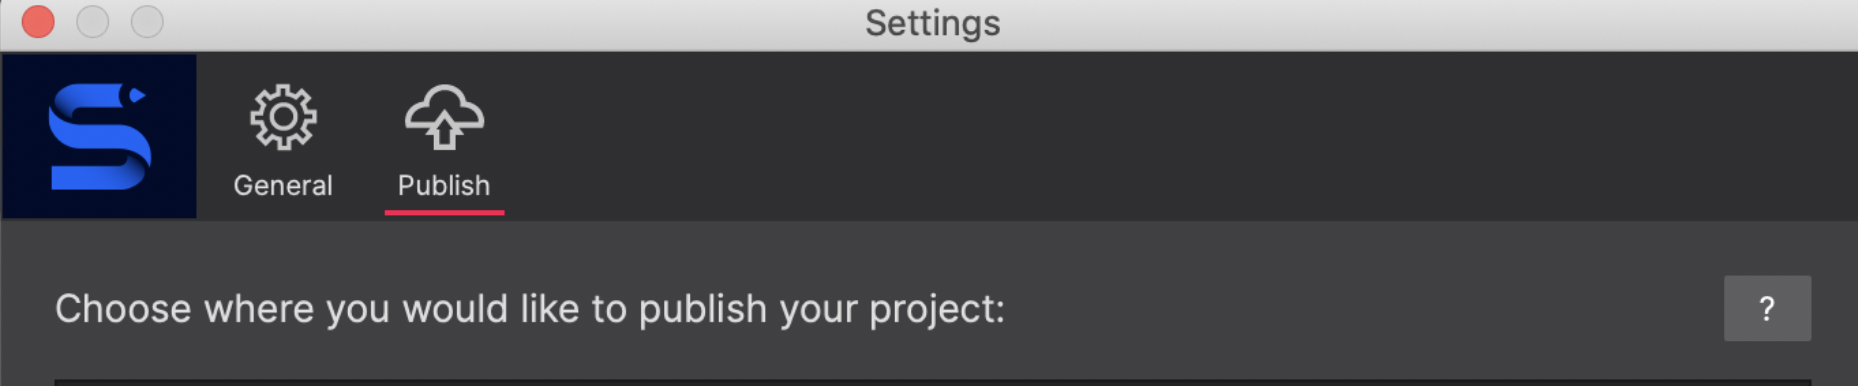
In the Settings page example above, XAMPP has been installed on the user’s PC.
The Live Preview Local Path has been set to c:\xampp\htdocs\test.
The Live Preview Server Url has been set to http://localhost/test so that the browser will open using the url for the web server configured on the local PC.
To test a PHP file, create a Site Designer page like this:
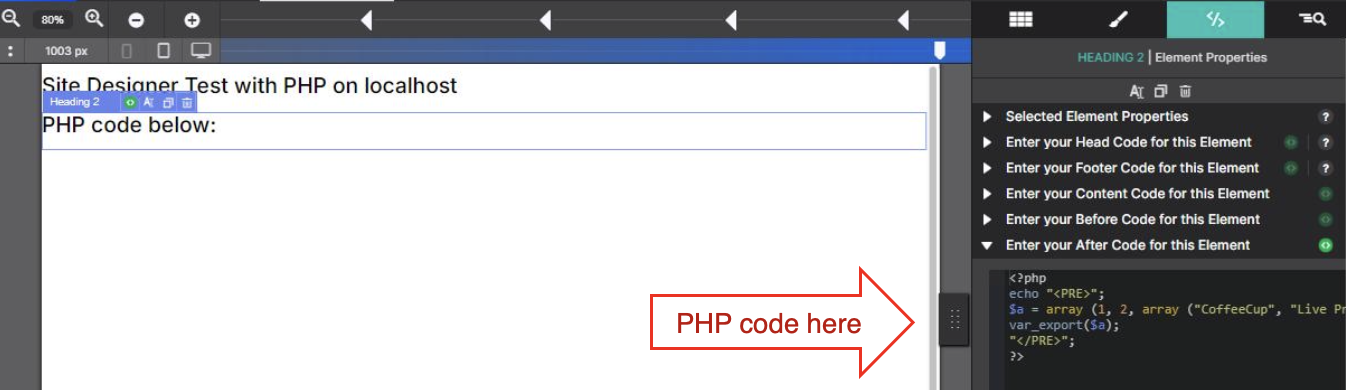
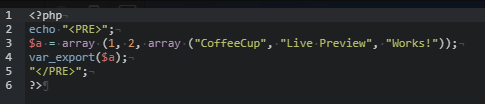
Enter the following for “Enter your After Code for this Element”:
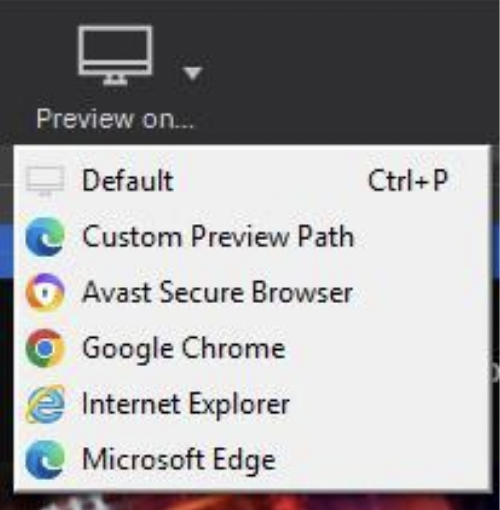
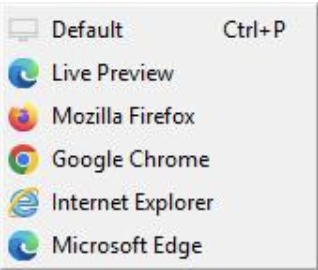
Click “preview on” > Live Preview.
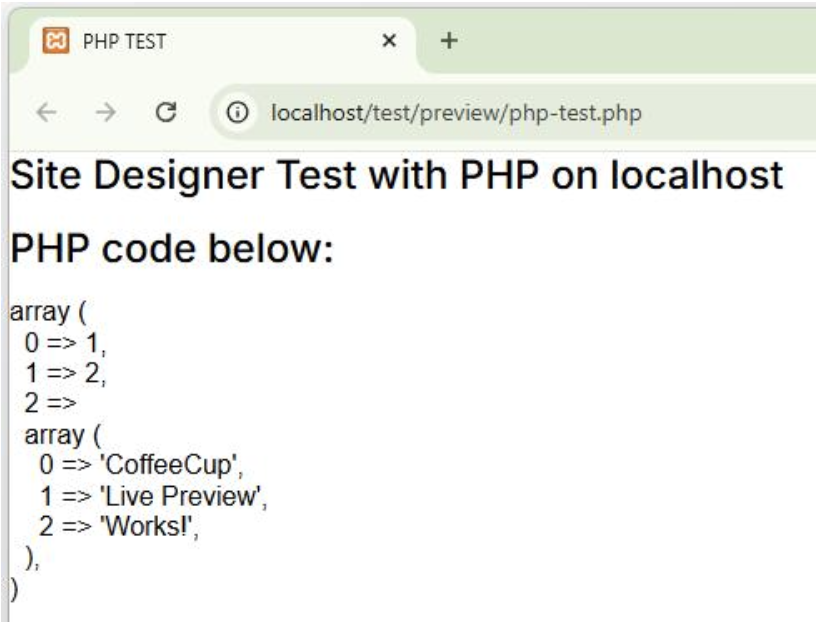
The php file will be uploaded to c:\xampp\htdocs\test\preview and the browser will open
http://localhost/test/preview/php-test.php
The browser should look like this:
 Live Preview: Add Server-Side Code Before <!DOCTYPE HTML>
Added option to specify a block of code before the <!DOCTYPE HTML> declaration.
In some cases, server-side code must run before the first line of HTML.
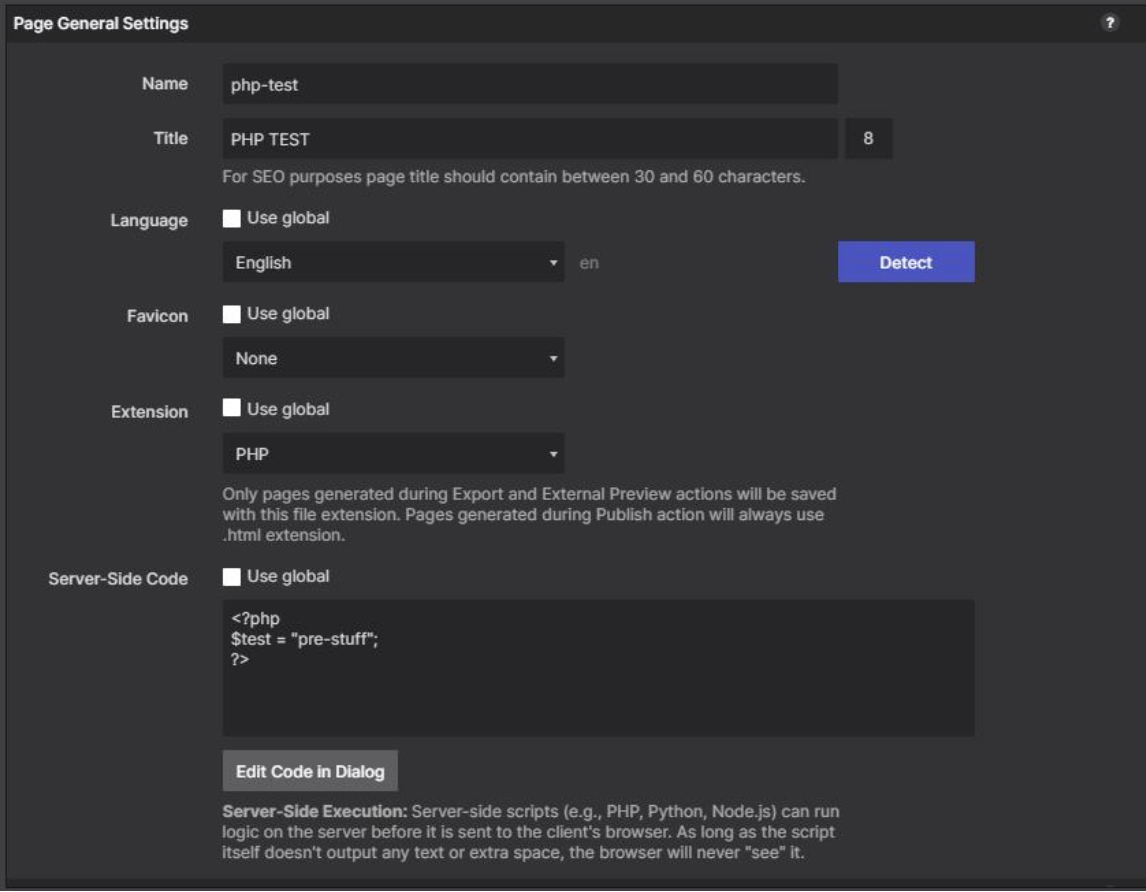
The code entered in “Server-side Code” will be placed above the Html <!DOCTYPE HTML> declaration.
Code placed above <!DOCTYPE HTML> must not output text. It should only contain server-side logic or comments. It should only be used for server-side logic or comments.