

Install XAMPP for Testing PHP on Your Local PC.
Did you know that you can test PHP files on your local PC? No need to export anything to another server. In the March 2026 release of Site Designer, the app now offers a Live Preview feature to take advantage of this!
PHP files require a web server to run. When you open a PHP file directly from your computer, the PHP code will not execute. Installing XAMPP allows you to run a local web server on your computer so PHP scripts can be processed just like they would be on a live website. This makes it easy to test PHP files during development without uploading them to a remote server.
In this article, we show you how to install and setup XAMPP on your local PC for testing with a local web server, PHP, and a MySql database. These instructions apply to both Windows and Mac.
When installation is complete, you’ll have these components on your PC and ready to use:
- PHP
- Apache web server
- MySql database (actually, MariaDB which is compatible with MySql).
XAMPP Installation
Step 1: Download XAMPP
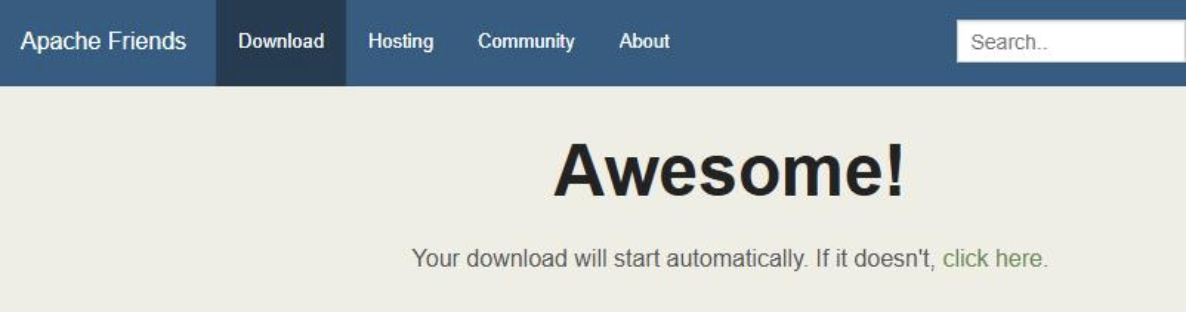
The XAMPP package can be downloaded at https://www.apachefriends.org
On the Apache Friends website, download the latest stable version of XAMPP that includes PHP. Most users should download the default installer listed at the top of the page for their operating system.

Select the appropriate download button for your OS (Windows or OS X).
Step 2: Prepare for installation
If you have an anti-virus application running, it’s best to disable it temporarily during the installation or turn off installation security checking.
This is suggested because some antivirus programs may display warnings when installing XAMPP because it includes server software. If you encounter installation issues, temporarily disable antivirus scanning or installation protection during setup. After installation is complete, you can re-enable your antivirus software.
Step 3: Run the installer
First, find the installer file. It should be in your downloads directory and look something like this:
xampp-windows-x64-8.2.12-0-VS16-installer.exe (windows)
xampp-osx-8.2.4-0-installer.dmg (OS X)
Run the installer. For Windows, it’s best to right-click on the exe and select “run as administrator”. On macOS, open the downloaded .dmg file and launch the installer package inside. Follow the on-screen instructions to begin installation.
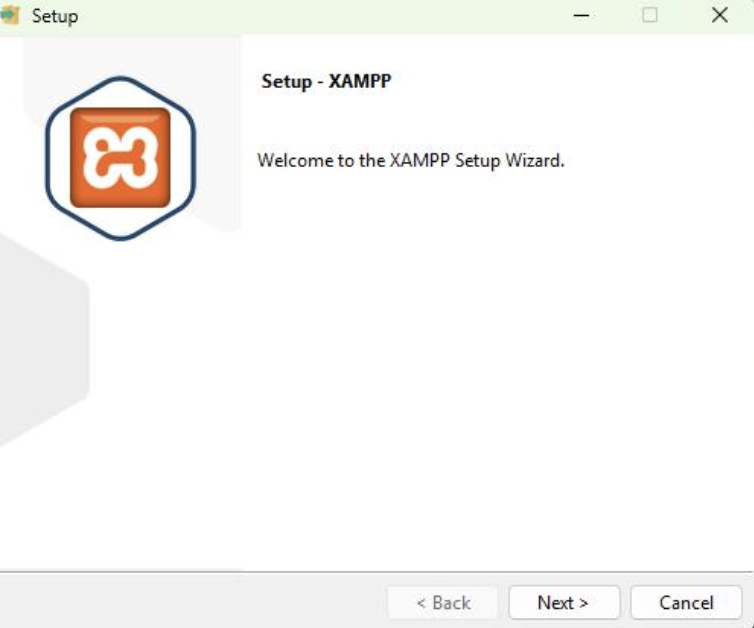
Click “Next”.
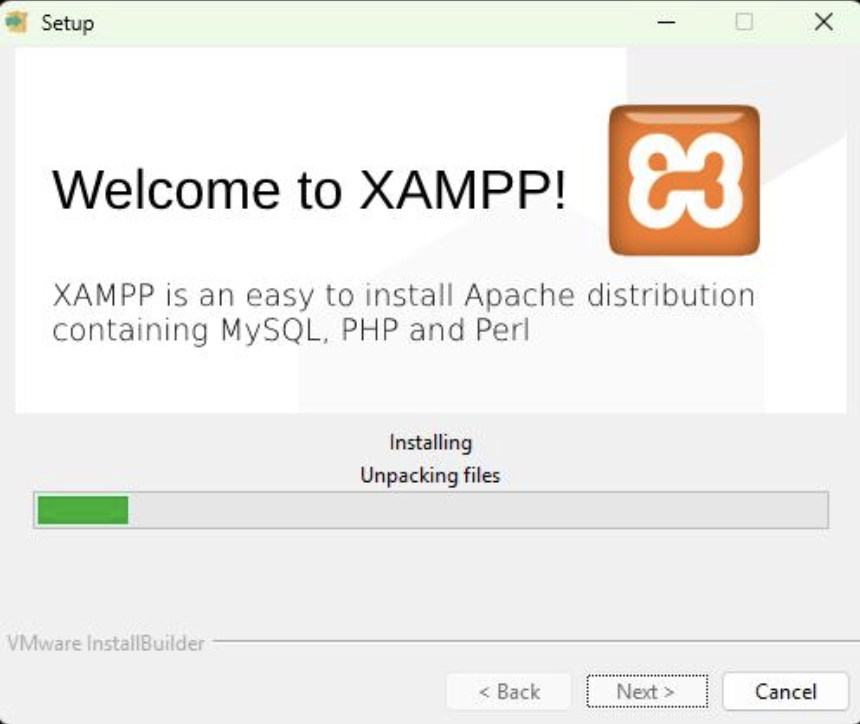
Step 4: Installation
Select installation folder and language. Then, select a folder for installation. The default should work in most cases. It’s best to avoid “Program Files” or you may run into permissions issues.
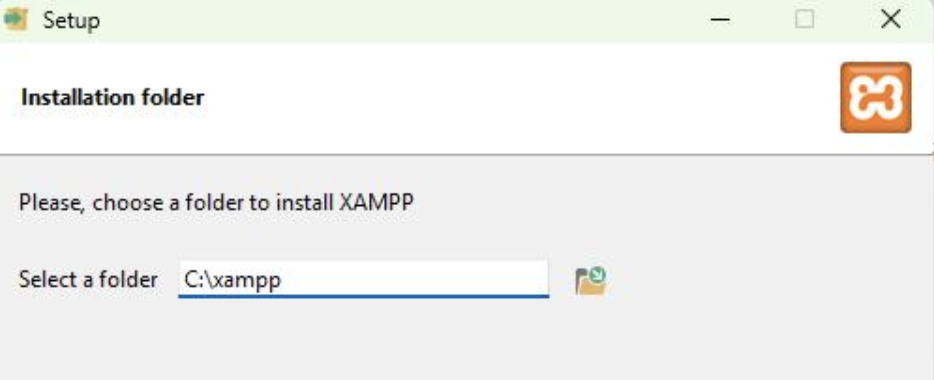
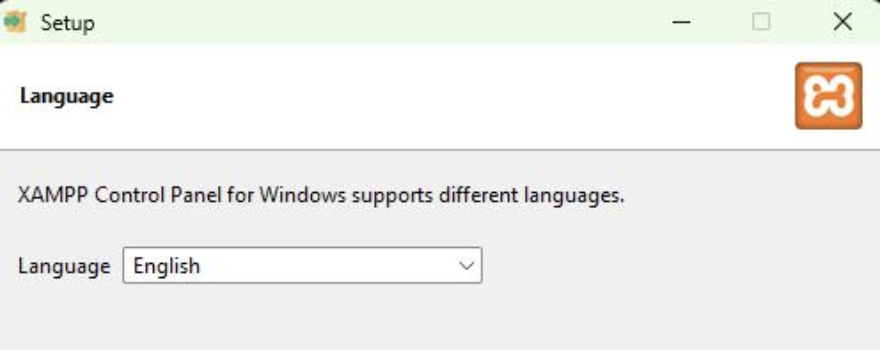
After that, you will select Language.
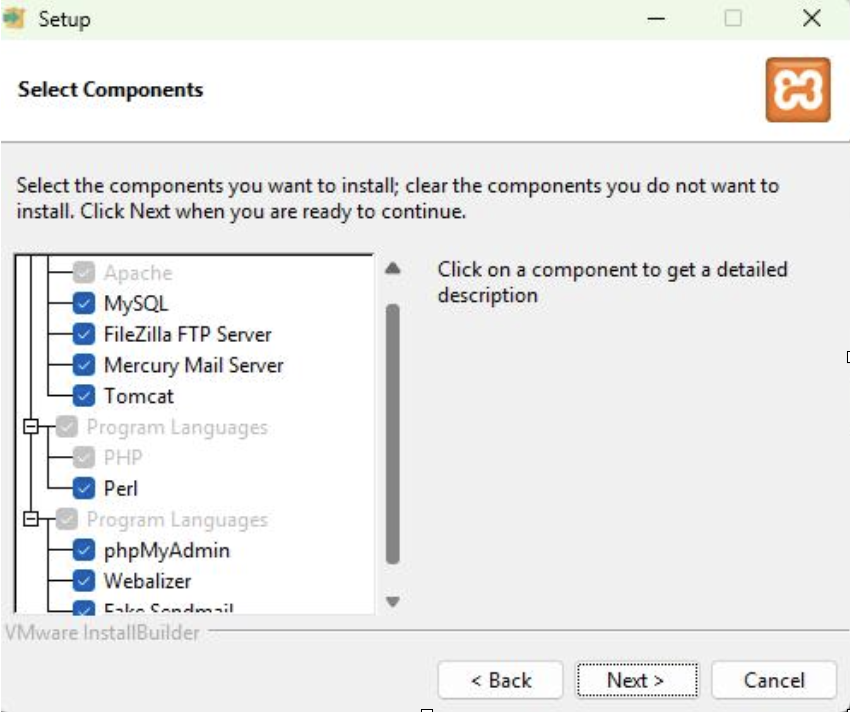
Select the optional components you want. XAMPP includes several components. For most users testing PHP locally, only the following are required:
- Apache – the web server that processes requests from your browser
- MySQL / MariaDB – the database server used by many PHP applications
- phpMyAdmin – a web interface used to manage databases
Other components can remain unchecked unless you specifically need them.
Click “Next”.
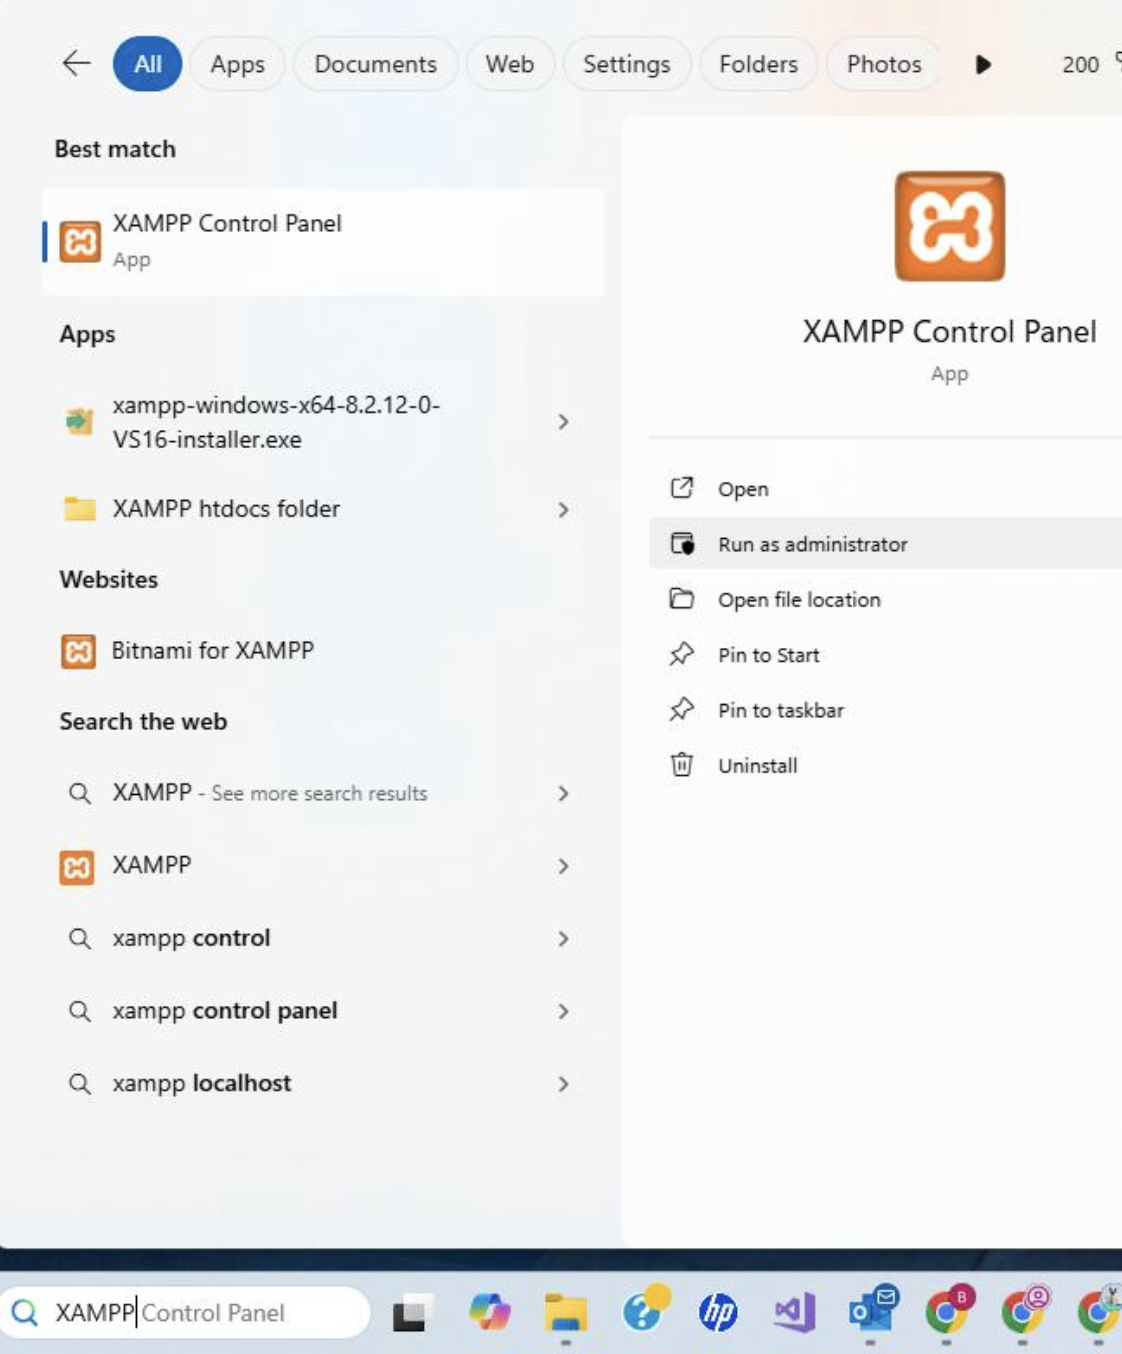
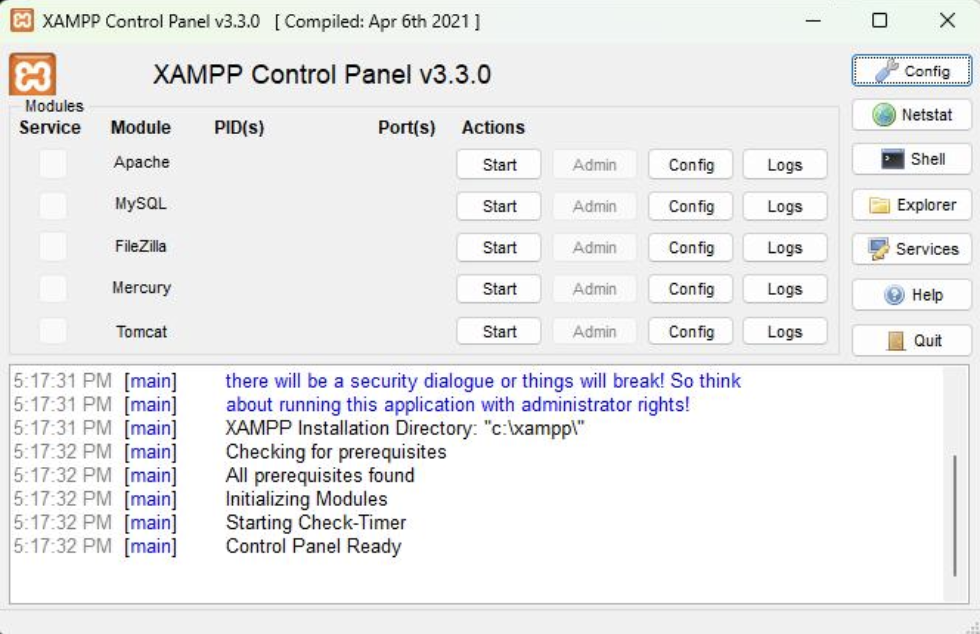
Step 5: Run the XAMPP control panel
When installation has completed, run the XAMPP control panel. It’s best to run it as an administrator to avoid permissions issues.
On macOS, open the XAMPP Manager application from your Applications folder to manage and start services.
Find XAMPP in the Windows search box on the taskbar. Select “Run as administrator”.
Step 6: Start the Services
Click the “Start” button for Apache.
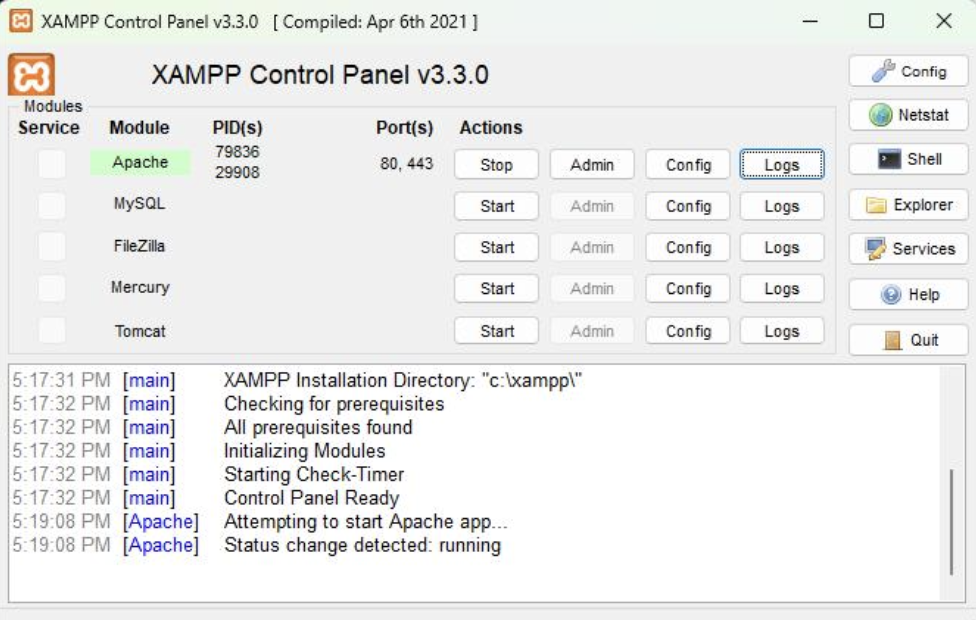
You should see “[Apache] Status changed detected: running”. If you see errors, make sure you’re running the control panel as administrator.
Click the “Start” button for MySql.
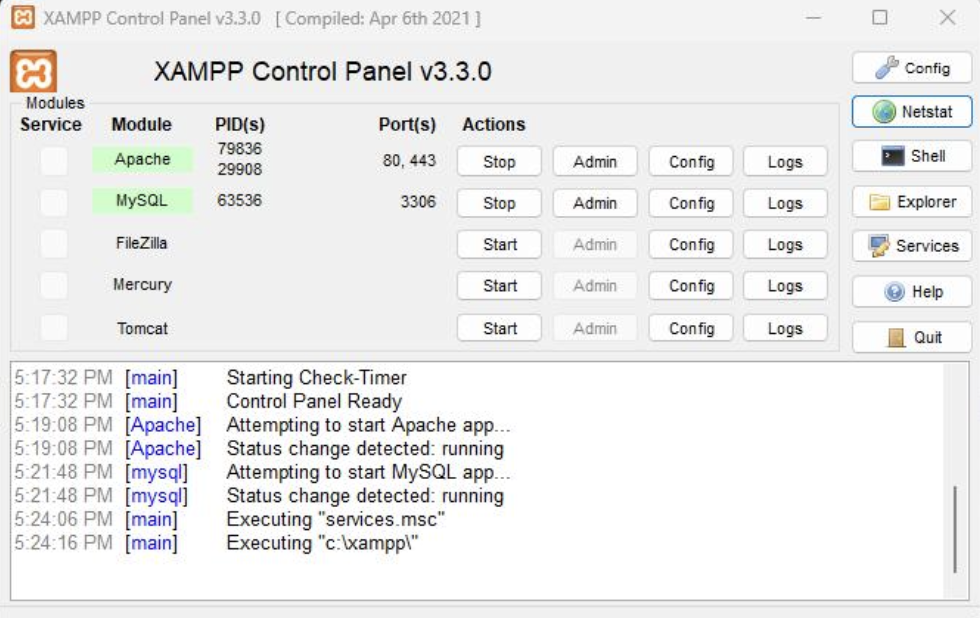
You should see “[mysql] Status change detected: running”.
If Apache fails to start, another application may already be using port 80 or 443 (for example Skype, IIS, or another web server). In this case, you may need to stop the conflicting application or change Apache's port settings.
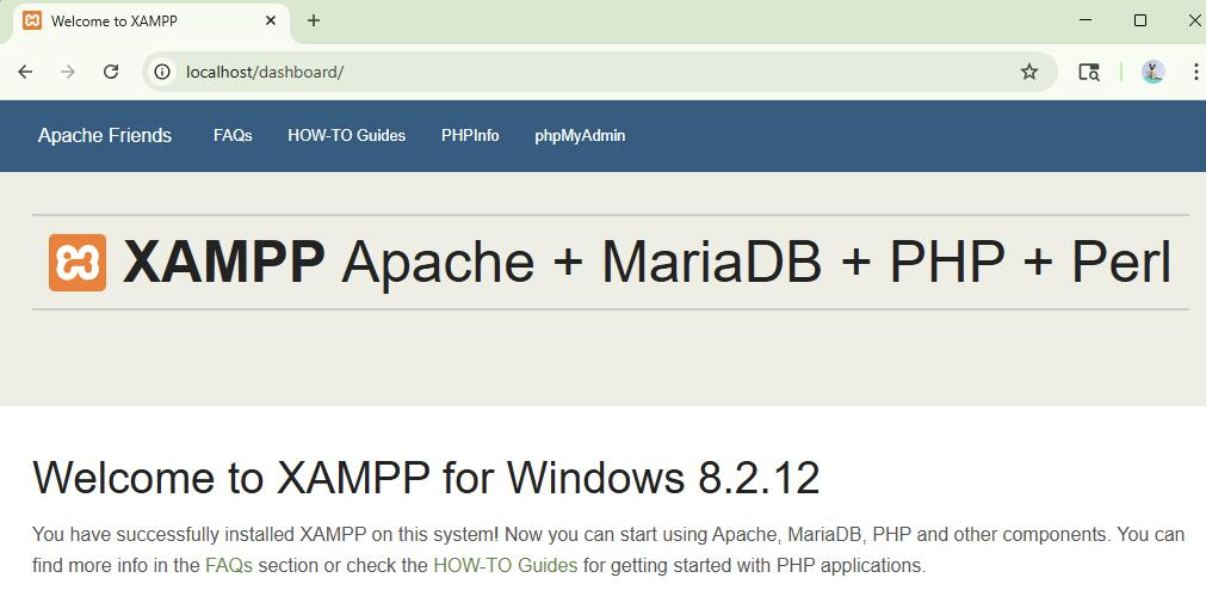
Step 7: Test the local XAMPP installation
Enter http://localhost/dashboard/ in your browser. You should see:
Click on PHPInfo in the menu bar. You should see something similar to:
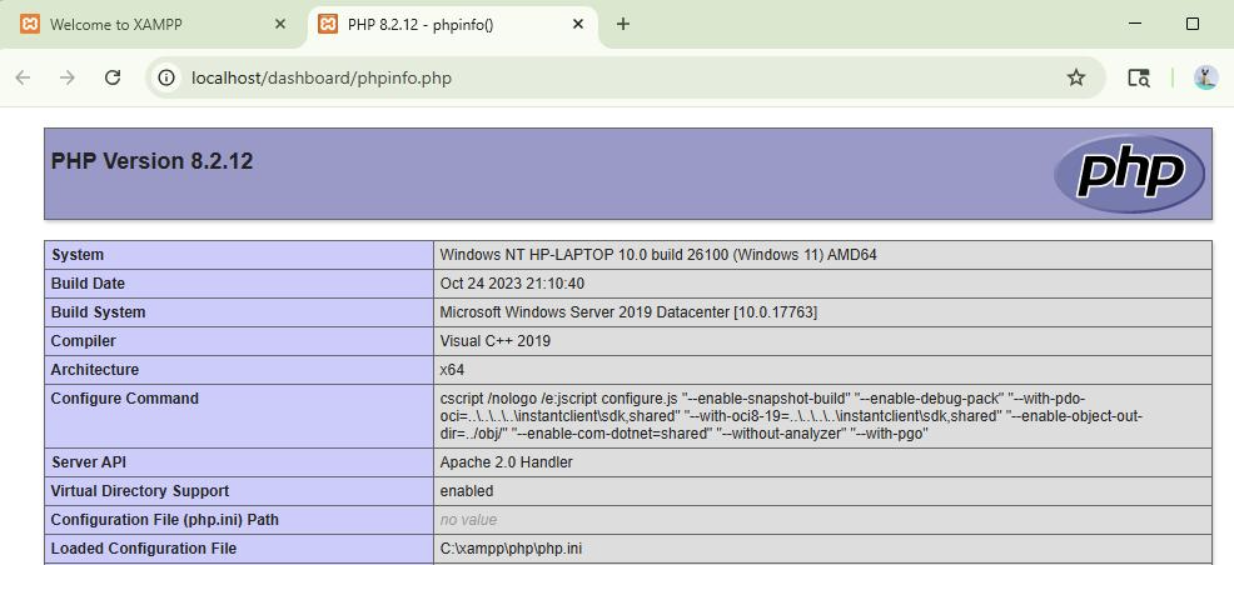
The dashboard confirms that Apache is running correctly and that your local web server is working. From this interface you can access tools such as PHP configuration information and database management.
Step 8: Test a custom PHP file.
If you used the default installation location, your website files should be placed in the htdocs directory inside your XAMPP installation folder.
Example locations:
Windows:
C:\xampp\htdocs
macOS:
/Applications/XAMPP/xamppfiles/htdocs
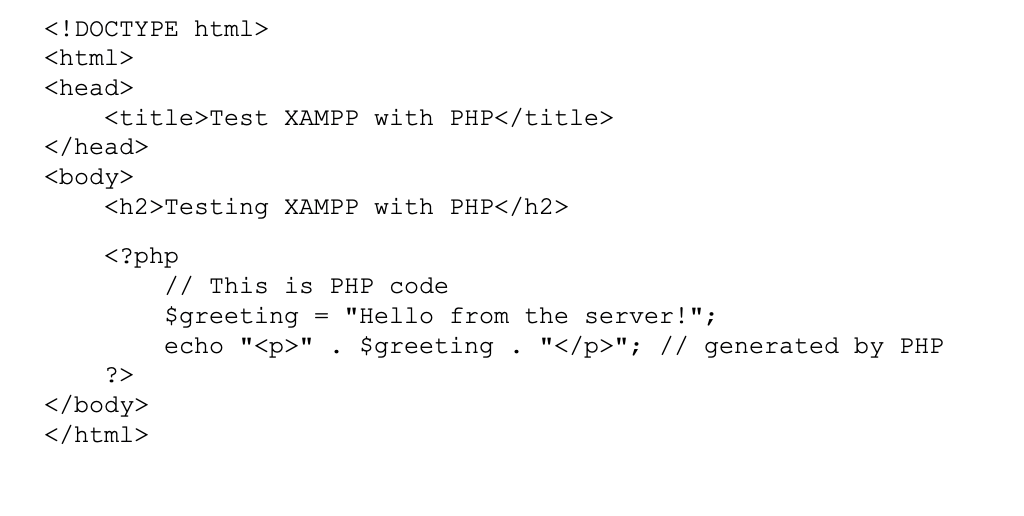
Create a php file in your xampp php directory. In this example, we created c:\xampp\htdocs\phptest.php with contents:
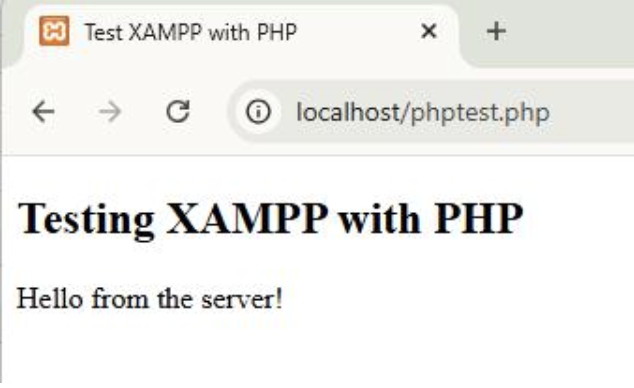
Test your new php file. Enter http://localhost/phptest.php in your browser. You should see:
You’re ready to go!
Your local PHP environment is now ready to use. Any PHP files placed inside the htdocs directory can be accessed through your browser using http://localhost/filename.php.
This setup allows you to develop and test PHP features locally before publishing your site to a live server.