

Web Editor by itself is intended to be a lean, mean coding machine, able to get the job done efficiently without being loaded down with a million features that you may or may not need to use. However, it has a plugin system that allows external modules to be added to increase the editor’s functionality. This opens Web Editor up to possibilities limited only by those that create the plugins.
To view the available plugins, choose Plugins from the OS X menu bar:
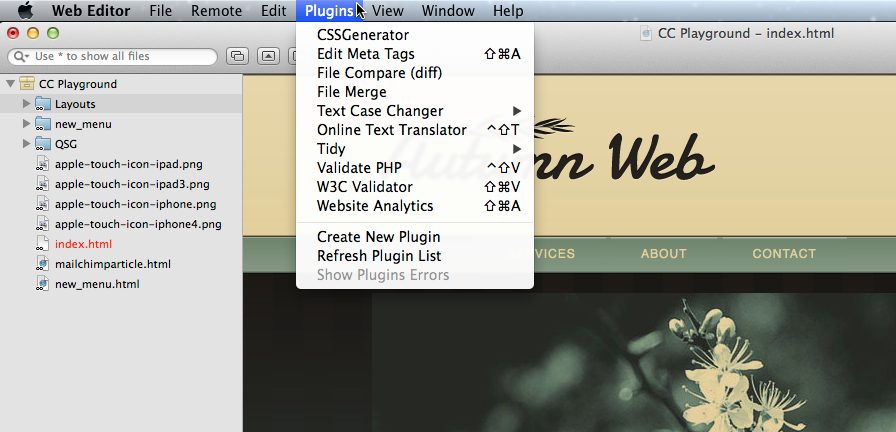
The upper section of this menu shows the plugins that are currently installed. Each one is a standalone module that integrates with Web Editor to perform a specific function such as:
CSS Generator: This allows you to insert code to create a column container!
Edit Meta Tags: This handy plugin adds keywords and description meta tags to your HTML page.
File Compair: This one pretty much speaks for itself.
Text Case Changer: Got alot of text that needs to be changed to upper or lower case? Then this is the plugin for you act now and we will thrown in:
Online Text Translator: Translate your text right from the Web Editor!
Tidy: Keep your code clean and in order with this code cleaner plugin.
Validate PHP: Did you miss a . or a , or maybe a }? Use this PHP Validation tool to set it right!
W3C Validator: Make sure that clean code of yours is also correct by checking with the "Head Bosses" over at W3C.
Website Analytics: Track your visitors by pasting in your web analytics from Google and other search engines!
The lower section contains three more plugin-related options:
- Create New Plugin: Opens a new project using the “Web Editor Plugin” theme. More info below.
- Refresh Plugin List: Updates the upper section of the Plugins menu if new plugins have been added.
- Show Plugin Errors: View details about plugin errors. If none exist, this option is disabled.
Creating a New Plugin
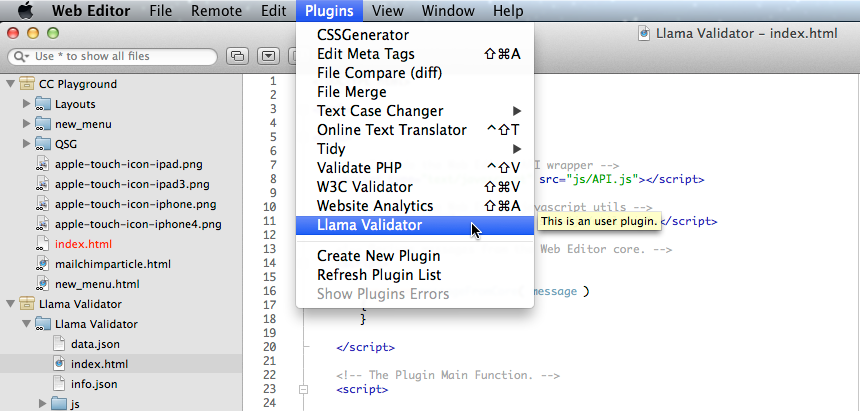
You can create a new plugin right from within Web Editor. Just go to Plugins > Create New Plugin, give it a name, and click Save. This creates a new project using the “Web Editor Plugin” theme an applies your name to it.

Note that the file in the right editor, info.json, features a field called menu_name. This is the name that your plugin will use when you refresh the plugin list, so make it descriptive!
Plugins are coded in JavaScript, which is a highly flexible programming language that’s not too difficult to grasp. In other words, it doesn’t require years of training to be able to code your own plugin; just a crash course in JavaScript, and a good bit of practice.
To choose your new plugin from the Plugins list, first save the project. Then click Plugins > Refresh Plugin List so that it will display alongside other plugins. Now you can choose your plugin at any time.
These plugins are immediately saved into your user folder, found here:
/Users/[username]/Library/Application Support/CoffeeCup Software/Web Editor/Plugins/
Therefore, if you create a new plugin this way, any time you create a new plugin this way, it will appear in the plugin list when you refresh the list, even if you didn’t actually end up making anything. If you’d like this new plugin to not appear in the list, you’ll need to delete it from the folder above.
Note: On OS X Lion, the “Library” folder is hidden. Instructions on how to show this folder are found in the Creating and Editing Themes folder.
If you’d like to work on a plugin for while without it appearing in the plugin list, you can create a project using the plugin theme. Just go to File > New Project > From Theme and choose the Web Editor Plugin theme from the drop-down. When you’re ready to use your plugin, save it, move it to the folder shown above, and click Plugins > Refresh Plugin List.