Quick Guide: Install and Run PHP Locally on Windows
Did you know you can test PHP files directly on your local Windows computer without deploying them to a remote server. PHP includes a built-in web server that makes it easy to run and test PHP scripts locally. With Site Designer you can use the Live Preview feature to take advantage of this!
These instructions are for users who want to test with PHP but don’t need a MySql database. If you’re looking for a more complete setup including MySql or you’re a MacOS user, you may want to consider installing XAMPP.
Setup your Local PC for PHP Testing.
To test PHP files, you’ll need a web server running on your PC. Fortunately, PHP includes a built-in web server for testing.
There are many ways to install PHP on Windows. In this article, we’ll show you how to install PHP using the Windows winget utility.
Step 1: Check Available PHP Versions
First, determine which PHP versions are available through winget.
Open Command Prompt. Run the following command: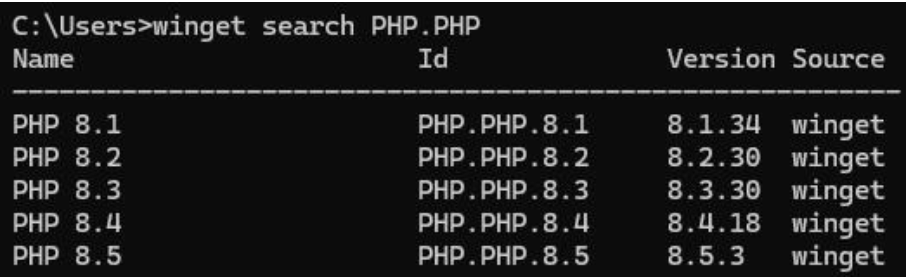
This command lists available PHP versions you can install.
Step 2: Install PHP
To install PHP, run winget install and specify the PHP version you want. For example, to install PHP version 8.5, run
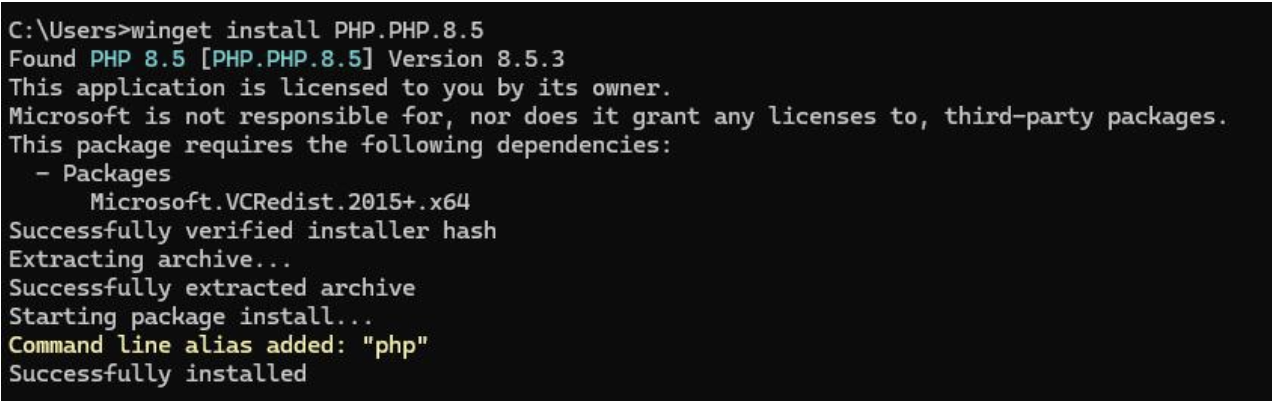
If the installation completes successfully:
- PHP will be installed on your system.
- Your system PATH variable will automatically include PHP, allowing you to run PHP from the command line.
Step 3: Verify the PHP Installation
Next, you’ll need to verify that php was installed.
- Close the Command Prompt window.
- Open a new Command Prompt (this reloads the updated PATH).
- Run the PHP with the verbose flag.

You should see output showing the installed PHP version and build information.
Step 4: Start the Built-In PHP Web Server
Now you can start PHP’s built in web server using the “-S” option.
First, create a directory to use for PHP testing. In this example, we’ll create c:\localtest.

You’ll need to specify this directory and a port when starting the web server. You can cd to the directory where the PHP files reside or use the -t option. In the following example, the port is 8000 and the directory for PHP files is the directory we just created, c:\localtest.
Start the PHP web server.

Once browser requests start coming in, you’ll see them in the same window:

Step 5: Test Your PHP Server
Now test that the server is working correctly.
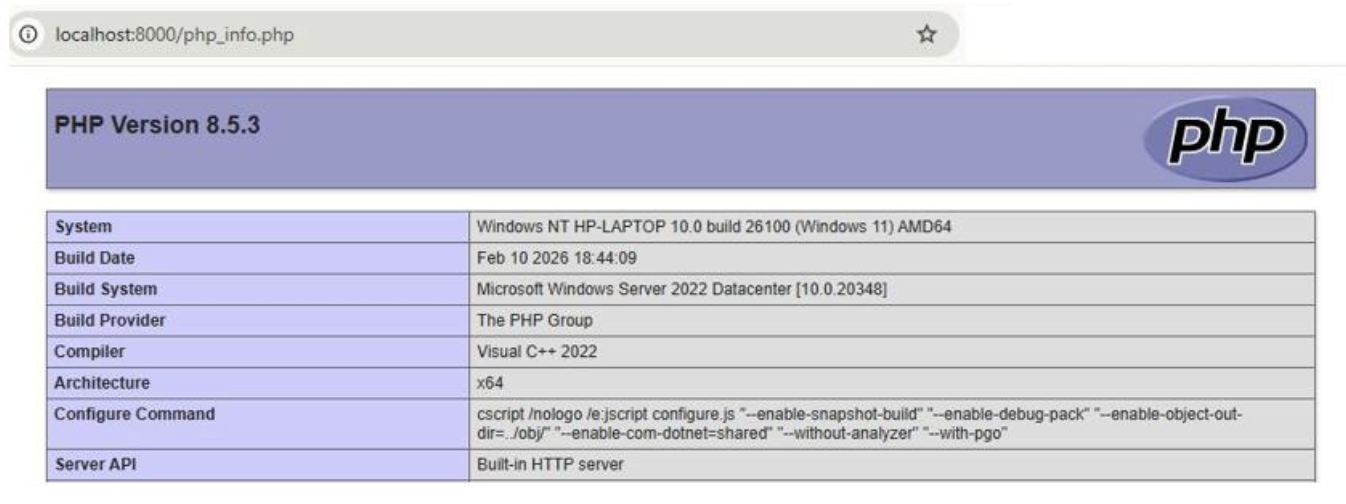
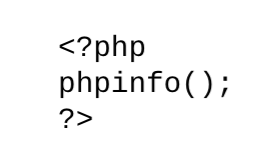
First, create a php file in your php test directory. In this example, we created c:\localtest\php_info.php with contents:
Next open a browser and enter http://localhost:8000/php_info.php
You should see a response similar to this: