

Set up a custom email address for your domain using Zoho.
In order to distinguish your brand and enhance its credibility, it is crucial that all formal communications stem from individualized email addresses linked to your business domain, such as user@yourdomain.com. If you already own your domain name, you can easily set up personalized email addresses using Zoho Mail.
In this tutorial we will show you exactly how to set up your custom email address for a CoffeeCup S-Drive domain.

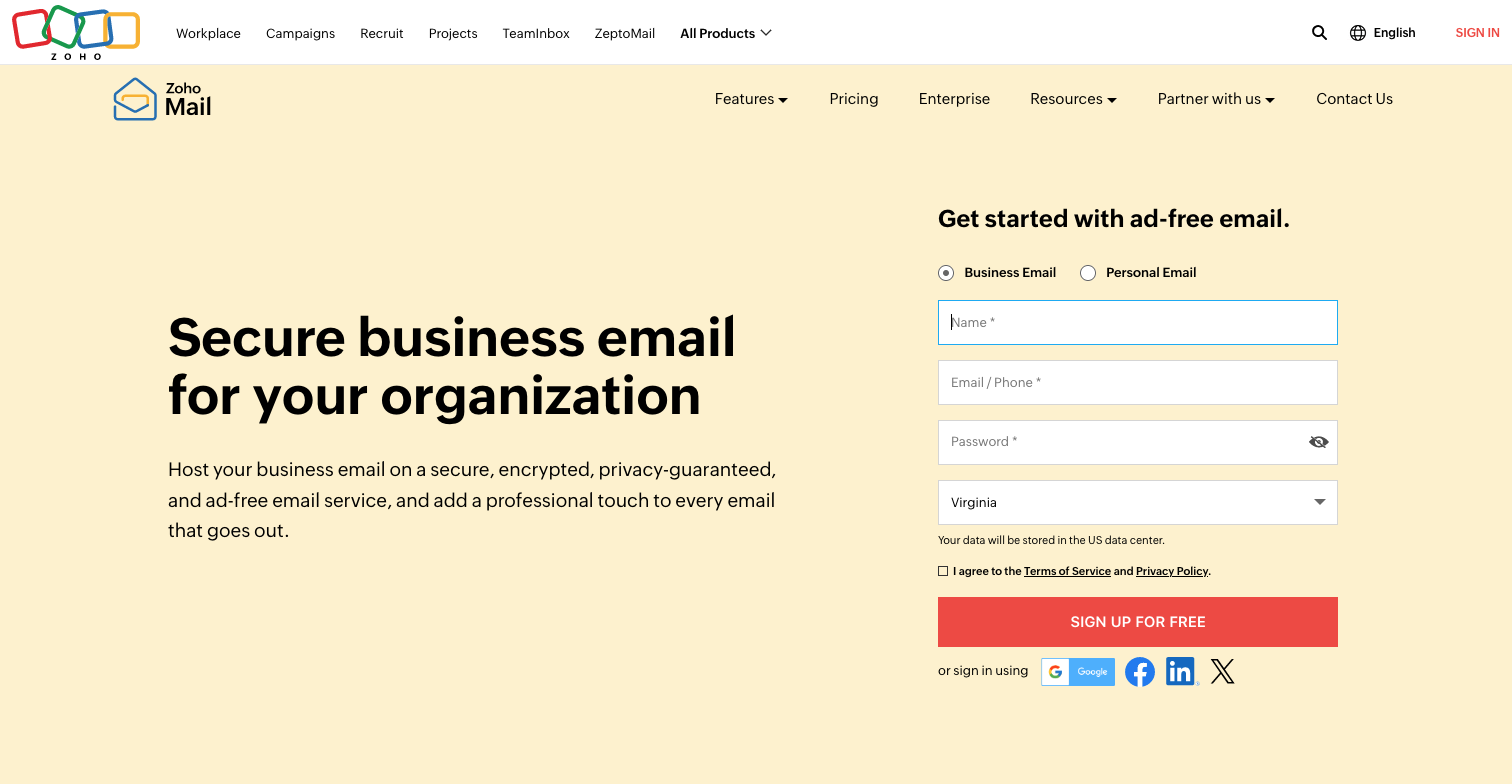
Step 1: Account Set Up
Easy peasy to set up! Just enter your details to create your Zoho Mailer account.
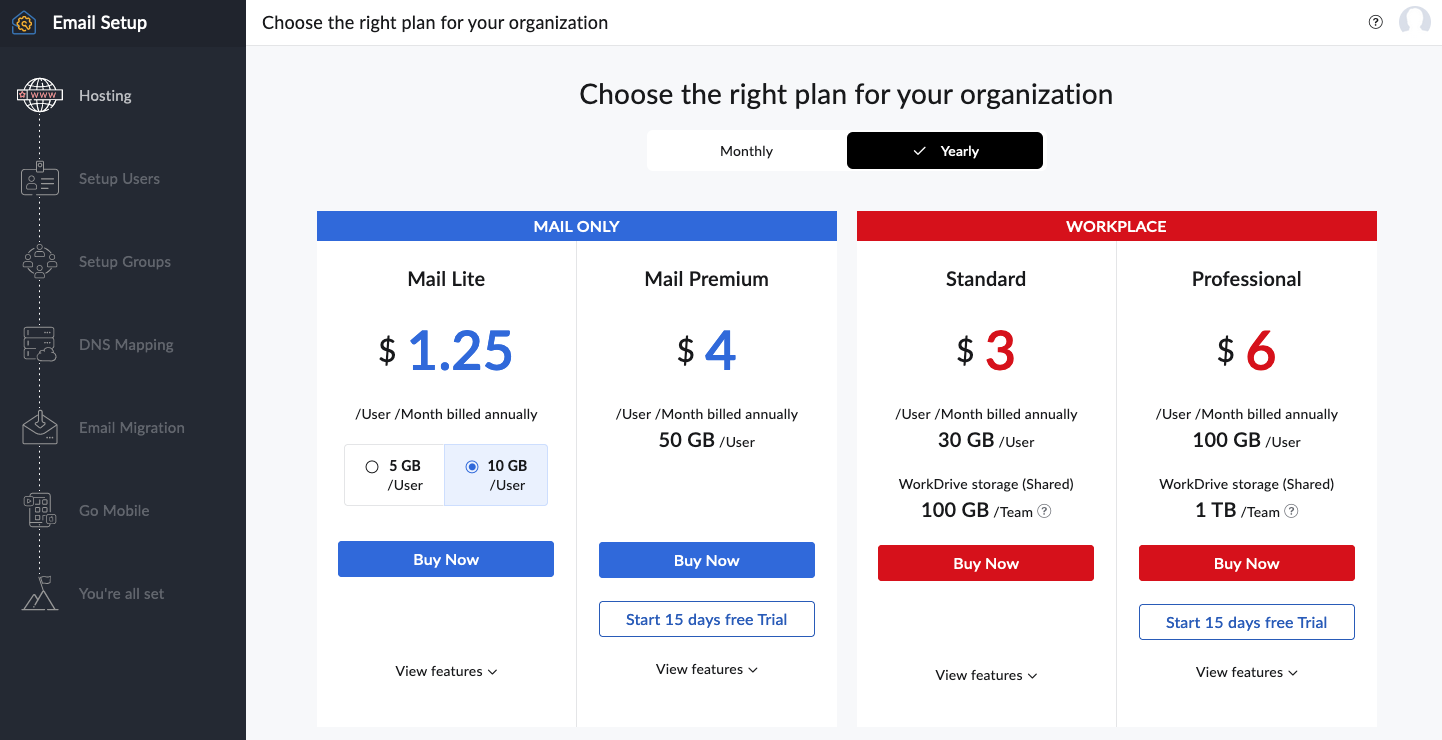
Step 2: The Perfect Plan
Zoho provides a range of service plans tailored to suit your requirements. The free plan is ideal for individuals or small businesses.
Step 3: Connect Your Domain
You have the option to create a personalized email address using your existing domain name. Simply select the Add Existing Domain option.

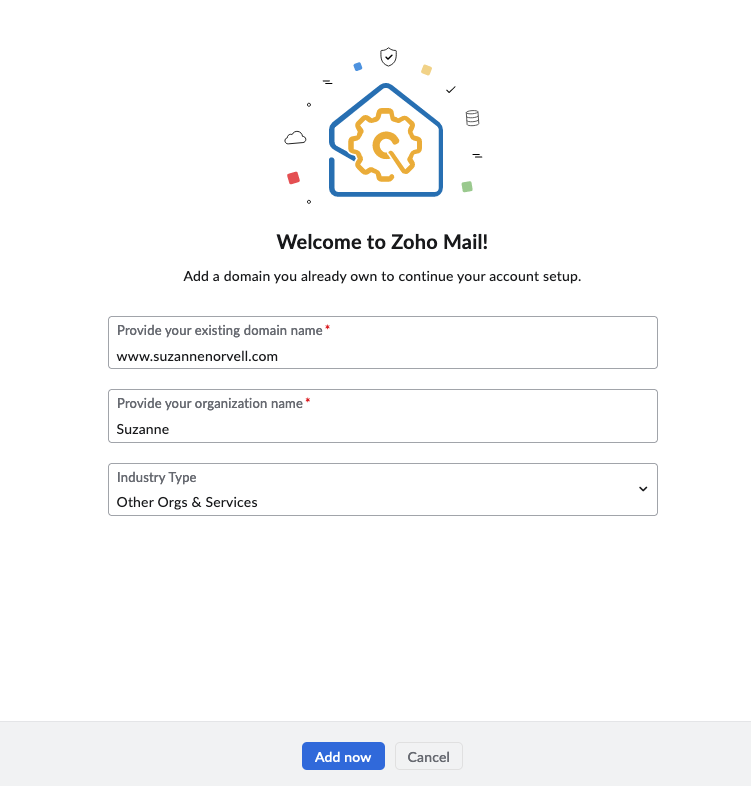
Step 4: Your Deets
Enter your domain information and click Add Now.
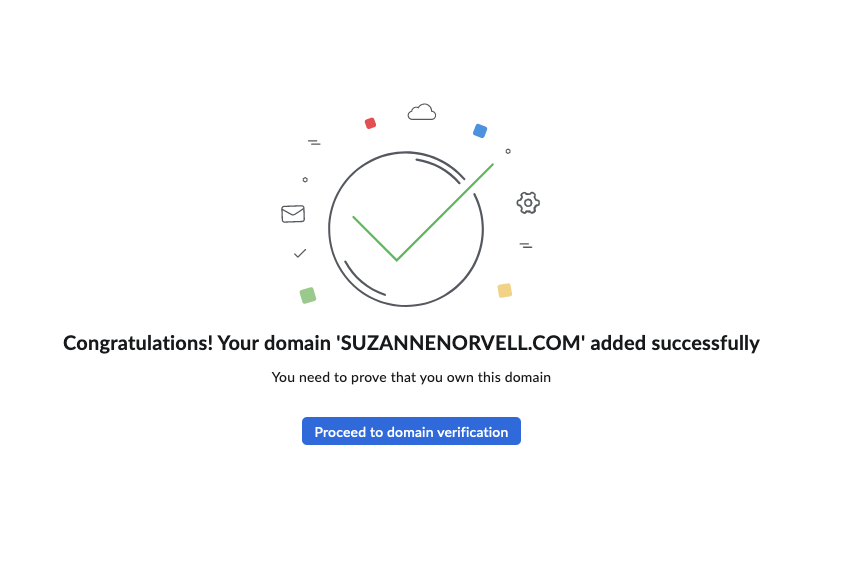
Step 5: No Catfishing
While it would be nice to take your word for it, but you do need to prove you own the domain name. To verify ownership of the domain, you must click on Proceed to domain verification.
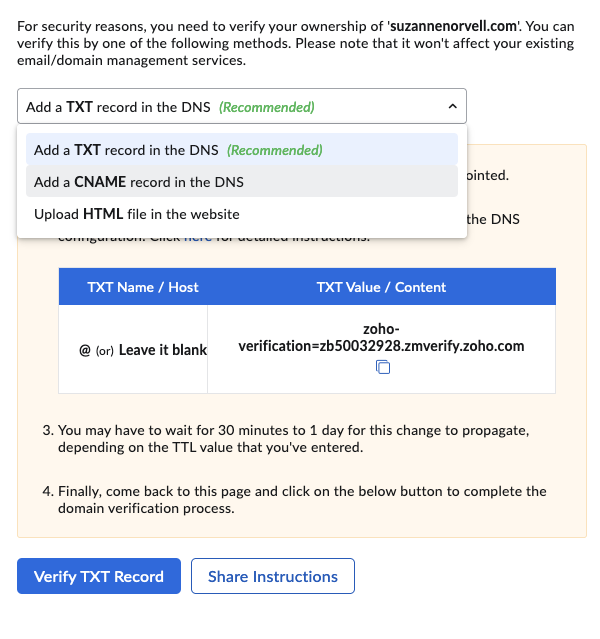
Step 6: Domain Verification
You can verify your ownership of the domain in three ways: by adding a TXT file, adding a CNAME record, or uploading an HTML file to your website. For CoffeeCup S-Drive domains, the quickest method is to upload an HTML file to your website. Simply select this option from the dropdown menu at the top.
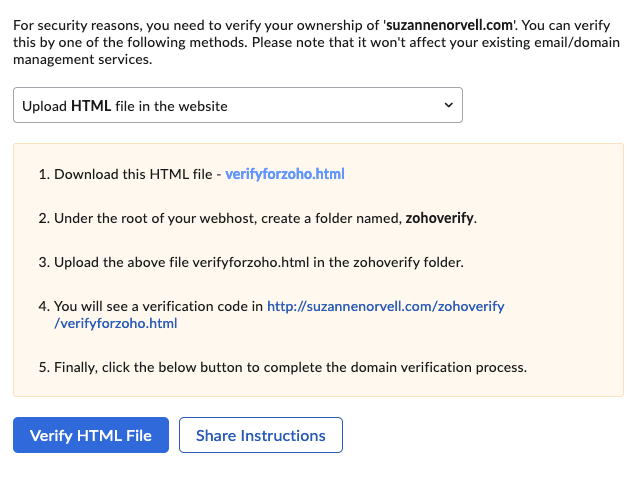
Step 7: Download HTML File
In this method, Zoho will provide you with an HTML file to download. Click on the verifyforzoho.html link to download it to your computer. This file you will upload to your S-Drive account.
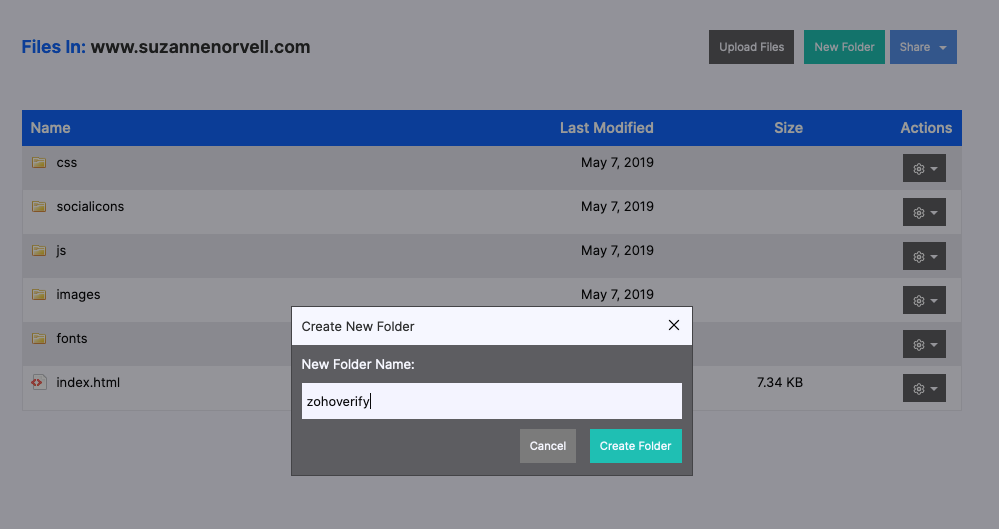
Step 8: Upload HTML File to S-Drive
Next, in a new browser window, go to your CoffeeCup S-Drive account. Select the sites tab for your domain. At the top of the page, click on New Folder. Create a folder name zohoverify.
Once created, you will see that new folder in your list of files under your website. Click on the zohoverify folder to open it.
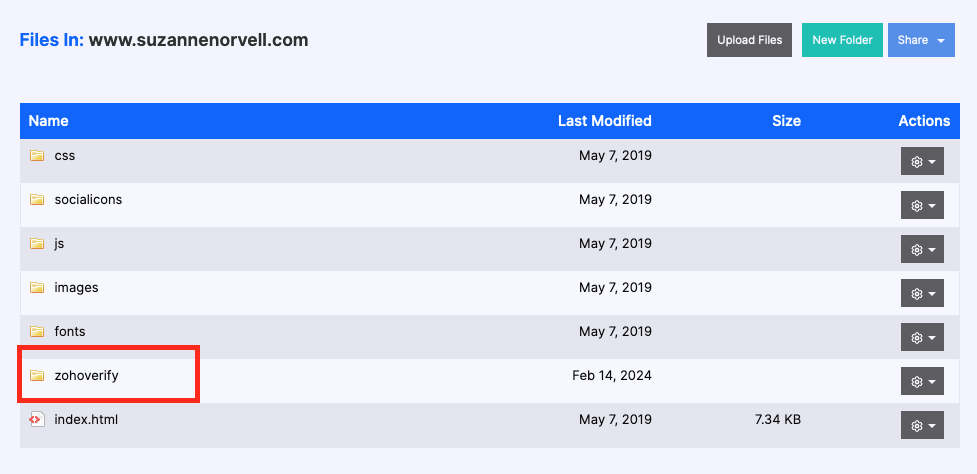
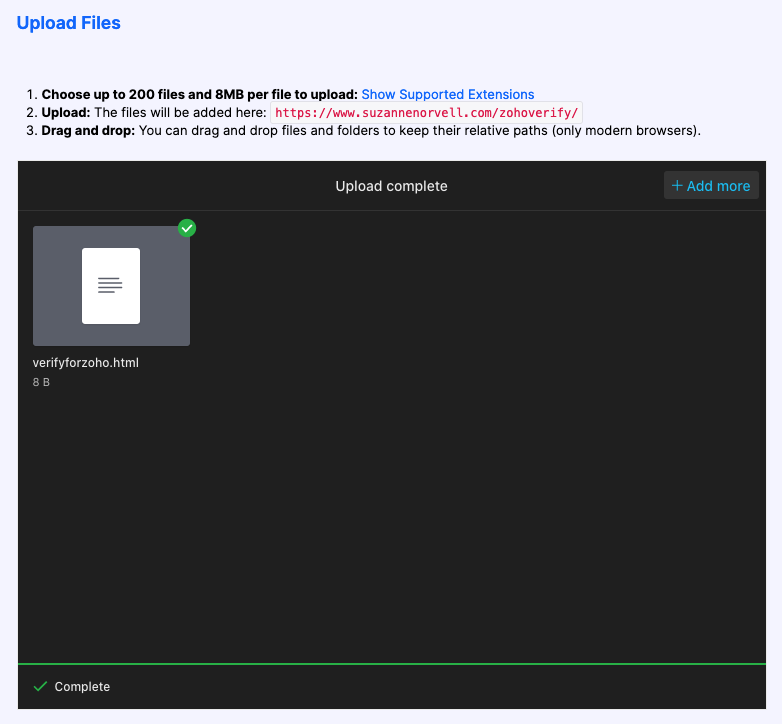
At the top of the page, click on Upload Files.
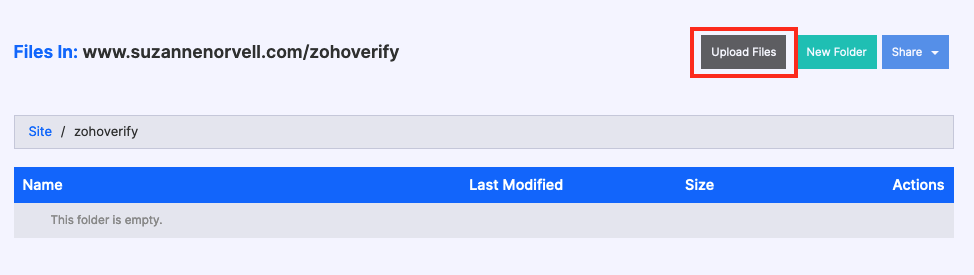
You will then select the verifyforzoho.html you downloaded from the Zoho website to upload it to your website.
Step 9: Verify HTML File
Finally, go back to the Zoho domain verification window and click the Verify HTML File button to complete the domain verification process.
Failure Tip
If your domain fails to validate, the link address may be a tad wrong. Be sure to turn off the ‘www’ option in your domain settings so that Zoho will validation the web link. To un-check this setting use the link below to dive into your S-Drive domain settings.

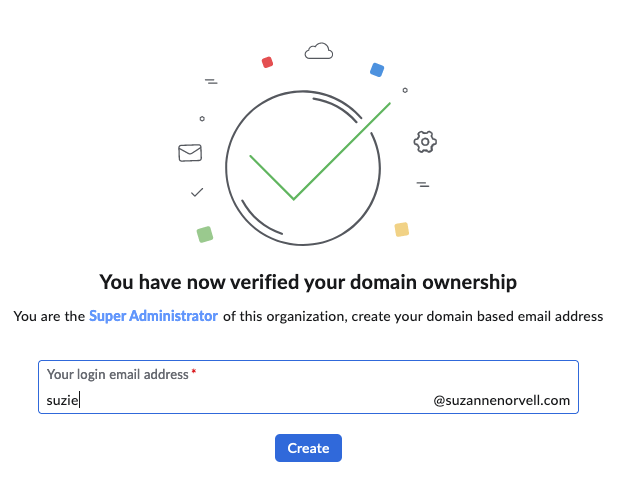
Step 10: Success!
After completing the verification process, the final step is to select your email address name. This will give you a sophisticated email address that aligns with your domain name, enhancing your professional and credible image.
DNS Records Update
If you plan on using CoffeeCup Email Designer or the popular MailChimp service, a few DNS records also need to be applied to your domain. This is due to new anti-spoofing policies that have been implemented to help avoid pesky scammers. Just drop our support team a message and we can help update your DNS records for your CoffeeCup domain so that all these services play nice with each other.