

Creating albums in CoffeeCup Photo Gallery is fun, but you've got to put them on the web for them to be useful! That's why we've equipped this snazzy app to upload your entire gallery for you. Just click the Upload toolbar button.
But wait, you've got two great options! You can upload to S-Drive or to your own server. But what's the difference, and how do you do it?
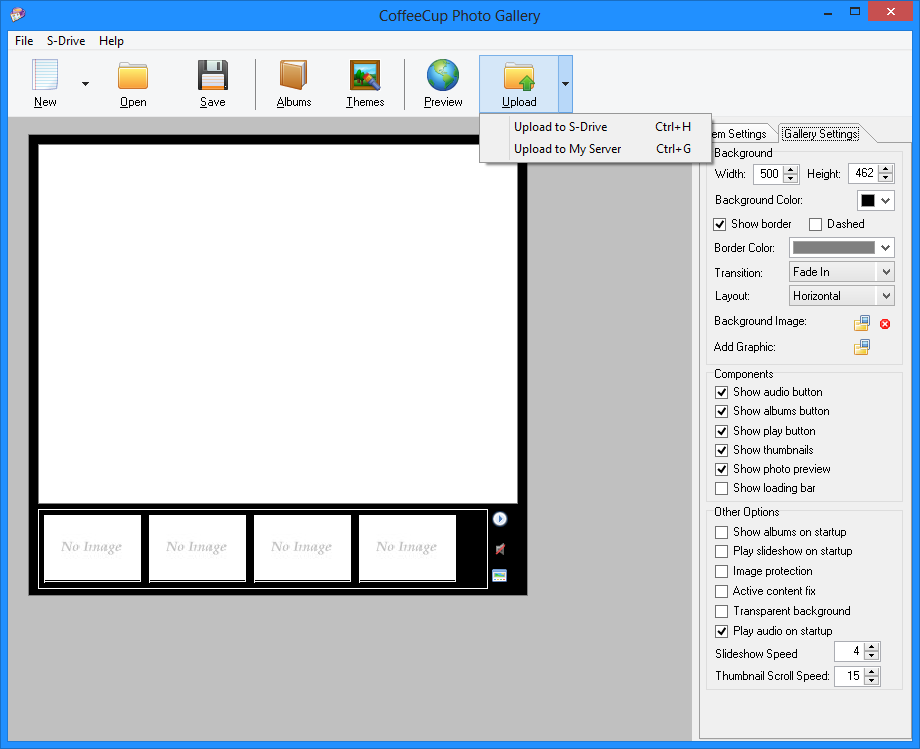
Upload to S-Drive
S-Drive is CoffeeCup's web content hosting system. It works like a traditional web server, but it's faster, easier, and has tons of features that other web hosting providers don't deliver. Photo Gallery is just one of many CoffeeCup apps that upload to S-Drive.
Setting up S-Drive uploading is simple! You just need to enter your CoffeeCup account information. If you don't have an account, you can set one a paid plan here.
When you upload to S-Drive, your content is converted into a fully modern and slick HTML5 gallery. The theme you've chosen won't be applied, but you can make all kinds of customizations in the S-Drive Dashboard's Albums section. (The Dashboard is your control panel where you can access and adjust all the content you publish to your website.)
If you need to configure your S-Drive account in Photo Gallery, go to S-Drive > Settings, enter the email address and password you use when signing into the CoffeeCup website, and click Go! Choose a publishing destination from the list of S-Drive addresses that appear, and click OK. You're all set up!
Now click the Upload toolbar button and choose Upload to S-Drive (or press Ctrl+H). Your gallery will be uploaded, and you'll be given a link to where your album can be seen on the web. If you want to add your gallery to another webpage, click Copy Code to get the gallery widget code and paste it into the HTML of the webpage you would like for it to be added to.
Important Note about Styling an Album through the Dashboard
Please remember that if you make changes to or add content to a gallery hosted by S-Drive Albums, those changes will not be visible in Photo Gallery. This is because these changes were made after the gallery was exported and uploaded. This includes but is not limited to changes made to album names and descriptions, photo descriptions, photo captions, and links.
Upload to My Server
You can upload to your own server. Click the Upload toolbar button and choose Upload to My Server (or press Ctrl+G). This opens the My Servers window where you can select, add, edit, and delete server profiles.
If you haven't already set up an FTP account, you'll need to do that now. Click the +Add button to create a new profile, and then fill in each space with the information needed to connect to your web server.
Select a server profile to upload your gallery to and click Connect. You'll be shown a file/folder listing on that web server. Just select the location where your gallery should be uploaded and click Upload Files Here. Your gallery will be uploaded, and you'll now be able to see your gallery on the web where you just put it. Hooray!