Manully linking graphics into Email Designer
Normally, Email Designer would automatically upload local files to your S-Drive Storage account. We are currently expericing an outage with S-Drive Storage. This tutorial will show you how to manully link in your graphic files into your designs so that you may complete your newsletters and sales notices.
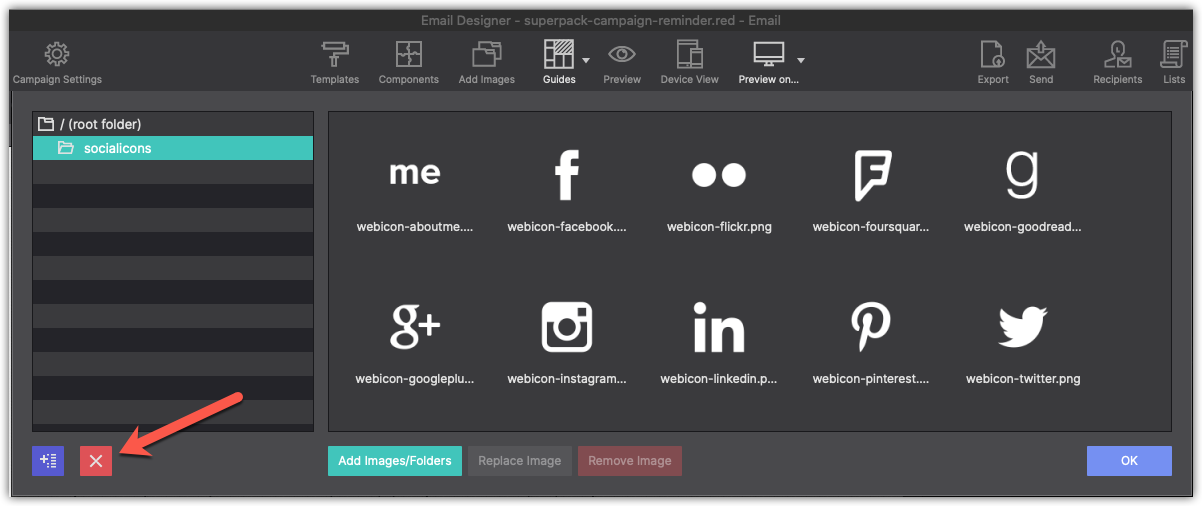
- First, you will need to delete the locally added graphics. Click on Add Image in the app's toolbar and delete all files including the social icons.
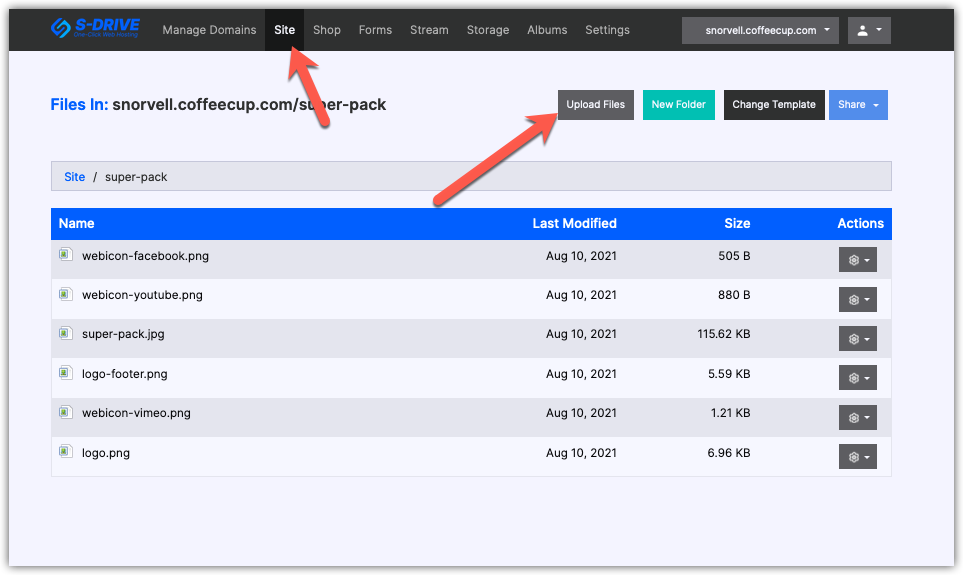
- Next, log into your CoffeeCup S-Drive account and go to the Sites folder. Click on Upload Files in the top right corner. Tip: You may also create folders to keep graphics organized.
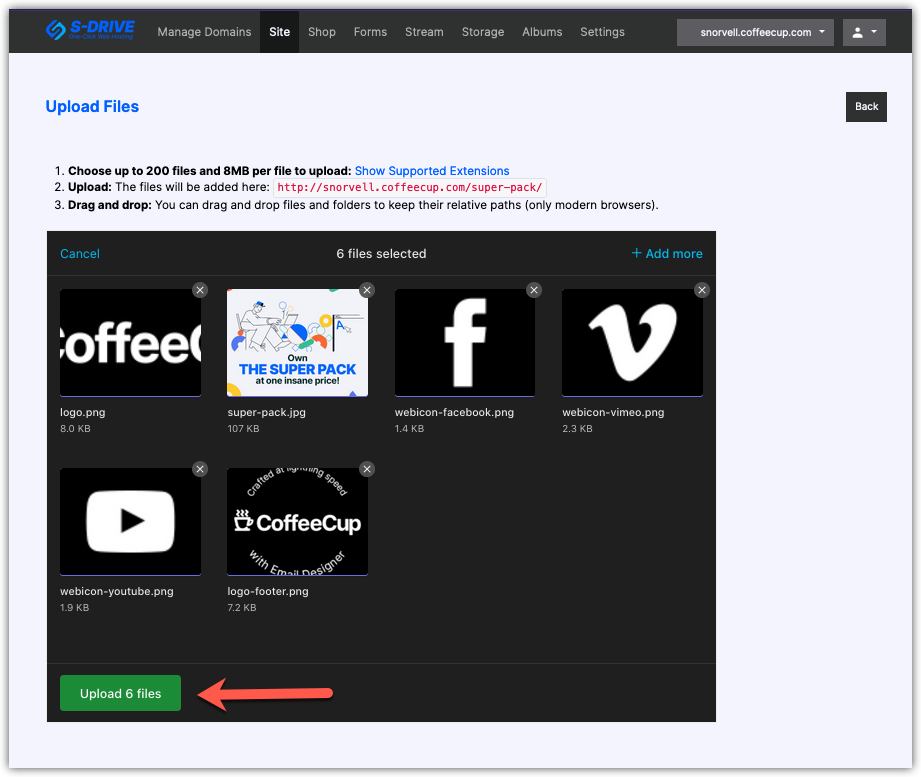
- Drag and drop you your project image files to upload them to your account.
- Click on the gear icon next to the file and select Copy Link. This will copy the link for your image location to your clipboard.
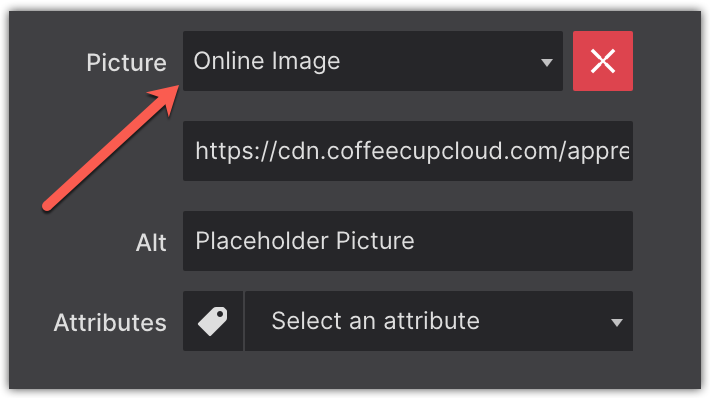
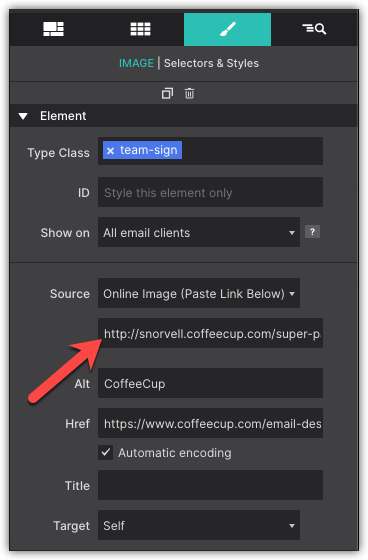
- Go to Email Designer and select the Image Element on your canvas. Then go to the Design pane > Source > and use the drop down to choose Online Image.
- Paste the URL for your uploaded graphic in the box below.
- Repeat these steps for all your project graphics. Then your project will export and generate the correct code for your design.