

It’s true guys, size does matter...when it comes to image file size that is.
It is good practice to design for performance and use images that are lightweight. This is especially true when your site uses many images as you want the load time to be as speedy as possible.
Keep your Site Designer project lean and mean by optimizing large images and minimizing large resource files. It is good practice to keep files under 1 MB when importing into the Site Designer Resources. Site Designer will give you a reminder about this if you import a file larger than 1MB. Of course, you may skip this rule for exceptional cases, but we suggest adjusting the weight or using an alternative import method to achieve better performance later. We’ll discuss this more below.
Locating large files in your resources.
Using Site Designer’s Resource Dialog Sort by control along with the Handy Info section, you can quickly identify which files in your project are the biggest. Then you can determine if action can be taken to slim them down.
To do this, click on the Resources toolbar icon. When the dialog box opens, use the Sort By drop down menu and choose Size (Biggest). All your files will be arranged from largest to smallest.
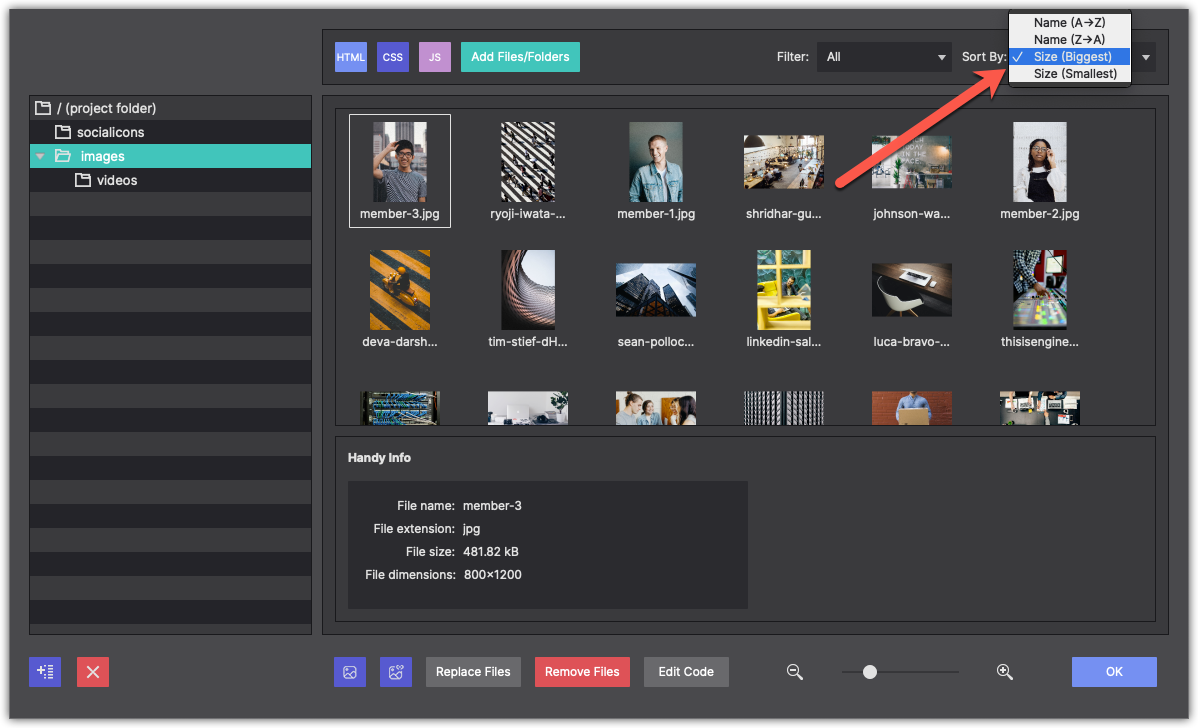
Click on any file, and at the bottom in the Handy Info box you may view important information including File Name, Extension Type, Dimensions, and Size.

If you see any file that has a large file size of 1MB or higher, you’ll want to consider optimizing the file or using alternative methods for using it within your website project.
Optimizing your images
Several factors can be considered to determine the optimal settings for your images. The most important are the file format (GIF, PNG, JPEG), image quality, and pixel dimensions.
Resizing the image to the appropriate dimensions will cut down the file size a lot. This along with choosing the best-suited file format for your needs. For example, JPEGs, which are the most common file format for pictures, are ideal for creating a good balance between file size and image quality. The PNG format is used when transparency is needed, usually for vector drawings such as logos. While GIFs are the format of choice when making animations.
Do you have images with text encoded on them? Reconsider your choice and see if you can recreate a similar look using the CSS controls with cool typography. This not only eliminates the need to download heavy pics but is more user-friendly making the text selectable, searchable and accessible to screen readers.
There are several options and programs you may use to reduce the size of large images. Photoshop and Pixelmator are two popular options among web designers. Our personal favorite is the website, ShortPixel.com.
Watch a video demonstration of how to optimize a graphic below:
Alternative resource storage methods
Sometimes you just have files that are large. For example video files and animated GIFs can be heavy in size. In these cases you might consider uploading these sources to an external source instead of packing them into the project file.
First, upload the files to your server. You may also upload files to your CoffeeCup S-Drive storage folder. Then copy the location URL.
Next, in Site Designer go to the Element pane > Selected Element Properties > Picture and use the dropdown to select Online Image. You may insert (paste) the URL to the image into the input box that appears below the dropdown.
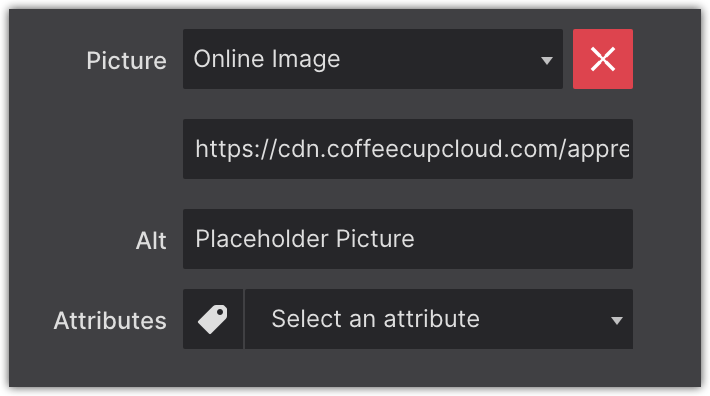
The image will then appear on the canvas. This method loads the image from the online source rather than managing it directly within Site Designer. This can help the app run much faster if you are experiencing any slow downs in your workflow.
If you have a large video file, the process would be the same. However, Site Designer also gives you the alternative method of uploading your file to a Video Platform such as YouTube or Vimeo and import the video that way. Again, this keeps your Site Designer project file lightweight and working at super fast speed.