As we have said before, Responsive Content Slider is one crazy cool app that gives you full design control over each slide, without any restrictions. Now that you have created a totally cool responsive slider, it is ready to be added to Responsive Site Designer. While the process may look complicated at first, it is quite painless and with just a few simple steps, you will have added your slider to RSD in no time at all!
Did you know?
While this article is written for Responsive Site Designer, the same process follows for adding a menu to Foundation Framer or Bootstrap Builder
Adding a Content Slider Responsive Site Designer.
Step 1:
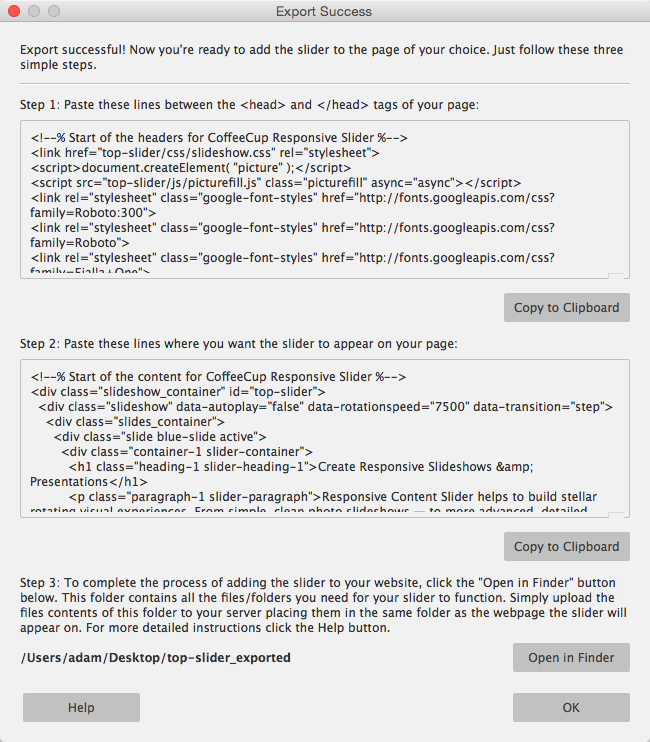
First, make sure that you have already exported your slider before beginning this process. To learn how to export your slides, read over Exporting your Slider. After exporting your project, the following dialog will appear.
Step 2:
Click the 1st Copy to Clipboard button located in Step 1 above and then switch over to Responsive Site Designer and go to the 'Page Manager'. Access the Page Manager by clicking the Pages toolbar icon and selecting 'Manage Project'. Now locate the <head> section for the page and paste in the markup.

Step 3:
Go back to Responsive Slider and click the 2nd Copy to Clipboard button in Step 2 and then switch over to Responsive Site Designer and add an HTML Element to your page where you want the slider to appear. Now go to the Element pane to configure the HTML Element. Locate the <HTML> section and paste in the markup.

Be sure to use a good semantic CLASS or ID name for the HTML Element!
While adding the code to the HTML Element it would be a good time to create a semantic <CLASS> name. Use simple descriptive words like top-slider, bottom-slider, left-col-slider etc. If you are not familiar with these yet, read over the article on Working with selectors.
Step 4:
Next, we need to include the Responsive Content Slider files that were generated when exporting your slider. In Responsive Site Designer, click Resources and make sure the top folder (project folder) is selected (it will be bolded white). By selecting that folder first, it will place all the files into the root folder of your project.
Step 5:
Next, click ADD FILES/FOLDERS button. This will bring up a file browse dialog. Navigate to where you exported your slider.
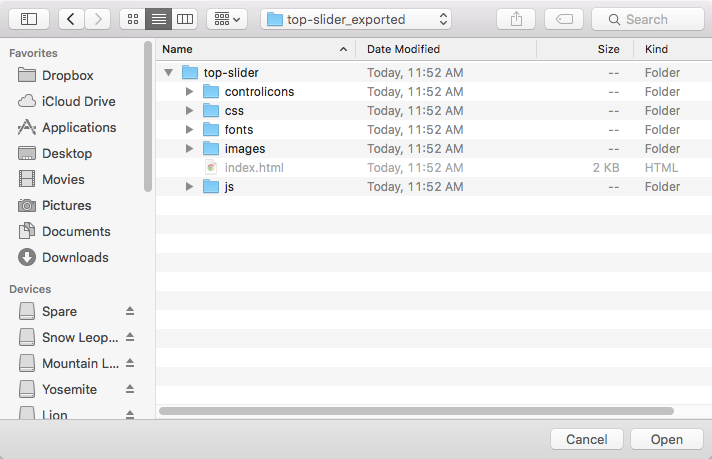
Step 6:
All you now need to do is select the top folder (i.e. top-slider) and click the Open button. RSD will then bring in all files, folders and sub-folders for your slider.

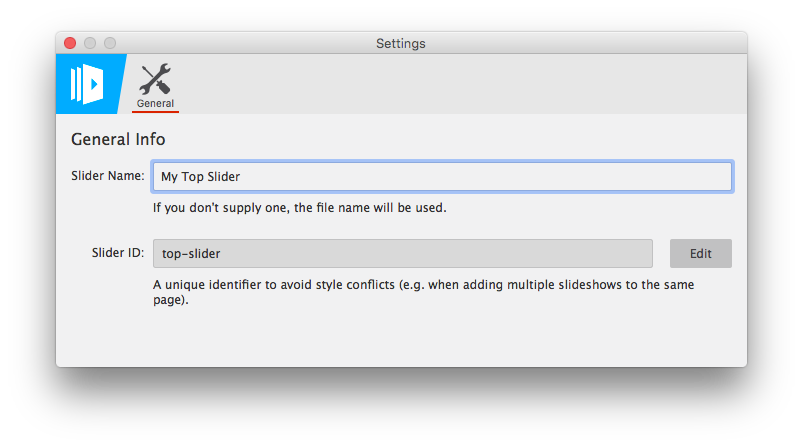
Don't forget to add a Slider ID!
If you are going to add multiple sliders to a page, you must give each slider a unique identifier. A unique identifier is required to avoid style conflicts with other sliders on the same page. Identifiers must start with a letter and cannot contain any spaces.
Adding a Slider ID is done by clicking the Settings Icon inside of Responsive Content Slider and for the Slider ID, click the Edit Button. Use simple descriptive words like top-slider , bottom-slider , car-slider2 , products-slider4 etc. Remember, each ID must be unique and should not be used for any other slider that you plan on adding to the same page.