

Ready to see your email creation in action?
While we’re not in the mass email sending business just yet, you may however connect to your personal or business email to send to individuals, small groups. Most importantly you may send tests of the email so you can evaluate the design across various mail clients.
Testing the email is very important. That's because each mail client is governed by their own set of rules for displaying HTML. There are many design aspects not universally supported like fonts, shadows, spacing, even backgrounds, just to name few. This is a huge reason why email design has always been so tricky. Lucky for you, RED makes it easy to accommodate these display discrepancies with fallback options so you can control the appearance on the unsupported clients.
If you don’t already, we suggest creating email accounts with all the major players. This way you can access the design within different browsers, mail clients, and devices and take note of what needs to be tweaked. Even get feedback on your send tests from colleagues, clients and friends and adjust your campaign as needed to make it display awesomely everywhere.
Testing Pro Tip
The little things can be easy to overlook when in design mode. When running an email test, it’s the perfect time to check for missing or broken elements. Click all the links and social media buttons within the email test to ensure they are configured to the right location. Seeing squares? You might be missing Alt text on your images which describes the graphics to recipients who haven’t loaded them.
Sending test emails through RED requires a few things to be configured before you can start the process; first you need to configure an SMTP server and second, define who you want to send the emails to.
Configuring your SMTP Server
To configure your mail testing delivery info begin by clicking the Campaign Settings gear icon located in the top menu. From here you may give your campaign a name, adjust footer settings, configure email settings, add manage send profiles & lists. In order to send, you will need to configure an SMTP server which will be used to send the email.
Step 1
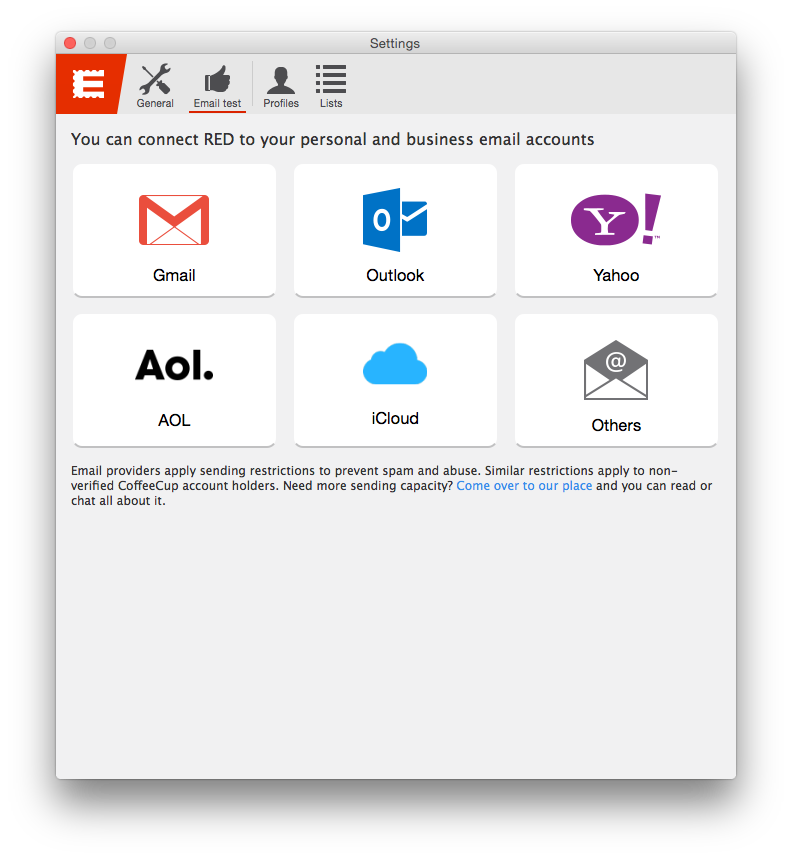
Go to Campaign Settings > Email Test to begin your send configurations. Select from Google, Outlook, Yahoo, AOL, iCloud depending on who is your email manager. Using another email provider? Choose Others to configure the SMTP settings for alternative clients. After you save the account configurations, use the Account drop down menu, to select the email account you want to test from.
Step 2
For this example, we are going to use Gmail as our SMTP server. Fill out the fields with your Gmail Account information. When done, click the Test Setup button to make sure that you entered everything is correctly.
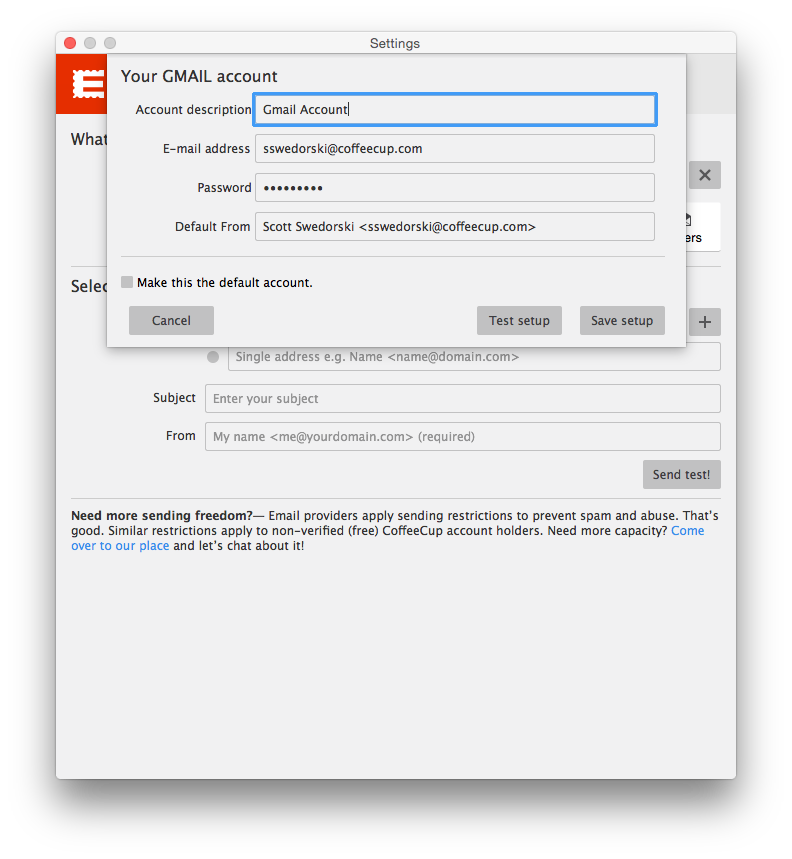
- Account description: Identify this email account by giving it a unique nickname.
- E-mail address: Enter the email address you want to connect to.
- Password: Enter the password used to sign into your email.
- Default From: The mail address you want specified for that account. Unless you have 2 email addresses associated with a single account you can just enter your regular email address here.
- Test Setup: will check to make sure that your email settings are entered correctly. If you get the greenlight then you are good to save the setup. A test email will be sent to the address configured.
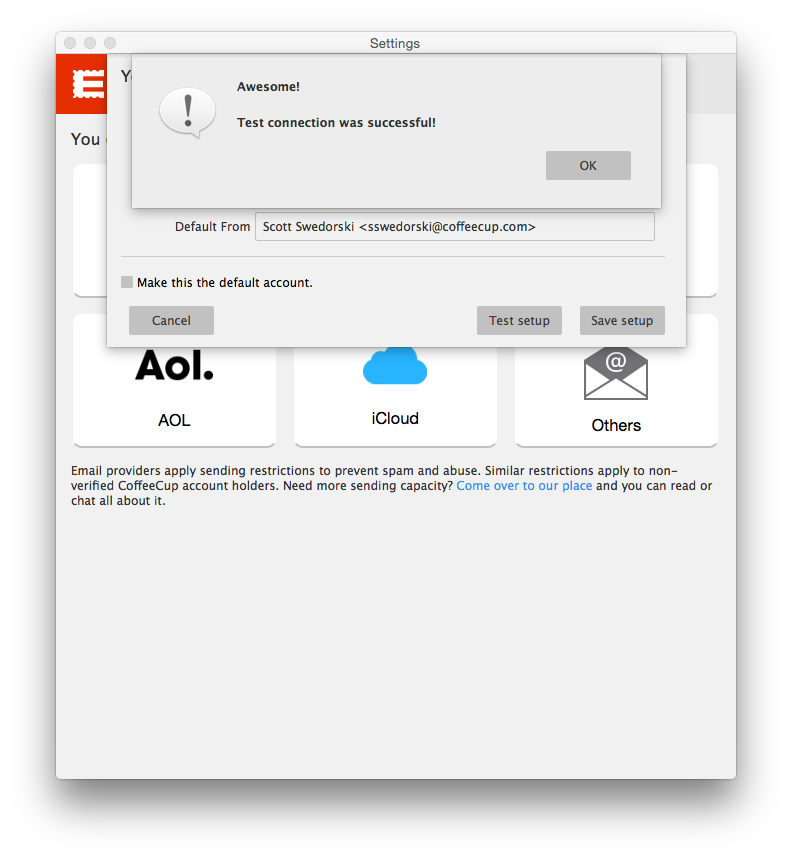
If everything is correctly configured, you would see this appear. Click OK to close the dialog and then click the Save Setup button.
Sending Emails to Single Users
When sending emails, you have a few different options available to you. You can use Lists to send test emails to multiple users, or you can send test emails to just a few people.
Step 1
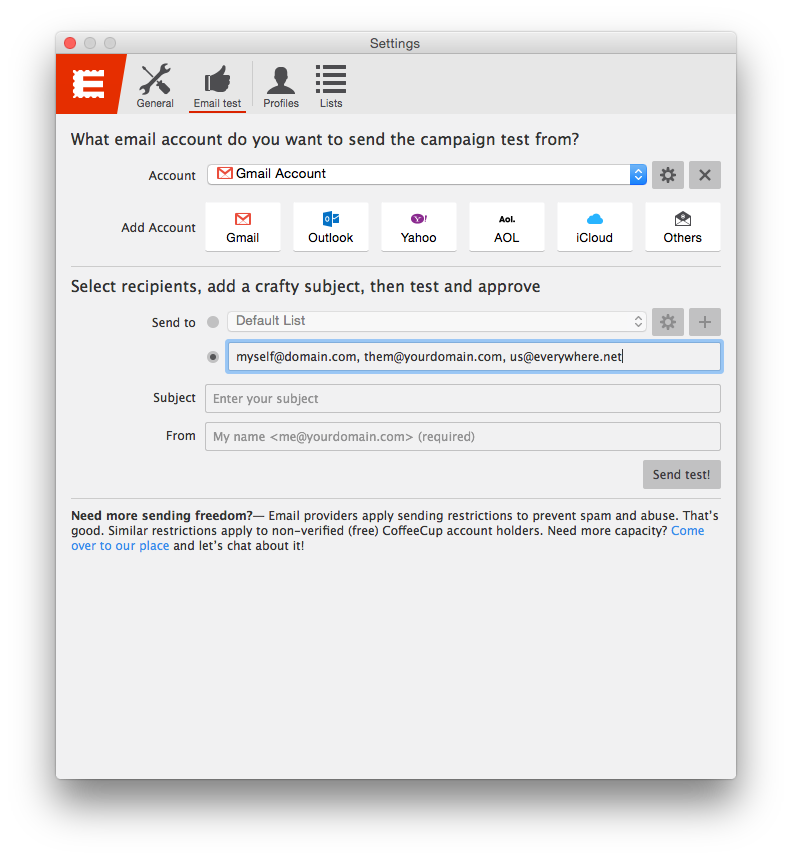
Click the Campaign Settings Icon and then go to Email Test. Under the "Send to” option, select the radio button for “Single address e.g. Name
Step 2
Enter the subject that you would like to use for your email. Choosing a good subject is extremely important!
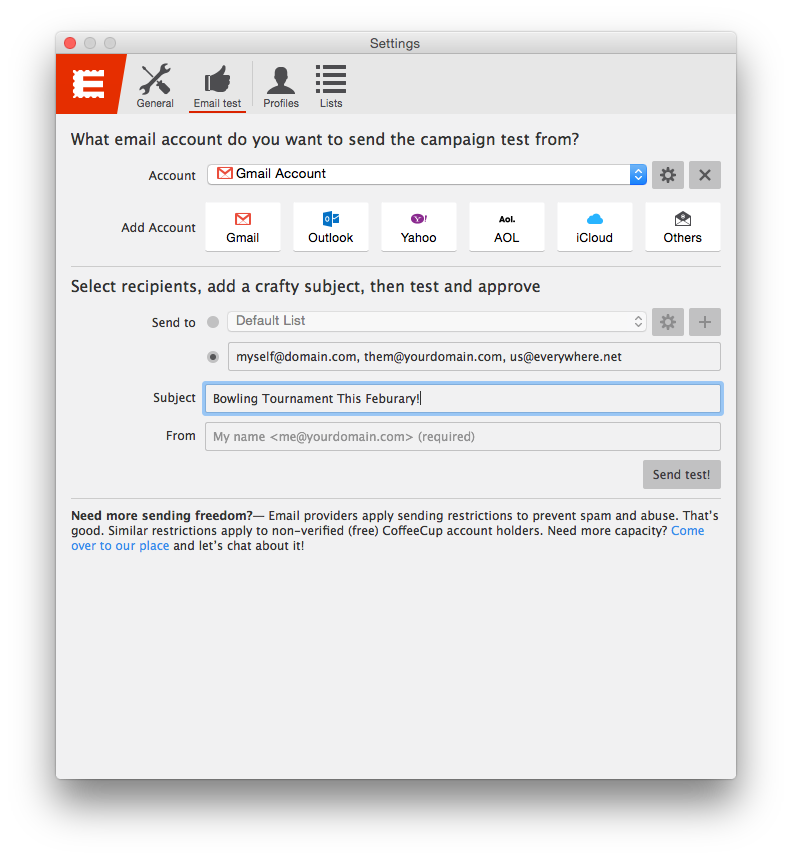
Enter the email address that you would like the email to be sent as. Only one email address can go here, and it should be formatted as follows.
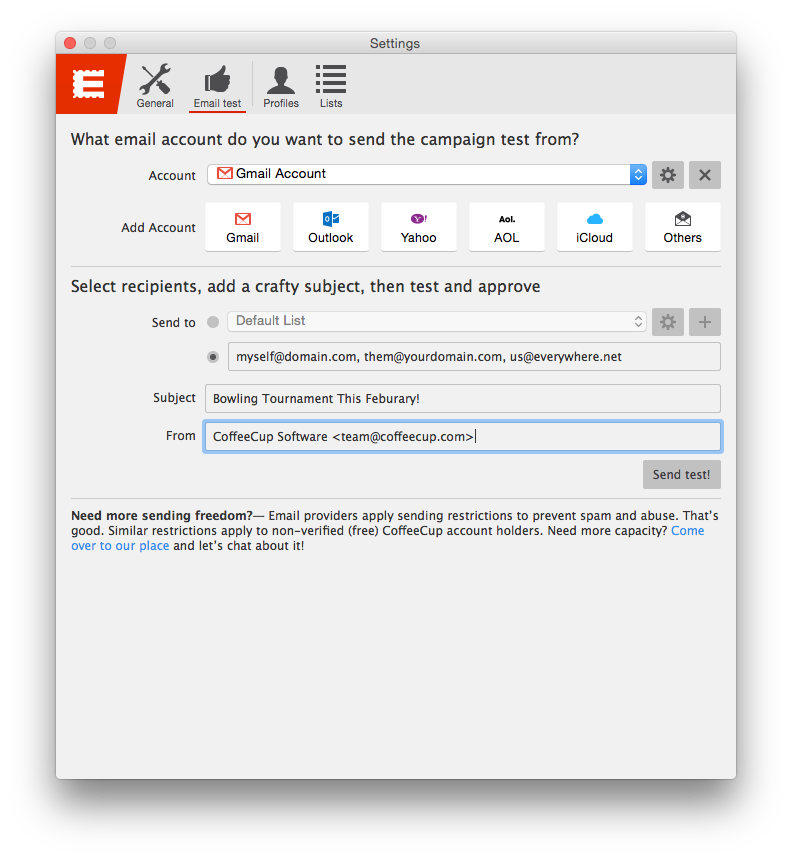
Step 4
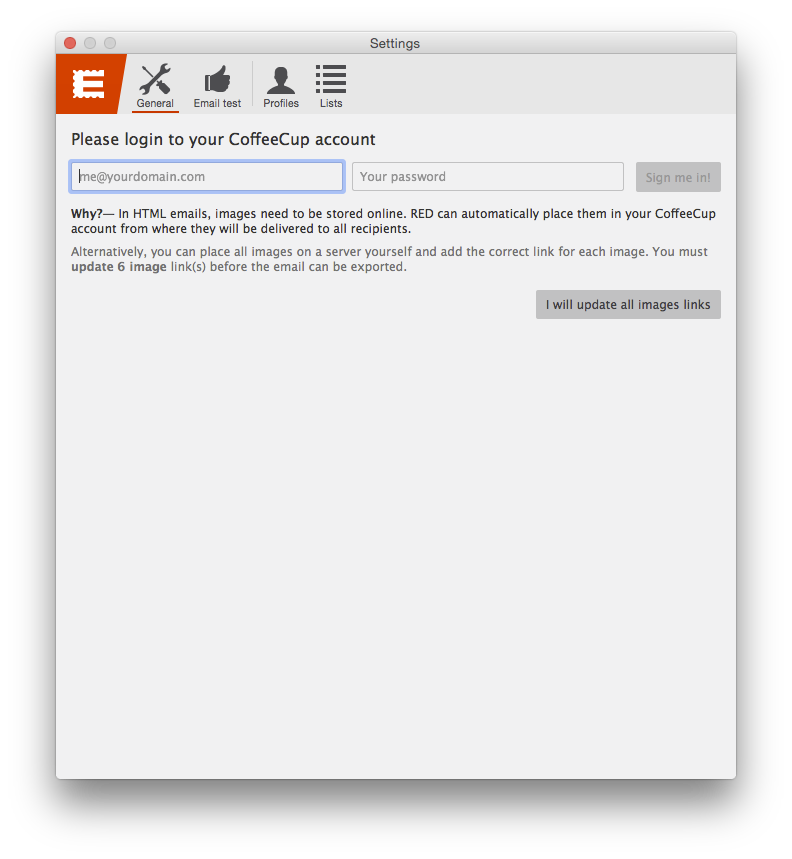
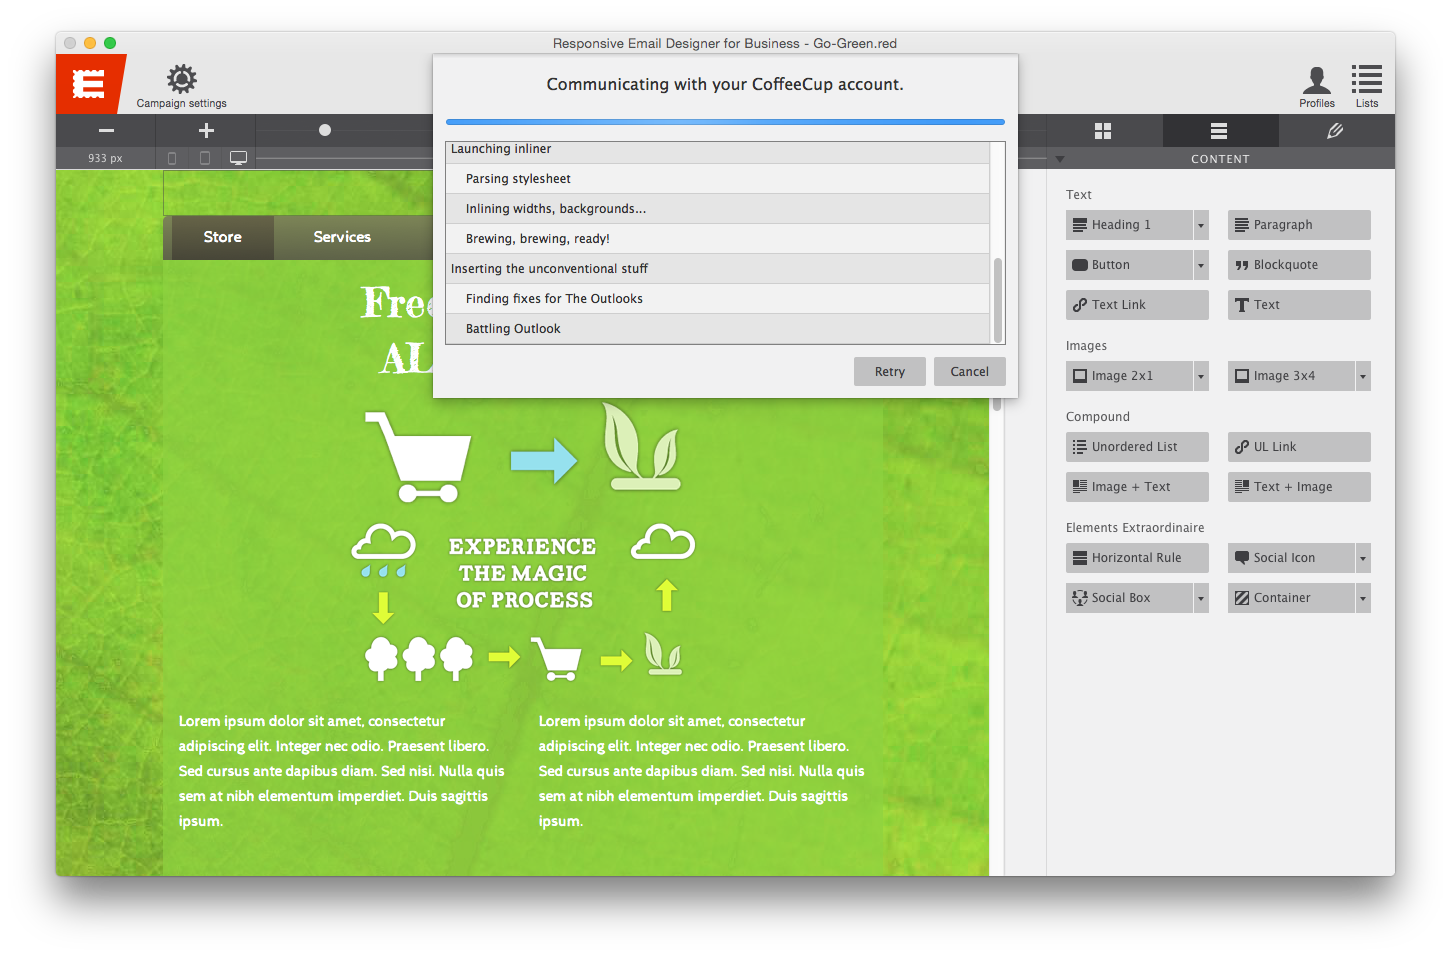
Now that everything is all configured click Send test. You will then be prompted to log into to your CoffeeCup Account. Simply enter your CoffeeCup username and password and click Sign me in!
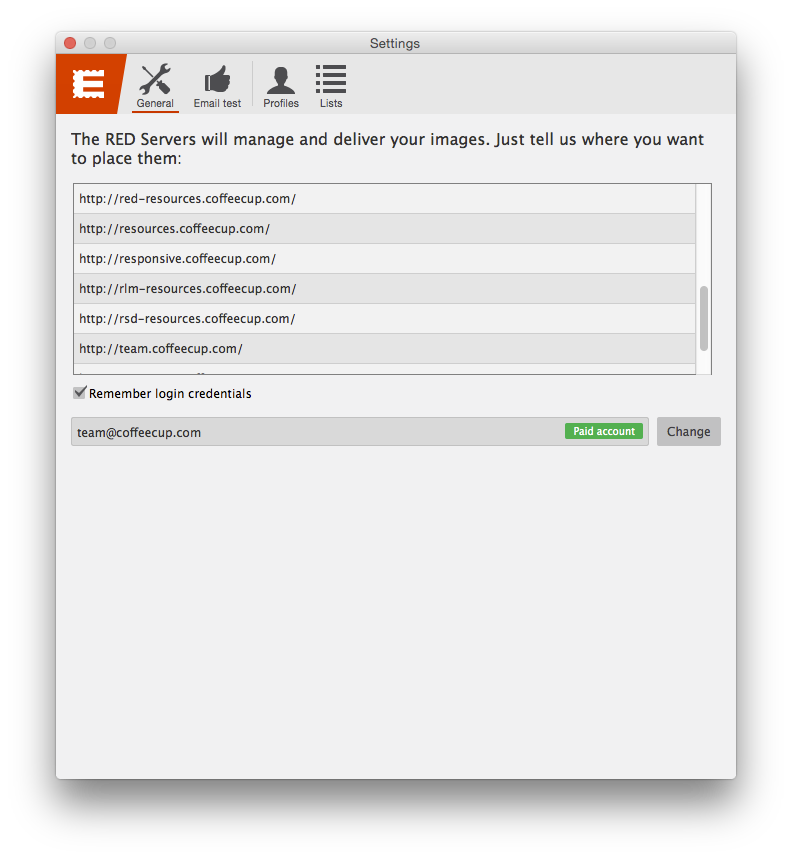
Step 5
Once signed in, you will need to choose the URL where you wish to store the images and then close the Campaign Settings Window.
Step 6
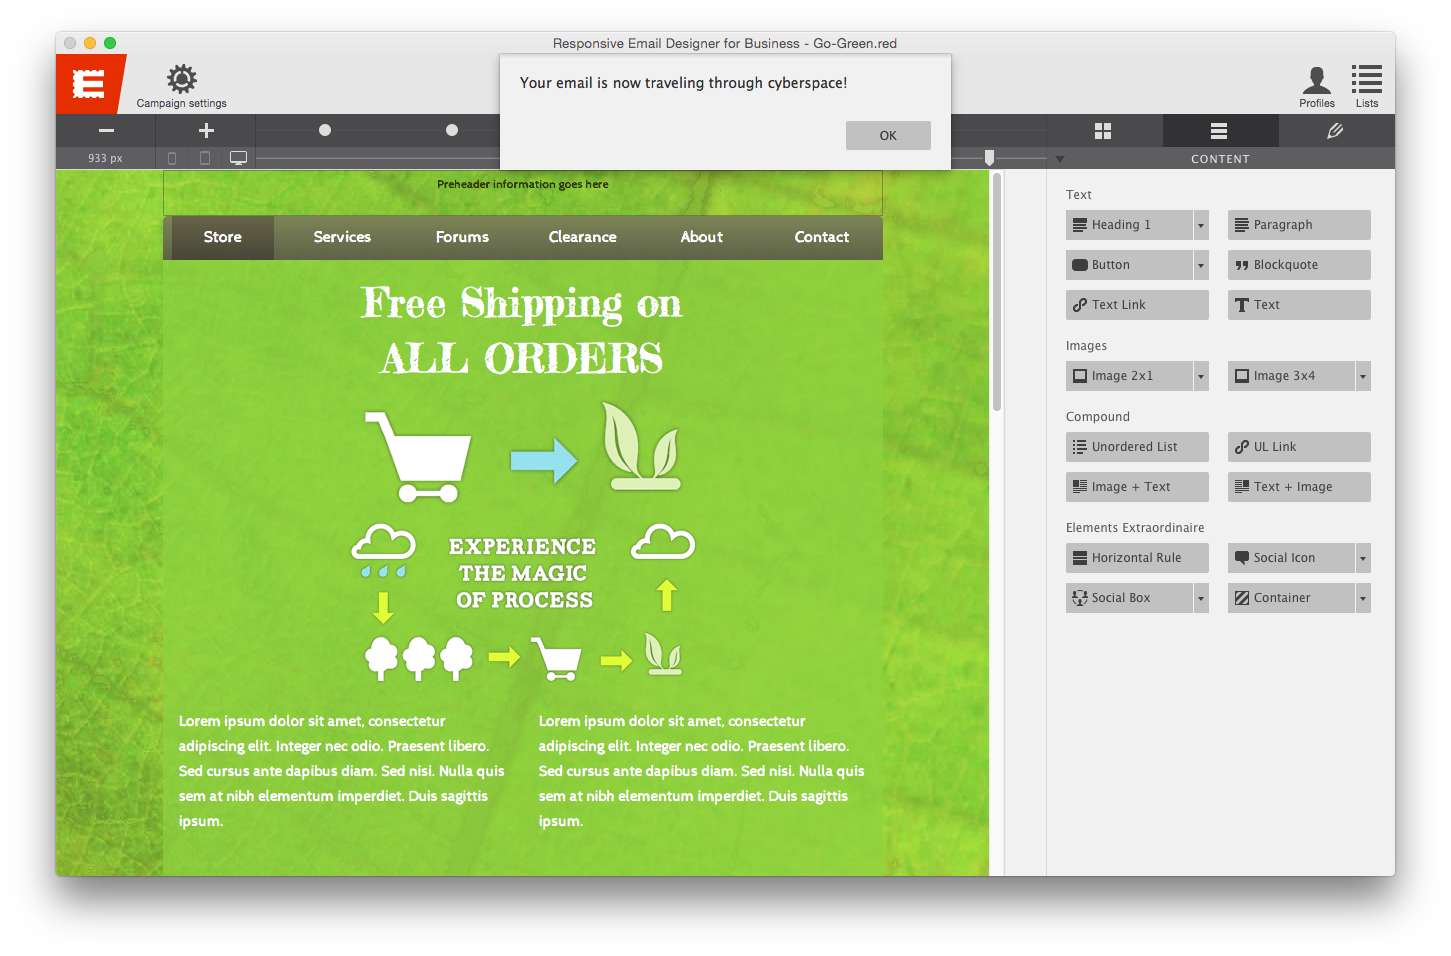
Click the Send test toolbar icon to send your email.
Why is using a CoffeeCup account recommended?
By accessing your account, this allows you to easily upload images used in your emails without the hassle of uploading them manually to your website. Also by using your account, you get access to all the latest scripts and markup that will ensure your emails are always compatible with the ever-changing design standards and email clients released each month.
Sending Emails Using Lists and Profiles
There are two features in RED that help you send test emails out; Profiles and Lists. Profiles are like your address book. Here you can configure people that you want to send emails to. Each profile then can belong to a list and become a subscriber. For example, say you have 20 people in your company, and 5 of them are managers, 10 are staff, and the other 5 are in marketing and sales. You can create three lists (Staff, Managers & Marketing and Managers) for these and adding the corresponding user profile to the list.
Step 1
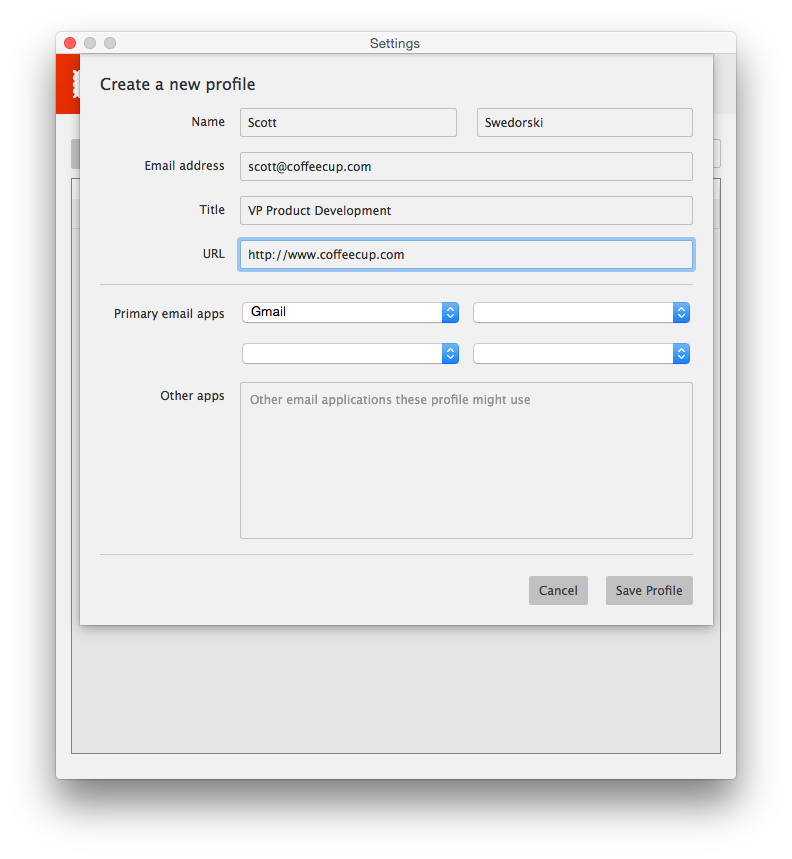
To add a new profile, click Campaign Settings, and then the Profiles icon and then the +icon. Right now, RED allows you to enter a bunch of different information for each profile. Currently, only the Name and Email address fields are used. We are planning for future enhancements by giving you the ability to enter other information for each profile. When you are done, click Save Profile. Continue adding all your profiles.
Step 2
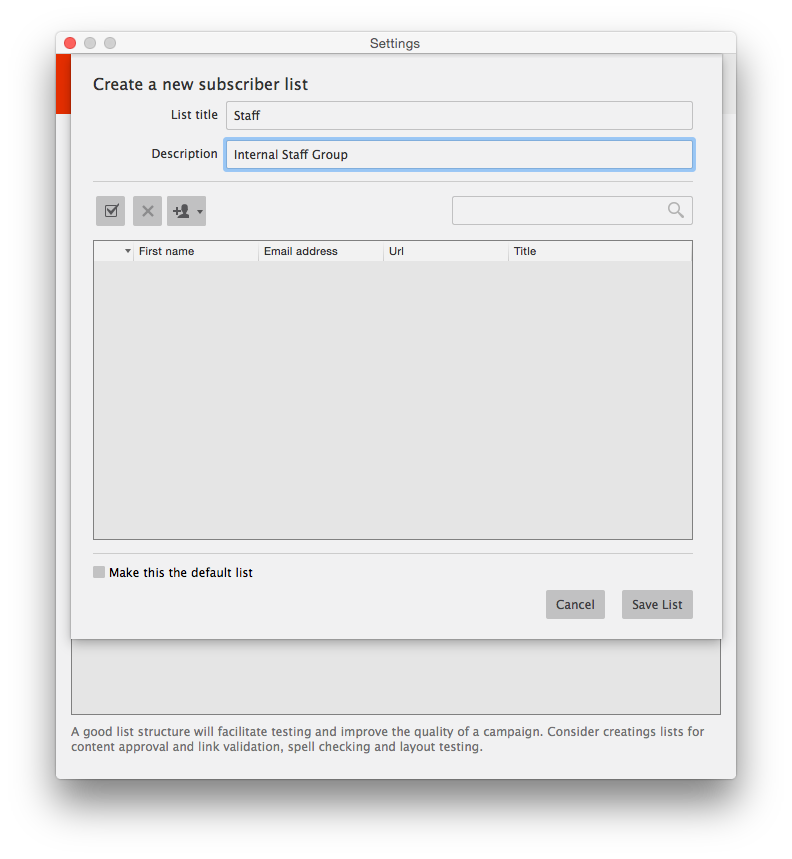
To add a new list, click Campaign Settings, and then the Lists icon and then the +icon. Now enter the List title and a short description of the list.
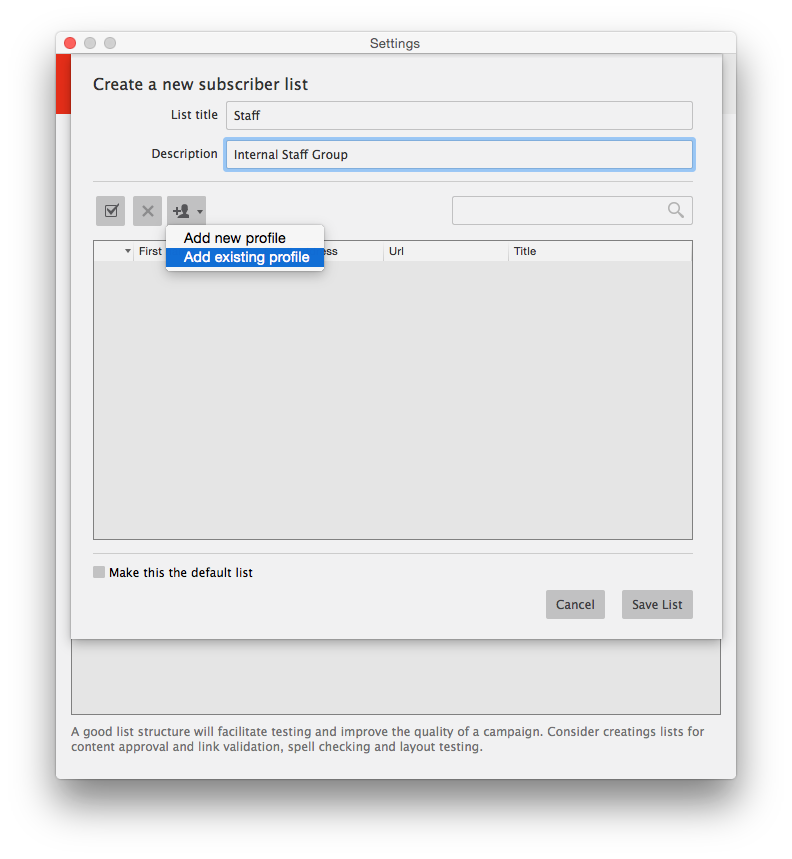
Step 3
Now you need to assign profiles to a list. A profile can be in as many lists as you like. Lists allow you to group profiles into categories making it easier to send test emails to lists instead of individual people. To add someone to the list, click the + icon and select Add existing profile.
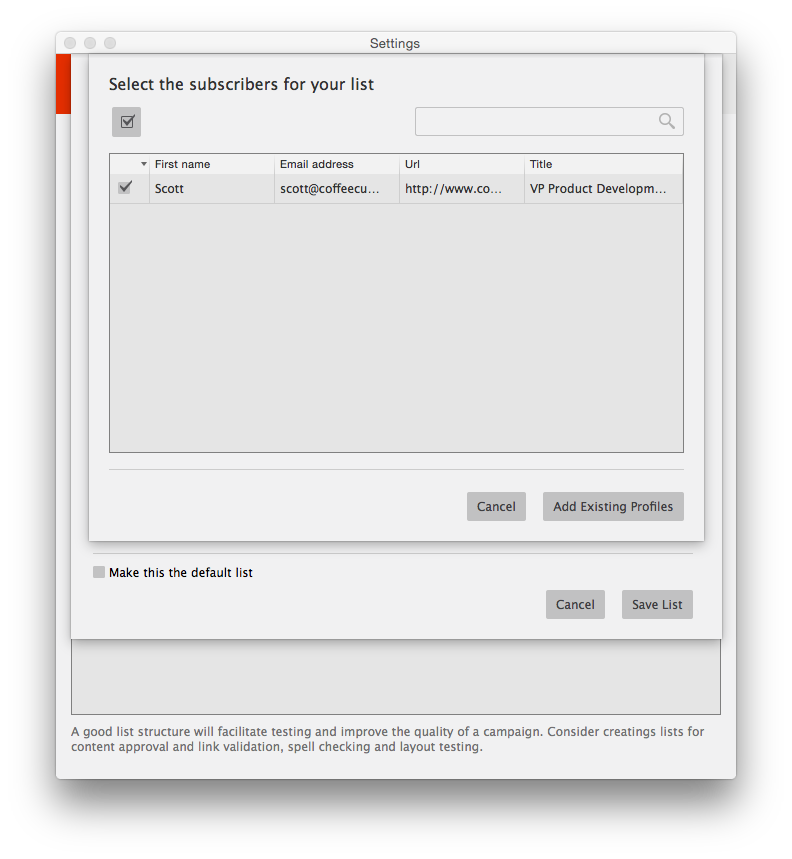
Step 4
All your profiles will now appear. Check the boxes next to the ones you want to add to this list and then click the Add Existing Profiles button and then click Save List.
Step 5
Click the Campaign Settings Icon and then go to Email Test. Under the "Send to” option, select the first radio button and your lists will now appear. Now click Send Test.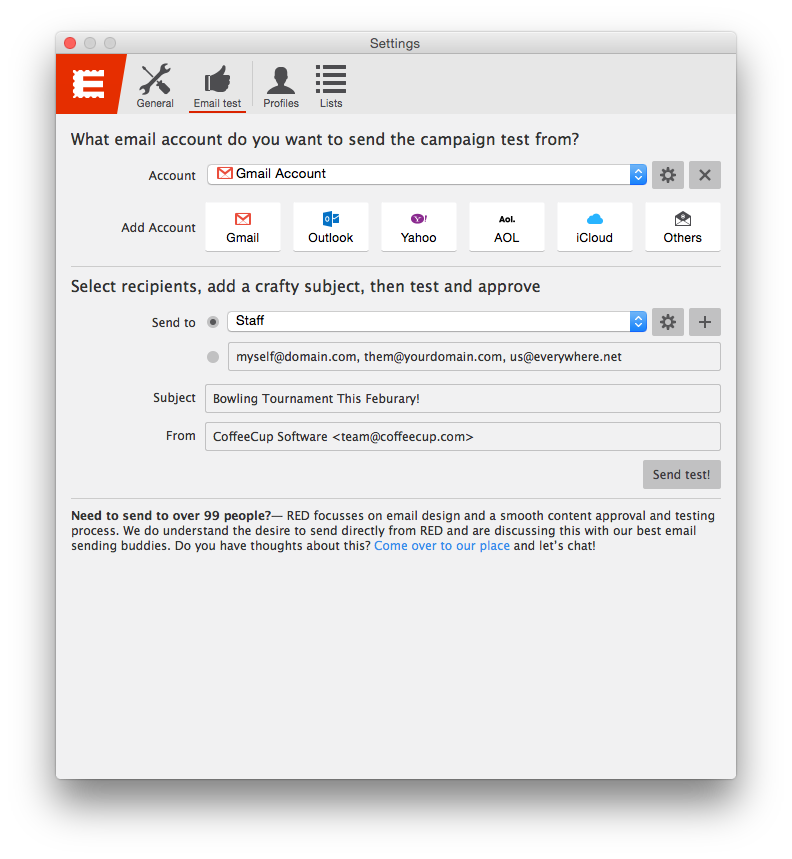
Step 6
Now that everything is all configured click Send test. You will then be prompted to log into to your CoffeeCup Account. Simply enter your CoffeeCup username and password and click Sign me in!
Step 7
Once signed in, you will need to choose the URL where you wish to store the images and then close the Campaign Settings Window.
Step 8
Click the Send test toolbar icon to send your email.