

Have a WordPress Blog and wish to add your button to it? Don't panic, we're here to help, this article will walk you through a couple of scenarios our users have encountered.
Exporting the button to your own server.
This will work if you are hosting your WordPress blog on your own server.
Step 1:
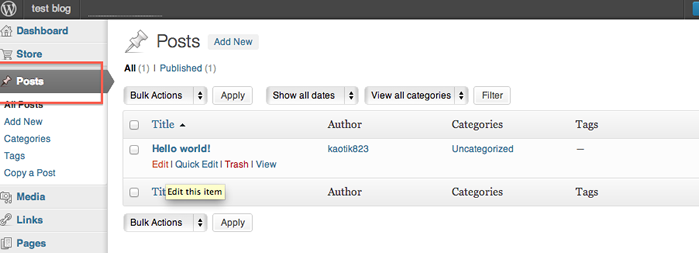
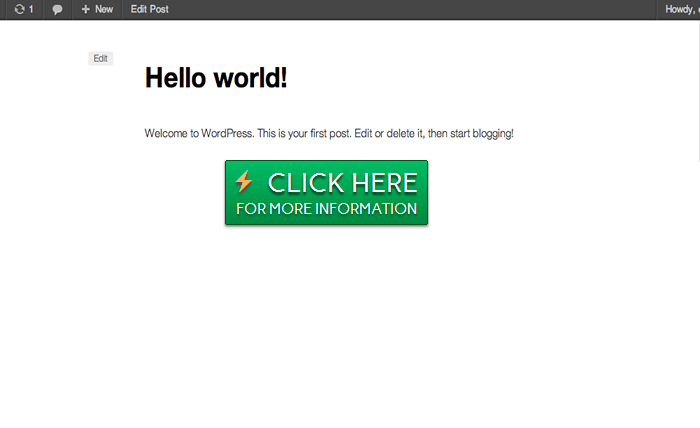
Log into your "Blog" through the admin panel, and select the "Posts" icon from the left.
Step 2:
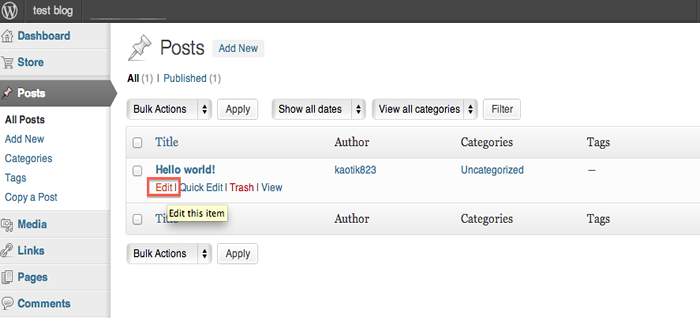
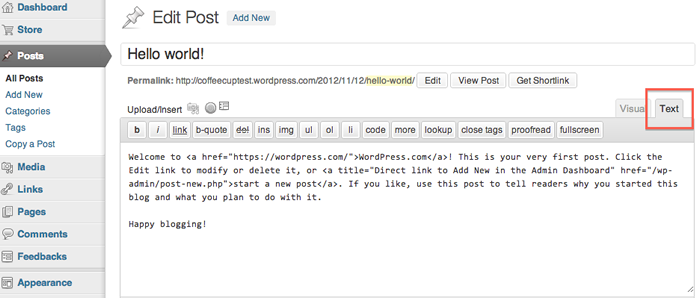
Select Edit, then select the "Text" tool to edit the markup of your blog.
Step 3:
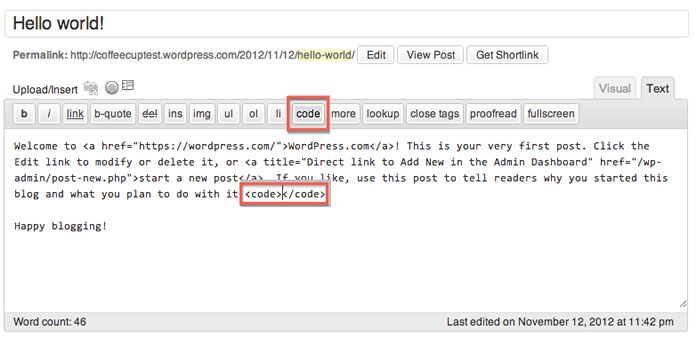
Now select the "code" tool to create an open tag, then paste the code after that and finally select the "code" once again to close the tag on the page.
Step 4:
Upload the contents of the exported folder to the same location as the WordPress blog using an ftp client, then copy and paste the provided markup within the "Code" tags on the page. Wordpress converts new lines to br tags. To fix this, you need to remove all new lines in the code (make the text one long line) as the br tags can cause issues.
Step 5:
Download and Install the Code Manager widget.
Step 6:
Follow the instructions located on the Code Managers Video to add the CSS Style sheet to your <head> tag.
Step 7:
Click the Update option to publish the blog.
There are two important issues to note here:
- Do not switch to the Visual tab as this will remove the custom markup from the blog, this is a known issue with WordPress that they are currently looking into.
- On some WordPress installations, the <code> tool is not always required. If you experience any issues with the form not appearing, try removing the <code></code>.