

Living Pictures are a really cool type of animated GIF that you can create. Rather than just being a video converted to GIF, where every part of every frame moves, these images animate only selected portions of the frame to give the illusion that a still image is moving.
There are two things that make Living Pictures so interesting:
- Smooth looping, which makes the motion go on forever
- The unreal portrayal of moving objects in the same frame as objects frozen in time
For more help understanding Living Pictures, and some examples for inspiration, read this article.
Get started by clicking the New toolbar button and choosing Living Picture Project. This opens the Create Living Picture wizard. Read the introduction and click Next.
Choose Your Video
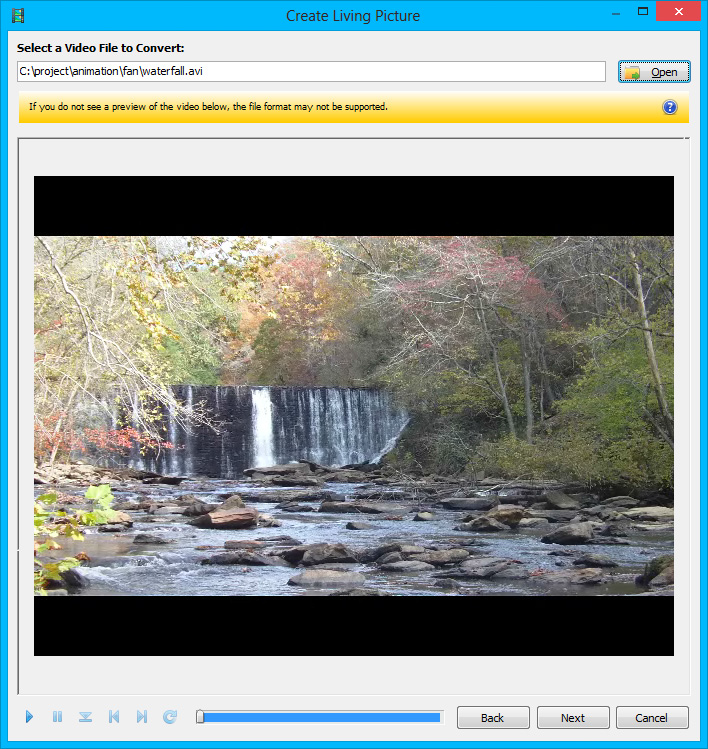
Select an AVI or WMV file from your computer and click Open. When you’re done, click Next.
Make Video Adjustments
On this screen, you can move the sliders to adjust the way your video looks. This can be helpful if your video just needs some small tweaks.
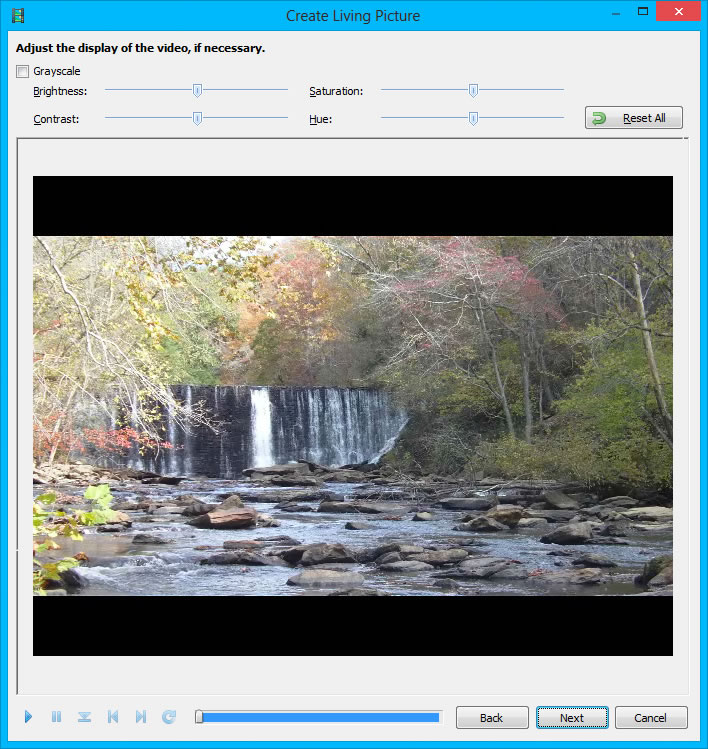
There are 6 tools here that you can use to adjust your video:
- Grayscale: Check this box to make your video black and white.
- Brightness: Make your video brighter or darker.
- Contrast: Increase or decrease the difference between bright and dark parts of your video.
- Saturation: Increase or decrease the richness of color in your video.
- Hue: Change the colors in your video.
- Reset All: Change each setting back to its default value.
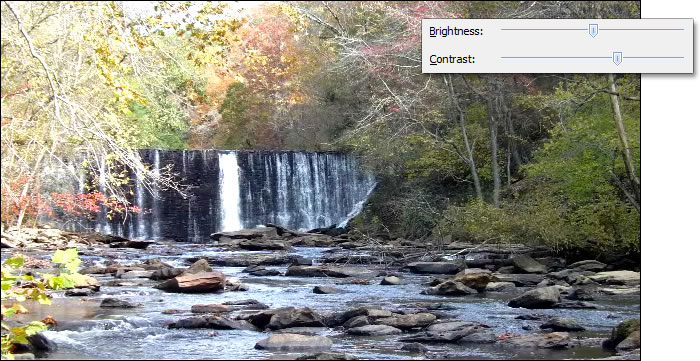
You may not need to use any of these tools, but they can be be very useful. For example, we can increase the contrast of our video to reduce the “hazy” appearance:
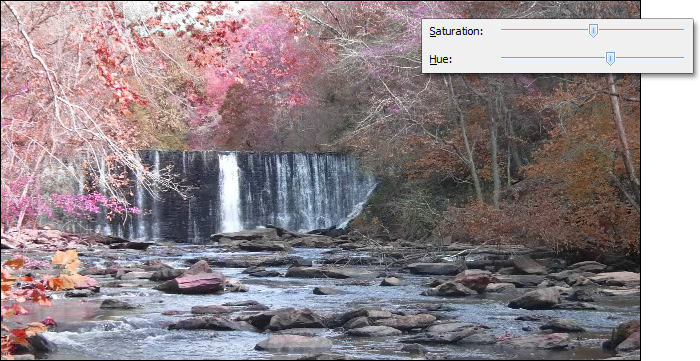
And then we change the hue of the video slightly to give an old photo effect:
When you’re done adjusting your video, click Next.
Crop the Video
Though this step is also optional, it’s likely that you’ll need to do it every time.
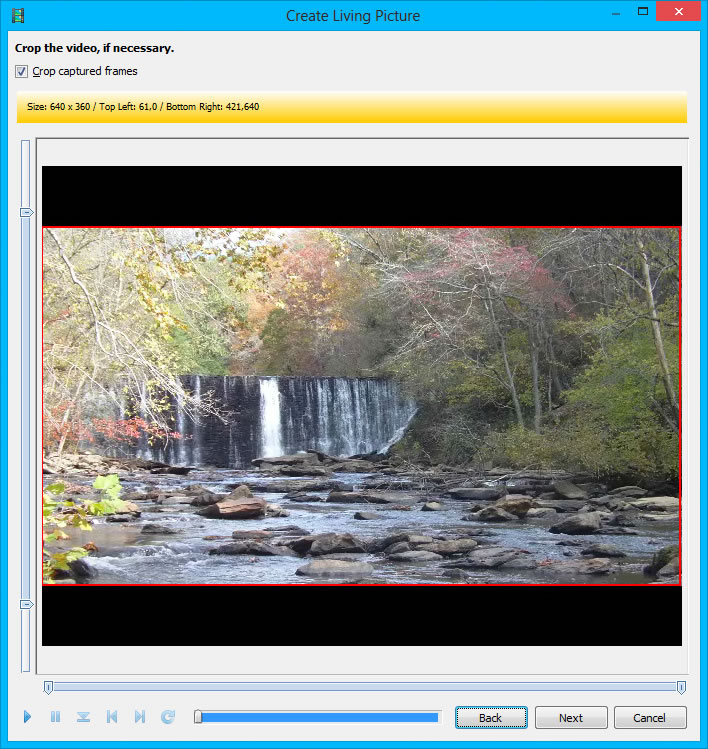
If you need to crop, check the box next to Crop captured frames and drag the sliders to the left and bottom of the video. A red border will be drawn around the portion of the frame that will be captured.
In our example, we want the full width of the frame, so we don’t need to move those bottom sliders. But we have to get rid of those black bars above and below the video, so drag the top slider down and the bottom slider up until the red lines select only the actual video.
Note: If your video is so large that it extends outside of the wizard’s view, increase the size of the window to see the red lines that show you what you’re cropping.
When you’re done cropping, click Next.
Pick a Background Frame
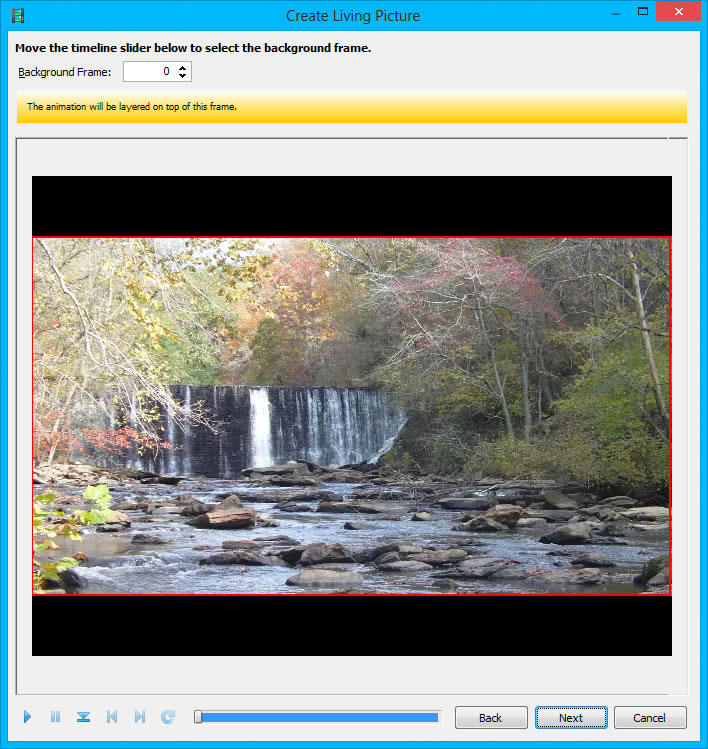
In this step, you’ll choose the one frame of the video that will remain stationary. Your animation will be layered on top of this frame.
There are two ways to choose the background frame:
- Enter a number into the stepper above the video (or use the arrows to select the frame)
- Drag the playback slider below the video to the proper frame
For our example, we’re going to make things easy. Simply leave it at frame 0 and click Next.
Select the Portion to Be Animated
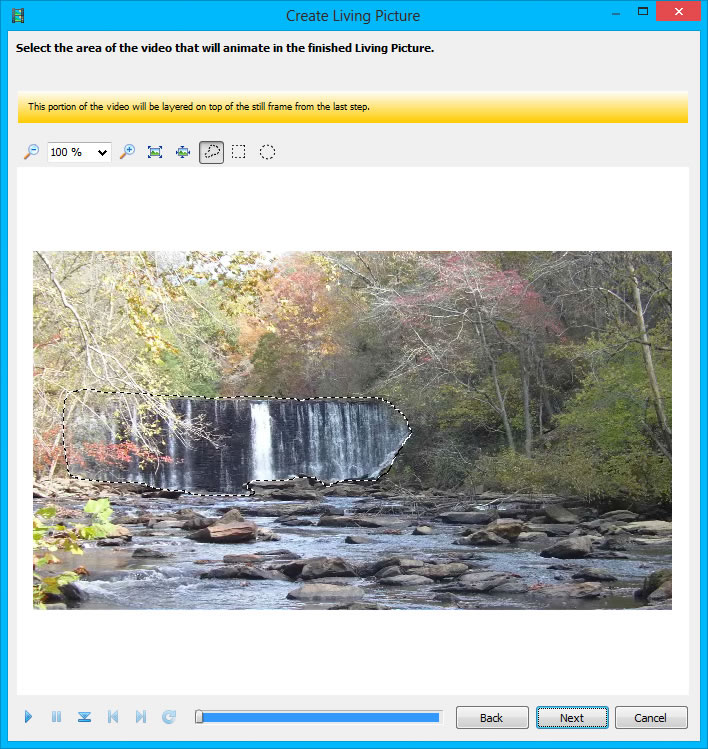
Draw a border around the portion of the video that will animate in the finished product.
There are two sets of tools above the video preview that will help you make the right selection:
View Tools:
- Zoom Out: Make the preview smaller to fit more on the screen
- View Drop-Down: Choose a specific view percentage or fit the window
- Zoom In: Make the preview larger to see more detail
- Fit Window: Make the preview the exact dimensions of the window
- Show at 100%: Show the preview at the same scale as the finished animation
Selection Tools:
- Select Free Form: Draw a selection using a pencil-like freehand style
- Select Rectangle: Draw a rectangular selection
- Select Circle: Draw a circular selection
It may be helpful to use the transporter tools at the bottom. Click Play to preview the video in motion, or click Show background frame to move the preview to the selected background frame.
If you need to make multiple selections, hold down the Shift key while drawing new selections.
When you’ve made your selection, click Next. You can always go back and change any step.
Select the Range of Video to Be Animated
In this step, you need to drag the sliders below the video preview to choose the start and end points of the portion of the video that will loop in the final animation.

See those two tabs under the video preview, and the blue section highlighted in-between? This is the part of the video that will animate.
By default, the left tab is set to the frame after the background frame. So if you chose frame 340 as your background frame, the initial value for the Start slider will be 341.
There are three steppers above the video preview:
- Start: The first frame of the loop
- End: The last frame of the loop
- Capture every X frame(s): The interval used for frame capturing (if this is set to 3, every third frame will be captured)
Oh look, more transport tools are available now! Here’s a description of all the tools in the bottom left corner:
- Play: Play a preview of the full video
- Pause: Stops all preview playback
- Show background frame: Displays the selected background frame in the video preview
- Show first frame of loop: Displays the Start frame in the video preview
- Show last frame of loop: Displays the End frame in the video preview
- Play selected range: Loops the frames selected above in the video preview
These last four tools are designed to help you make flawless loops. By clicking between the background frame and end frame, you can see the difference between the two. This can help you pick the perfect end frame for your animation so that the motion loops smoothly and you have a continuous, flawless animation.
When your range is selected, click Next.
Build Your Living Picture!
This last step will prompt you to build your animation. Click Build! (Even after building, you can click the Back button to make changes.)
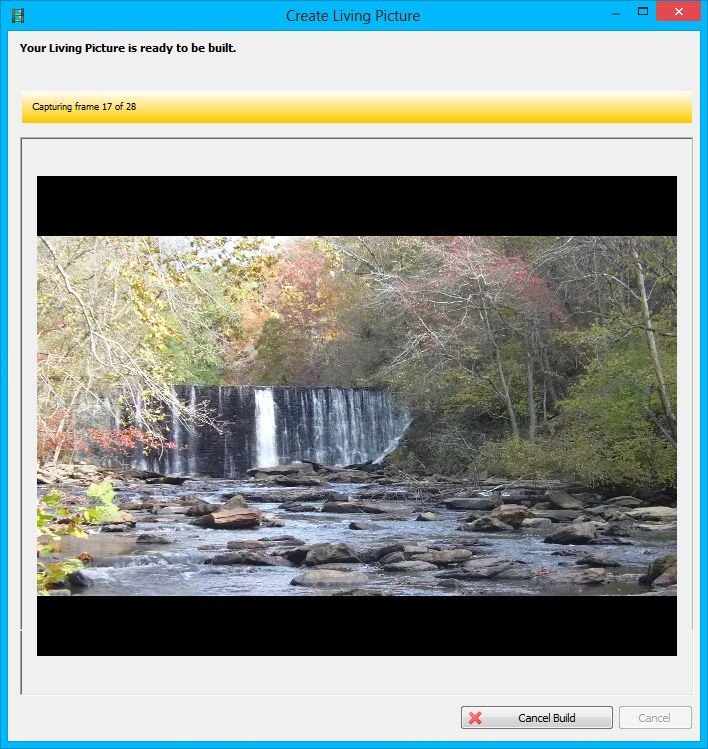
Animation Studio will compile the video from all the selections you made in the previous 7 steps and then show you a preview of the animation you’ve created. If you’re not happy with the way it looks, click the Back button and make some changes. Otherwise, click Finish to import all those frames into animation studio.
Congratulations, you made a Living Picture! Don’t forget to save it. :)