There are four different types of places that you can add when configuring a connection. Each connection type helps you maintain your documents, photos, music, and videos keeping everything organized in one place. These connections types are:
- FTP/sFTP Connections:
- Cloud Connections: Amazon Cloud Drive, Box, Dropbox, Google Drive, OneDrive
- Social Connections: Flickr, Instagram
- Local Folders
FTP/sFTP Connections:
Adding an FTP/sFTP profile is very easy. Click Add a Place and choose FTP or sFTP. This will bring up the Server Configuration window.
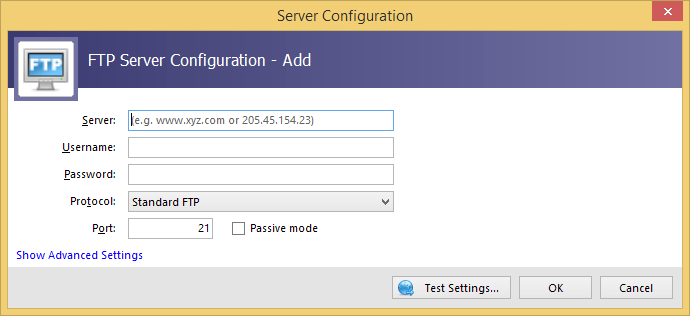
Server:
It should be in the form of an IP address; your domain name (e.g. yourdomain.com), or your domain name preceded by FTP. (e.g. ftp.yourdomain.com).
What not to use!
Do not include ftp:// or any directory names such as ftp.yourdomain.com/mysite, because these are invalid hostnames.
Username:
This is the username assigned to you by your web hosting company. Be sure to enter the information exactly as it was given to you by your provider. Usernames are case sensitive, so if there are capital letters in your username, you must enter it that way.
Password:
This is the password assigned to you by your web hosting company. Be sure to enter the information exactly as it was given to you by your provider. Like usernames, passwords are also case sensitive, so if there are capital letters in your password, you must enter it that way.
Protocol:
This option lets you specify the protocol needed for your connection. You can choose from one of the following:
- Standard FTP
- Secure SSL Implicit Port 990
- Secure SSL Explicit
- Secure SSL Automatic
- Secure SFTP via SSH port 22
Port:
This is the port needed to connect to your server. Typically you never need to change these from their default values unless specifically told to do so by your hosting provider.
Show Advanced Settings:
Clicking the Show Advanced Settings button will bring up advanced configuration options.
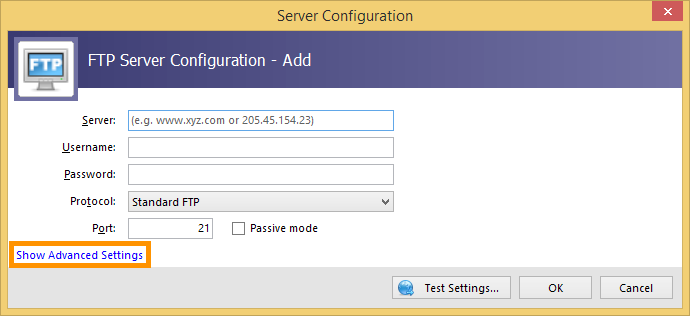
All these settings are optional and typically you never need to make any changes.

Profile Name and Comments:
These optional fields allows you to name your profile and add a comment about this server connection. This is just a personal reminder, so you can enter anything you want in this field.
Optional Settings:
These settings are self-explanatory. You can enable the desired settings by checking the corresponding box.
- Show Password
- Always prompt for password
- Show file sizes in KB
- Always show ‘.htaccess’ files
- Show folders beginning with ‘.’
- Show files beginning with ‘.’
Local Folder:
This is the default local folder that will be used when a connection is opened. Clicking the yellow folder will allow you to browse your local computer and select the folder location. You can also manually type in the path as well.
Remote Folder:
This is the folder where your files are stored remotely. Clicking the yellow folder will allow you to browse the server and select the folder location that you want to use. You can also manually type in the path as well.
Upload Overwrite:
These settings determine how Places will handle files that are already located on the server you are uploading to.
- Ask: If a file with that name is found, you will be prompted on what you would like to do.
- Overwrite: If a file with that name is found, it will automatically be overwritten.
- Skip: If a file with that name is located, the upload will skip that file.
Toolbar Icons (from left to right):
- Close Local View: This will close the local folder view.
- Pop out Local Window: Allows you to open a new place containing your local folder.
- Zip Selected Items: Zip up all the selected files. Note, this will only work on files stored locally.
- Refresh: Refresh current view.
- New Folder: Create a new folder.
- Rename: Renames the currently selected file/folder.
- Download: Downloads the file(s) selected.
- Preview Image: Previews the selected photo.
Cloud Connections
Cloud connections work the same way as FTP/sFTP accounts. To get started, click Add a Place and choose from Amazon Cloud Drive, Box, Dropbox, Google Drive or OneDrive.
Configuring Multiple Accounts
As with the desktop software that each of these companies offers, only one connection per cloud type may be configured at a time. You can however easily switch between accounts by disconnecting and then authenticating with the new account credentials. This would also apply to Flickr and Instagram as well.
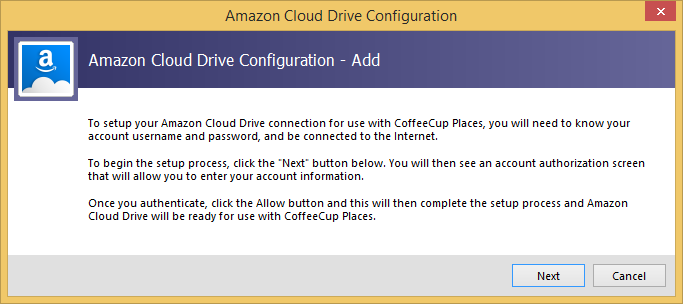
Step 1:
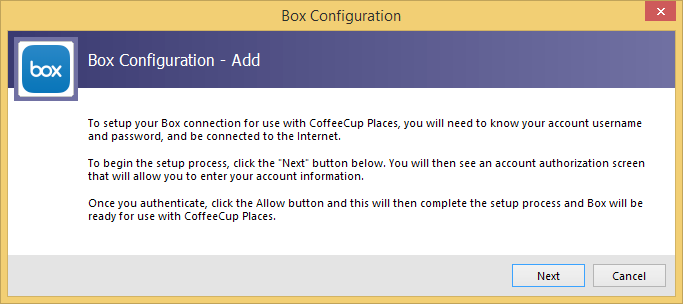
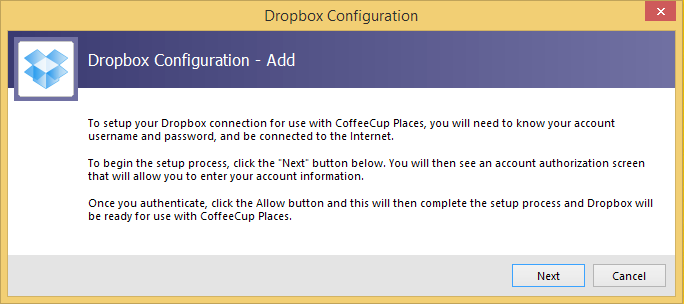
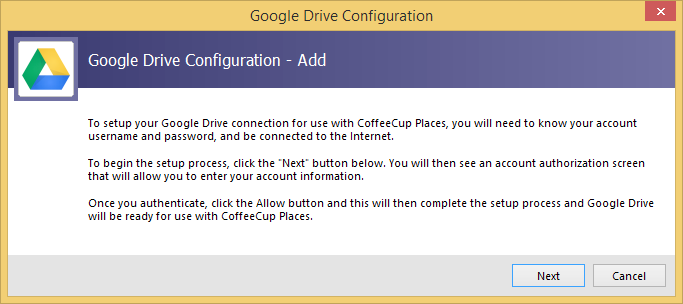
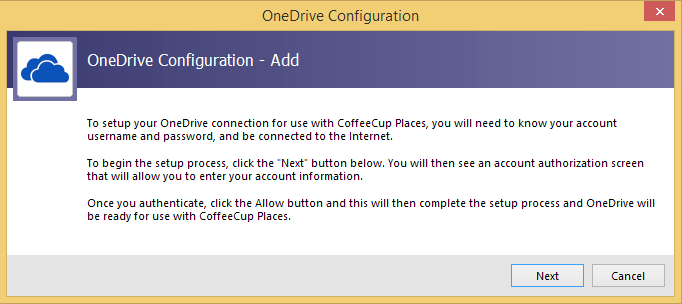
You will now see the Configuration window. This will begin the configuration process. Now click Next.
Amazon Cloud Drive:
Box:
Dropbox:
Google Drive:
OneDrive:
Step 2:
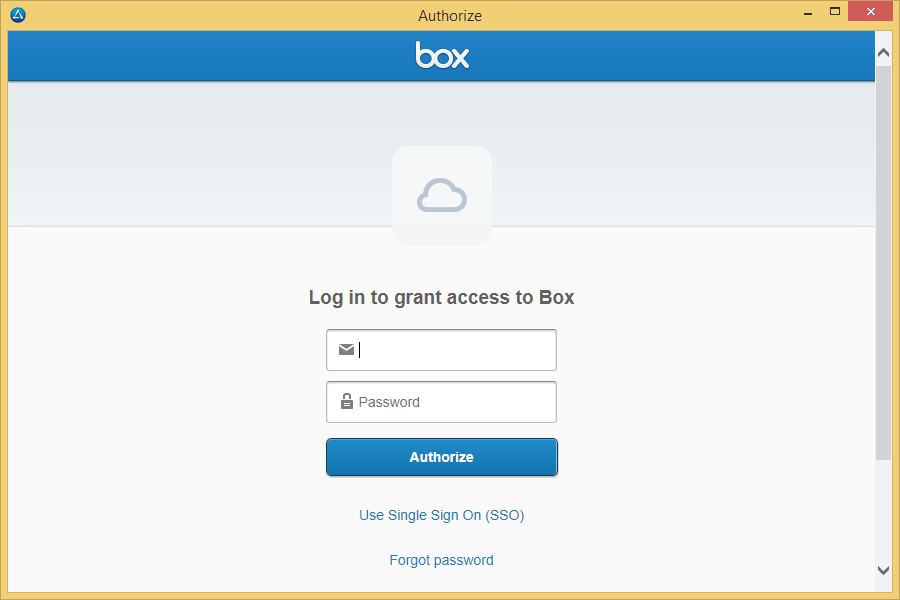
A browser window will now appear. You will then login using your username and password for that particular cloud and allow Places access to it.
Enter your Amazon Cloud Drive account information and then click Sign in using our secure server.
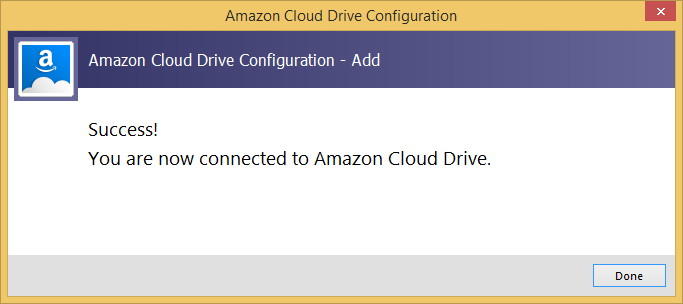
Amazon Cloud Drive:

Your connection to Amazon Cloud Drive is now complete. Now click Done.
Box:
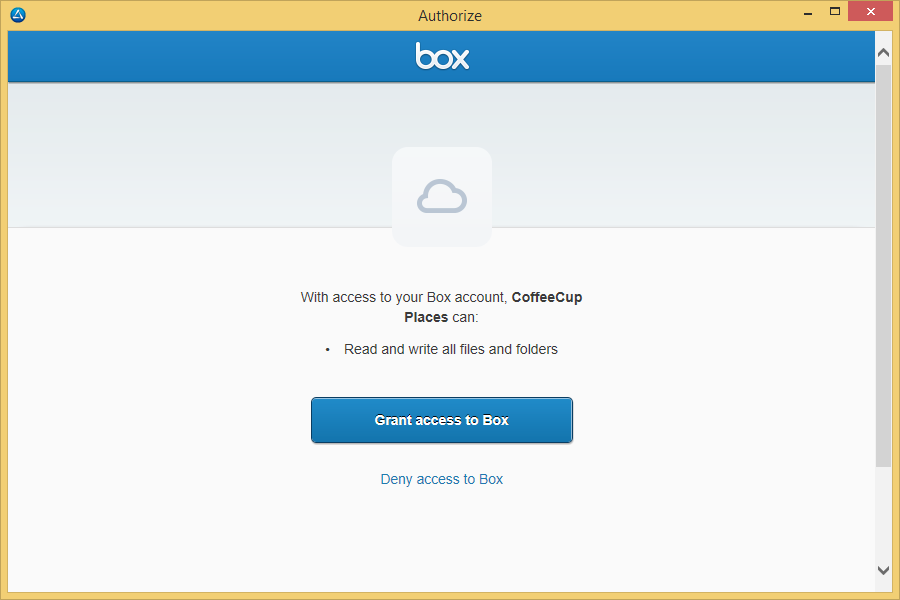
Once logged in, click the Grant access to Box button. This will then authorize Places to connect to your Box account.
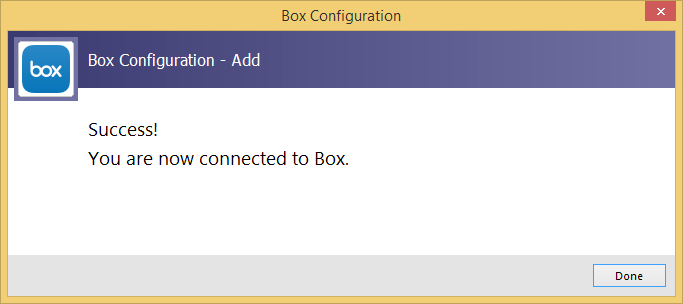
Your connection to Box is now complete. Now click Done.
Dropbox:
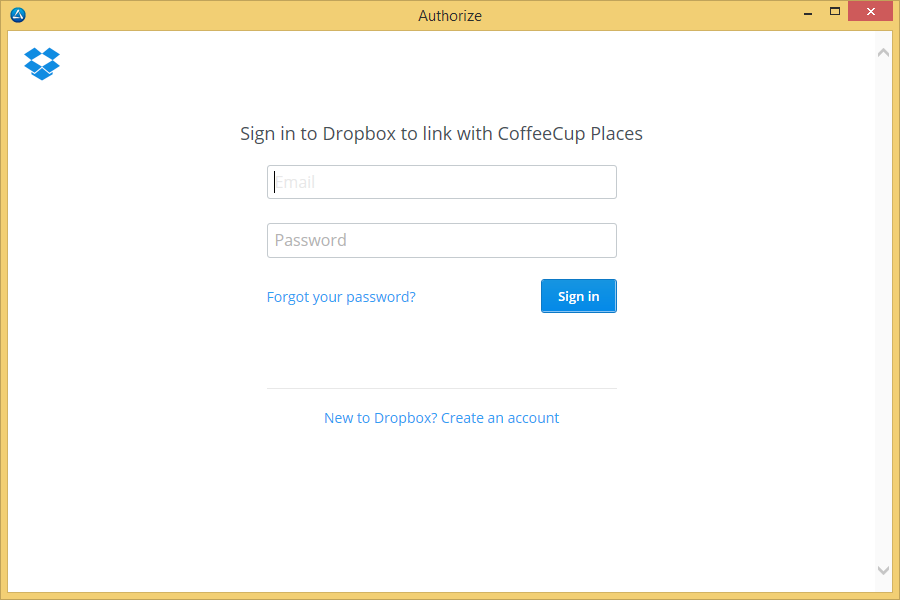
Enter your Dropbox account information and then click the Sign in button.
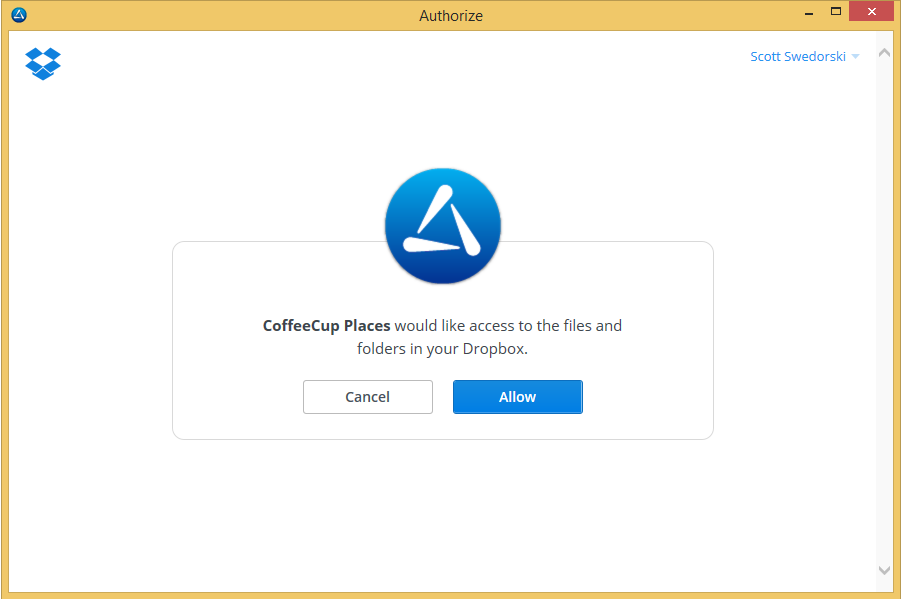
Once logged in, click the Allow button. This will then authorize Places to connect to your Dropbox account.
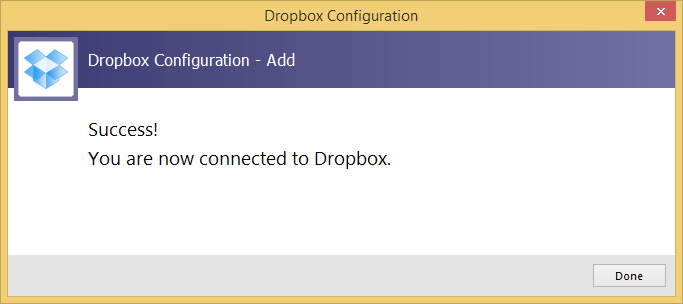
Your connection to Dropbox is now complete. Now click Done.
Google Drive:
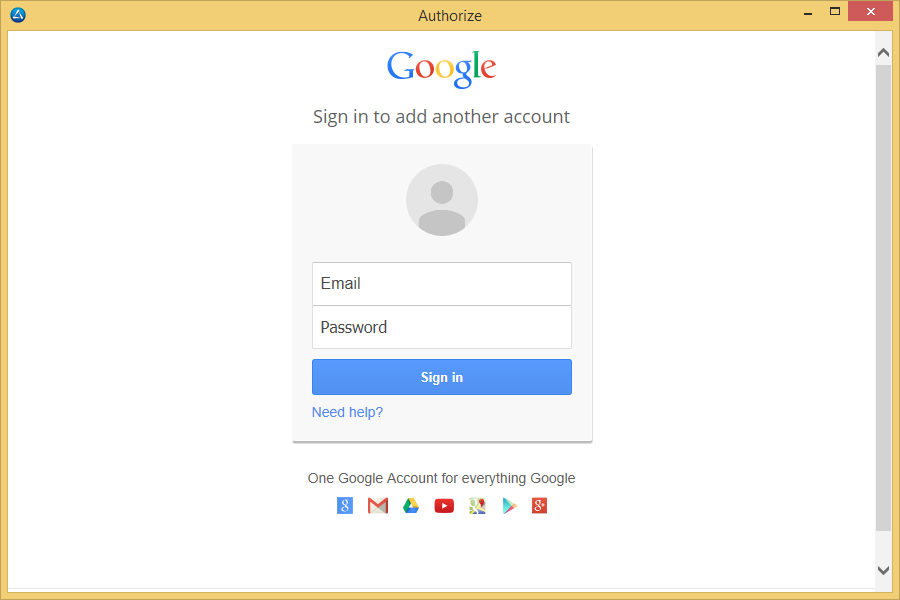
Enter your Google account information and then click the Sign in button.
Once logged in, click the Accept button. This will then authorize Places to connect to your Google Drive account.
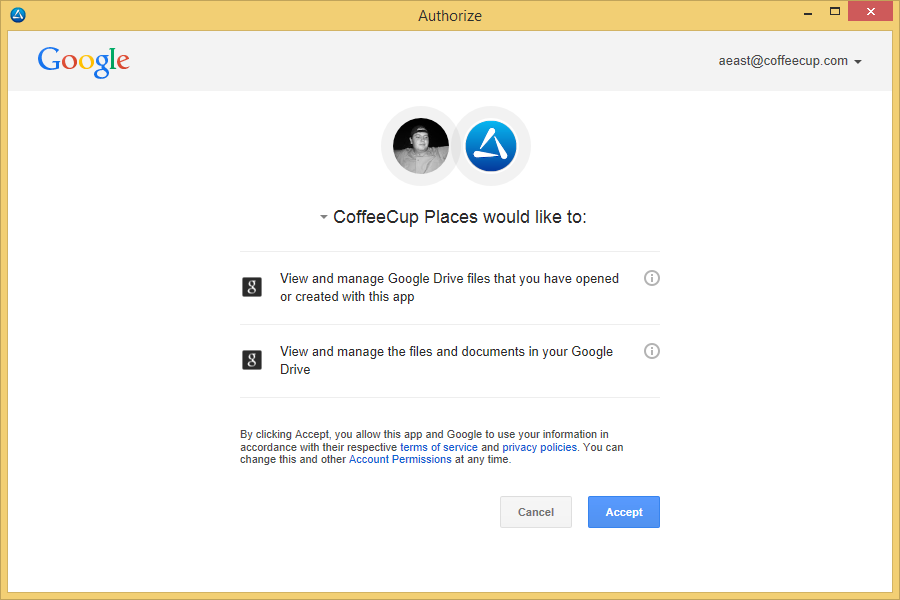
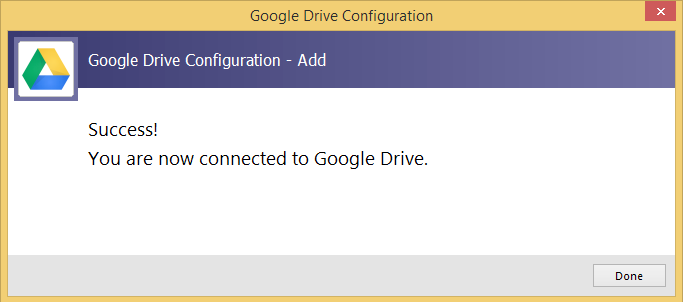
Your connection to Google Drive is now complete. Now click Done.
OneDrive:
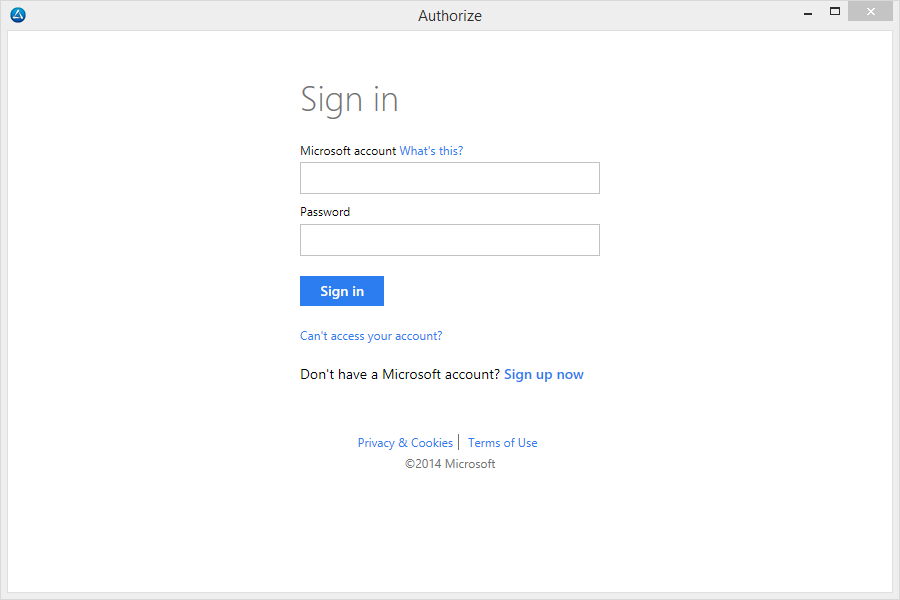
Enter your OneDrive account information and then click the Sign in button.
Once logged in, click the Yes button. This will then authorize Places to connect to your OneDrive account.
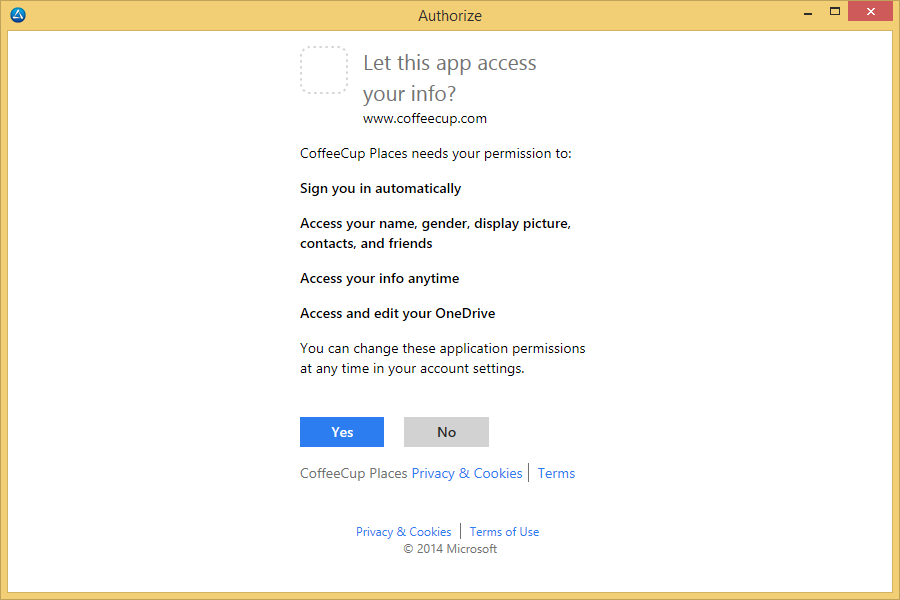
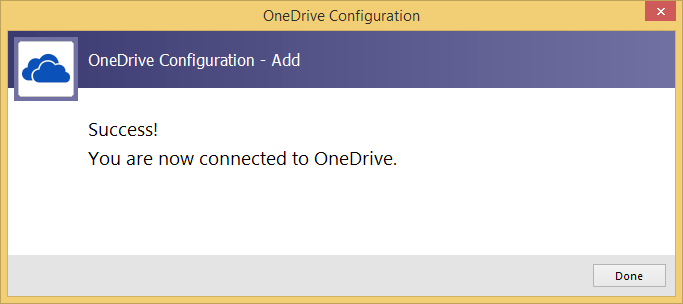
Your connection to OneDrive is now complete. Now click Done.
Cloud Connection Proccessing Time
You may notice when attempting to authorize a cloud profile for the first time, it could take a few moments to process. This is normal and is not something we have direct control over. If the process takes an unusual amount of time, close the connection and try again in a few minutes.
Modifying & Disconnecting
There are a few things you should know about adding any cloud connection. As with the desktop software that each of these companies offers, only one connection per cloud type may be configured at a time. You can however easily switch between accounts by disconnecting and then authenticating with the new account credentials.
Modifying:
To modify or disconnect from any Cloud connection, you must first make sure the place (Box, Dropbox, Google Drive, OneDrive) is not currently open nor has any file transfers in progress. Select the cloud connection you wish to modify/disconnect from and then click Edit Place. For this example, we are going to be using Box.
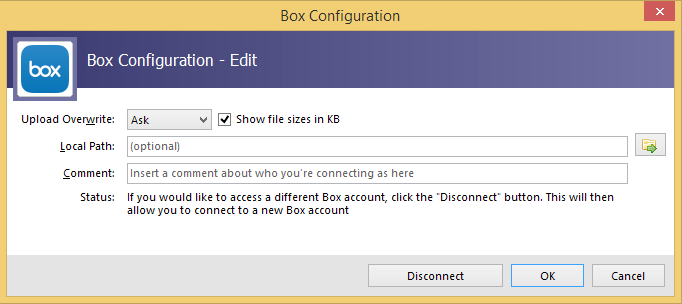
Optional Settings
Upload Overwrite:
These settings determine how Places will handle files that are already located on the server you are uploading to.
- Ask: If a file with that name is found, you will be prompted on what you would like to do.
- Overwrite: If a file with that name is found, it will automatically be overwritten.
- Skip: If a file with that name is located, the upload will skip that file.
Disconnecting
To switch accounts, click the Disconnect button.
Now click the Connect button. A browser window will now appear. You will then login using your username and password for that particular cloud and allow Places access to it.
Enter your new Box account information and then click Authorize.
Once logged in, click the Grant access to Box button. This will then authorize Places to connect to your Box account.
Don't have a cloud account?
You can currently sign up for free for all the cloud services listed below via the links below:
Social Connections
Stay connected to your social life using Places and connect to your Flickr or Instagram accounts to download, upload and share your photos. To begin, click Add a Place and choose the account you wish to connect to and log in.
Step 1:
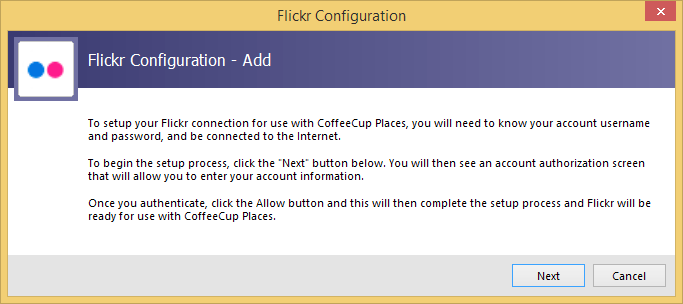
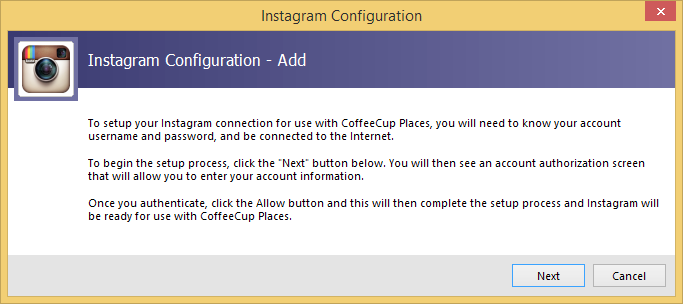
You will now see the Configuration window and this will begin the configuration process. Now click Next.
Flickr:
Instagram:
Step 2:
A browser window will now appear. You will then login using your username and password for that particular social media and allow Places access to it.
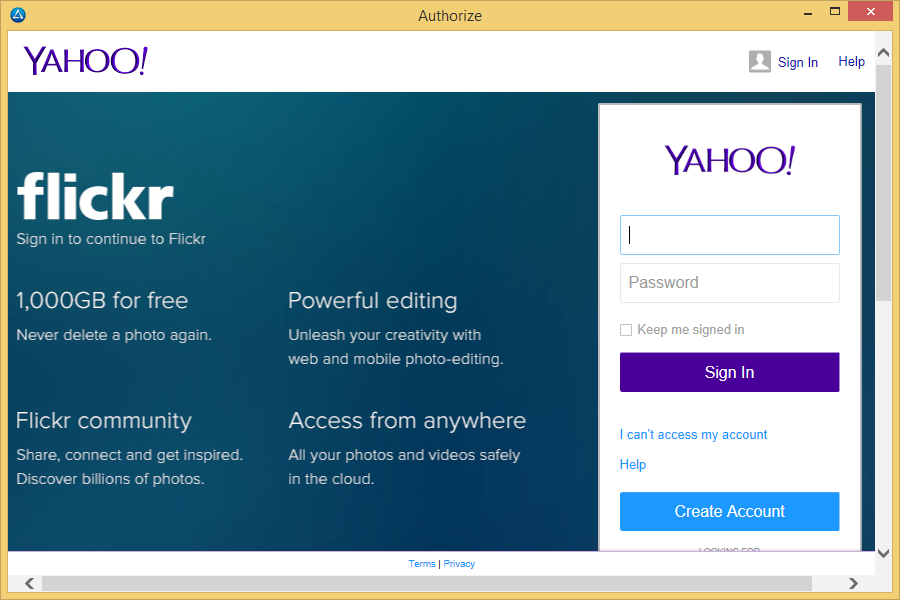
Flickr:
Enter your Flickr/Yahoo account information and then click the Sign in button.
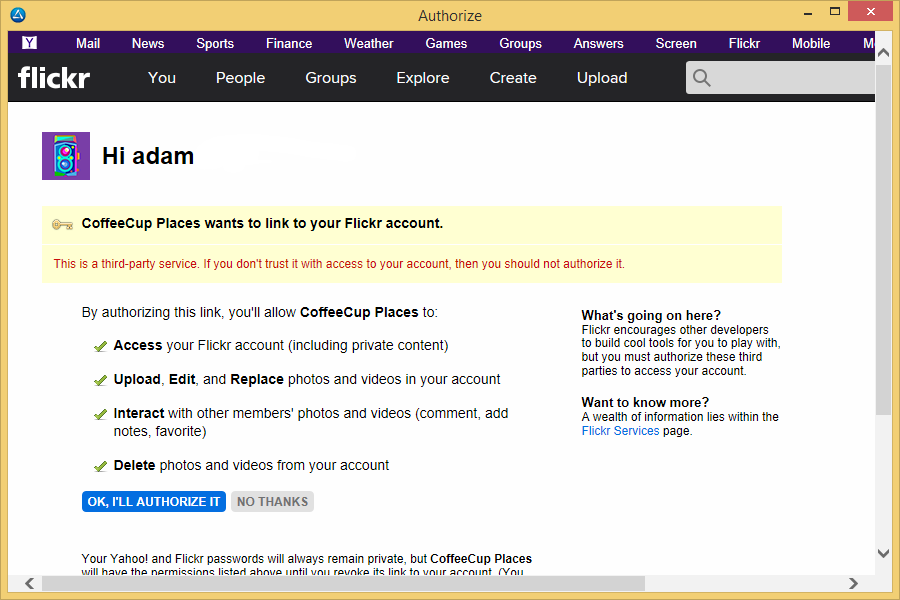
Once logged in, click the OK, I’LL AUTHORIZE IT button. This will then authorize Places to connect to your Yahoo/Flickr account.
Your connection to Flickr is now complete. Now click Done.
To access your content, double-click on the newly created Flickr place to see your Photostream, Albums and Album Items.
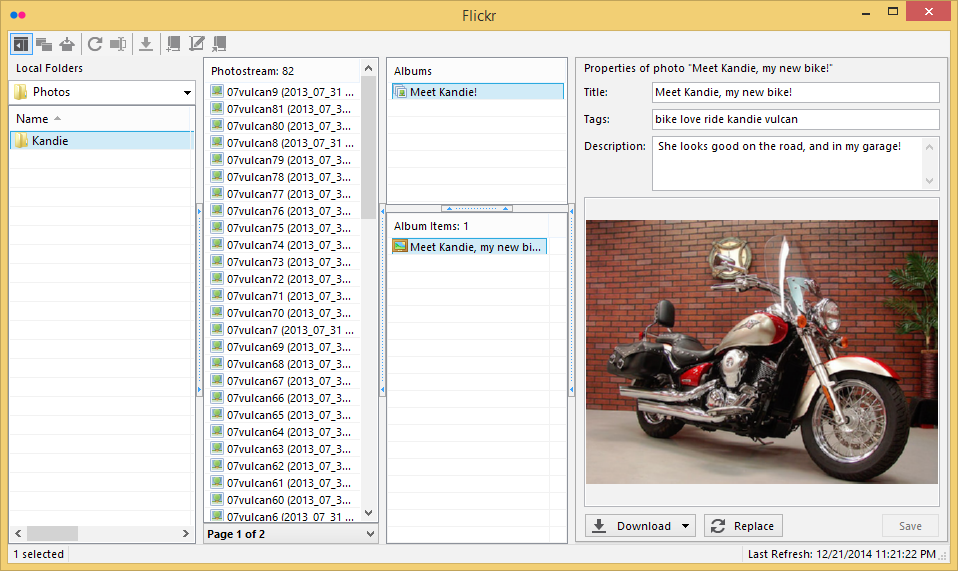
Features and Settings:
Places allows you to access many features that Flickr has to offer.
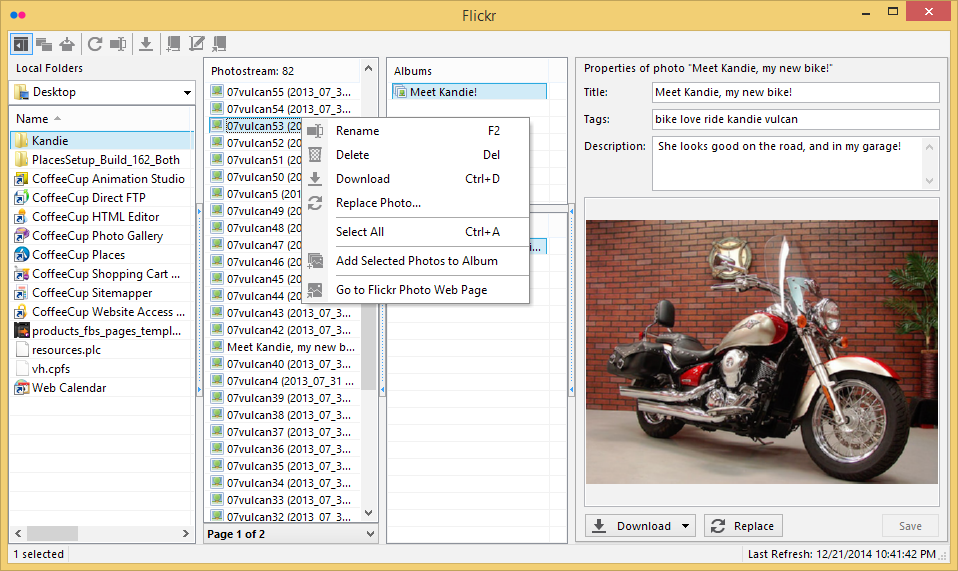
Right-click Menu:
- Rename: Renames a photo.
- Delete: Deletes the selected photo(s).
- Download: Downloads the selected file.
- Replace Photo: Replaces the current photo selected with a different one.
- Select All: Select all Album or Photo Stream items (used for downloading or deleting).
- Add Selected Photos to Album: Takes selected Photostream image and assigns it as the albums photo.
- Go to Flickr Photo Page: Views the selected photo in your browser through Flickr’s website.
Toolbar Icons (from left to right):
- Close Local View: This will close the local folder view.
- Pop out Local Window: Allows you to open a new place containing your local folder.
- Zip Selected Items: Zip up all the selected files, just note this will only work on files stored locally.
- Refresh: Refresh current view.
- New Folder: Creates a new folder.
- Rename: Renames the selected file.
- Download: Downloads the selected file.
- Create New Album: Creates a new album.
- Edit Album Details: Edits the details of the selected album.
- Go To Flickr Album Web page: Views the selected album in your browser through Flickr’s website.
Other Features:
- Title: Adds a title to the Photo.
- Tags: Tag your photos so they can be found through Flickr’s website in their search.
- Description: Adds a description to the photo.
- Download Button: Offers the ability to download the photo with preset dimensions.
- Replace Button: Replaces the current photo selected with a different one.
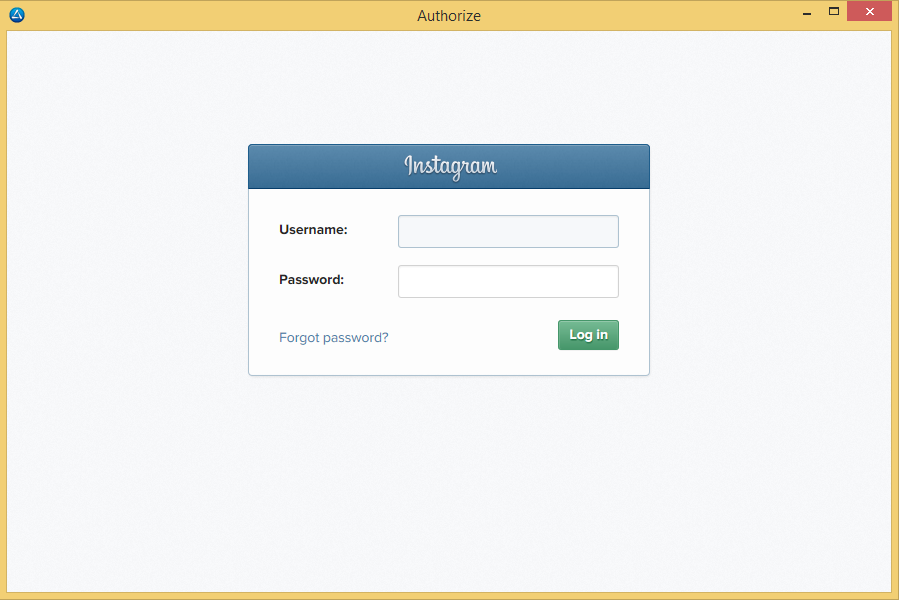
Instagram:
Enter your Instagram account information and then click the Log in button.
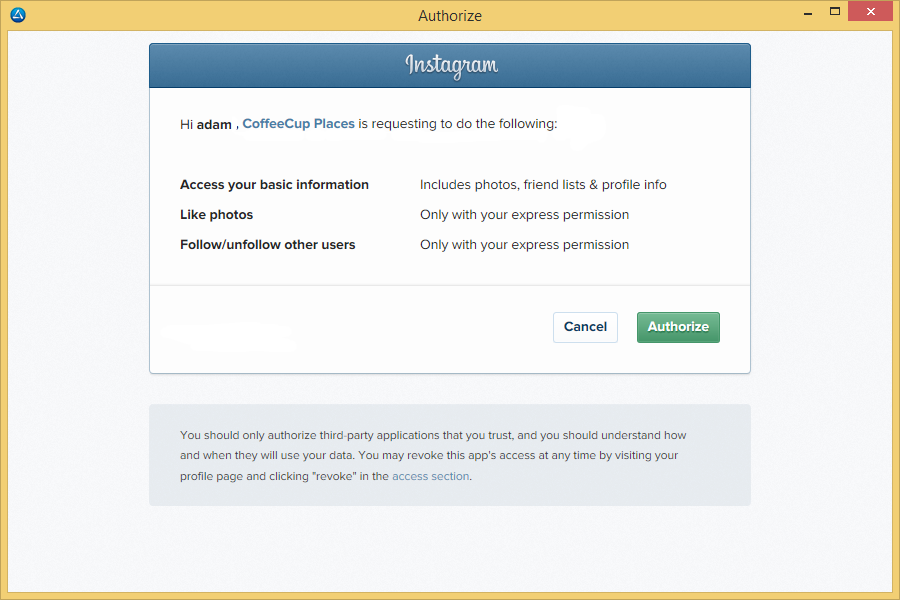
You will then be asked to Authorize CoffeeCup Places to access your Instagram account, click Authorize.
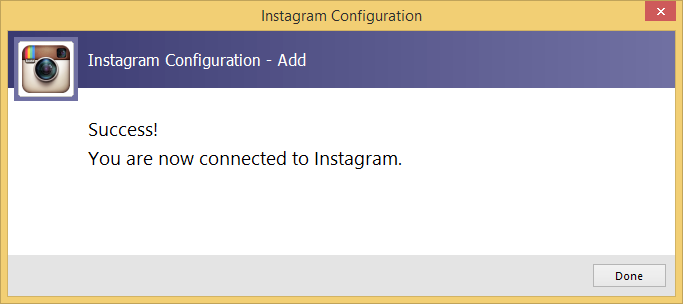
Your connection to Instagram is now complete. Now click Done.
To access your content, double-click on the newly created Instagram place to see your Feed.
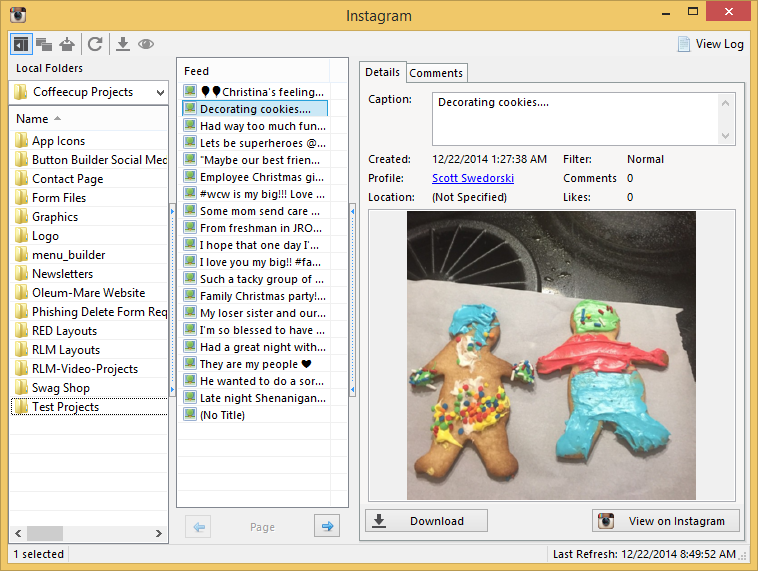
Features and Settings:
Places allows you to access some features that Instagram has to offer however some features can only be done through their mobile app (specifically uploading photos).
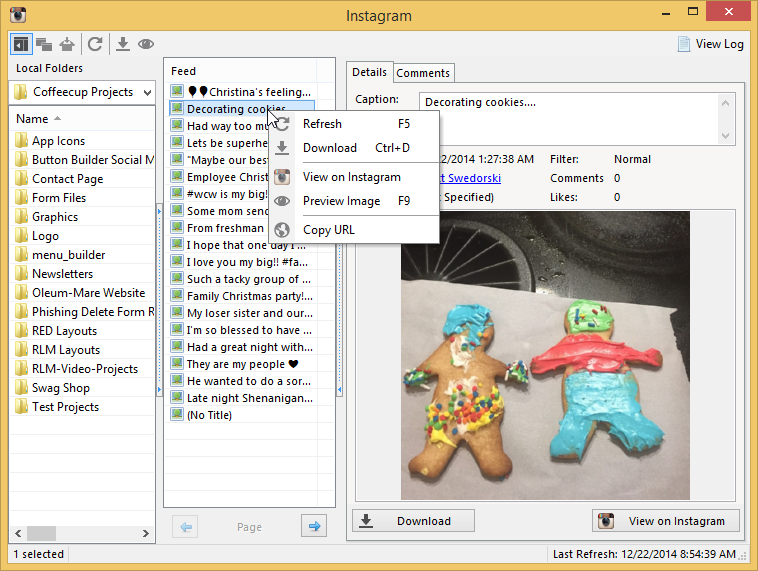
Right-click Menu:
- Refresh: Refreshes the Feed.
- Download: Offers the ability to download the selected photo.
- View on Instagram: Views the selected photo in your browser through Instagram's website.
- Preview Image: Previews the selected photo.
- Copy URL: Copies the URL to that photo to your clipboard. You can then share that URL with others to view the photo.
Toolbar Icons (from left to right):
- Close Local View: This will close the local folder view.
- Pop out Local Window: Allows you to open a new place containing your local folder.
- Zip Selected Items: Zip up all the selected files, just note this will only work on files stored locally.
- New Folder: Creates a new folder.
- Rename: Renames selected file.
- Download: Downloads the file to another place.
- Preview Image: Previews the selected photo.
Other Features:
- Download Button: Offers the ability to download the selected photo.
- View on Instagram Button: Views the selected photo in your browser through Instagram's website.
Connecting with Instagram
Instagram does not allow connection to your photos it only allows you to connect to the photos shared by others. Yes, we believe it is crazy as well, but they only allow this access for their mobile app.
Modifying / Disconnecting
As with cloud connections, only one social media connection may be configured at a time. You can however easily switch between accounts by disconnecting and then authenticating with the new account credentials.
Modifying
To modify or disconnect a Social connection, you must first make sure that you are not currently connected. Select the Social connection you wish to work with and then click Edit Place. For this example, we are using Instagram.
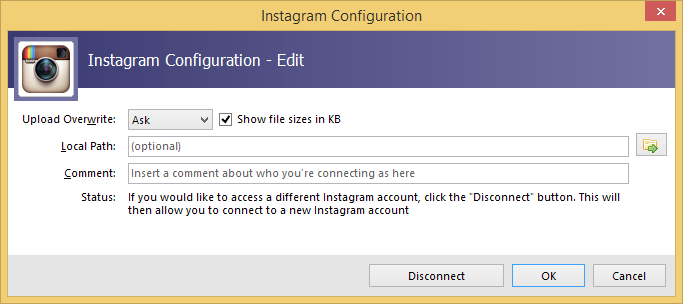
Optional Settings
Upload Overwrite:
These settings determine how Places will handle files that are already located on the server you are uploading to.
- Ask: If a file with that name is found, you will be prompted on what you would like to do.
- Overwrite: If a file with that name is found, it will automatically be overwritten.
- Skip: If a file with that name is located, the upload will skip that file.
Disconnecting
To switch accounts, first click the Disconnect button. Now click the Connect button.
A browser window will now appear. You will then login using your username and password for that particular social media and allow Places access to it.
Enter your Instagram account information and then click the Log in button.
Once logged in, click the Authorize button. This will then authorize Places to connect to your account.
Your new connection to Instagram is now complete. Now click Done.
Need a social account?
Remember you have to have an account to login. If you do not, you can sign up for Instagram and Flickr free.
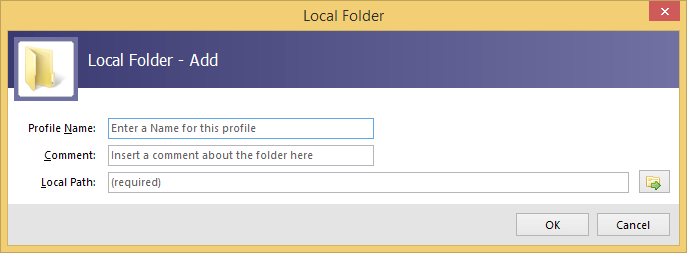
Local Folders
A local profile is a shortcut to a folder on your computer inside Places itself. This option is very helpful when connecting to multiple cloud, social, and FTP accounts. To add a local profile to Places, click Add a Place and choose the Local Folder.