

If you want to build good-looking, well-functioning navigation menus, then Menu Builder is exactly what you need. Menu Builder has been designed to help you build sophisticated, standards compliant, and fast loading HTML menus that is easy to master!
Did you know?
While this article is written for Responsive Site Designer, the same process follows for adding a menu to Foundation Framer or Bootstrap Builder
Now that you have created your responsive menu, it is ready to be added to Responsive Site Designer. While the process may look complicated at first, in just a few simple steps, you will have added your menu to RSD!
Adding a Responsive Menu Responsive Site Designer.
Step 1:
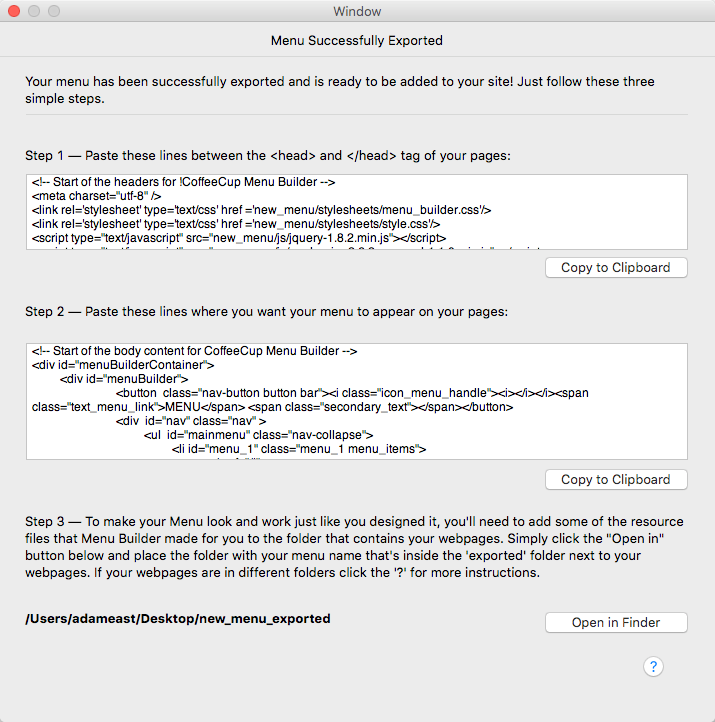
First, make sure that you have already exported your menu before beginning this process. To learn how to export your menu, read over Exporting your Menu. After exporting your project, the following dialog will appear.
Step 2:
Click the 1st Copy to Clipboard button located in Step 1 above and then switch over to Responsive Site Designer and go to the Settings pane. Now locate the <head> section and paste in the markup.

Step 3:
Go back to Menu Builder and click the 2nd Copy to Clipboard button in Step 2 and then switch over to Responsive Site Designer and add an HTML Element to your page where you want the menu to appear. Now go to the Design pane for the HTML Element. Locate the <HTML> section and paste in the markup.
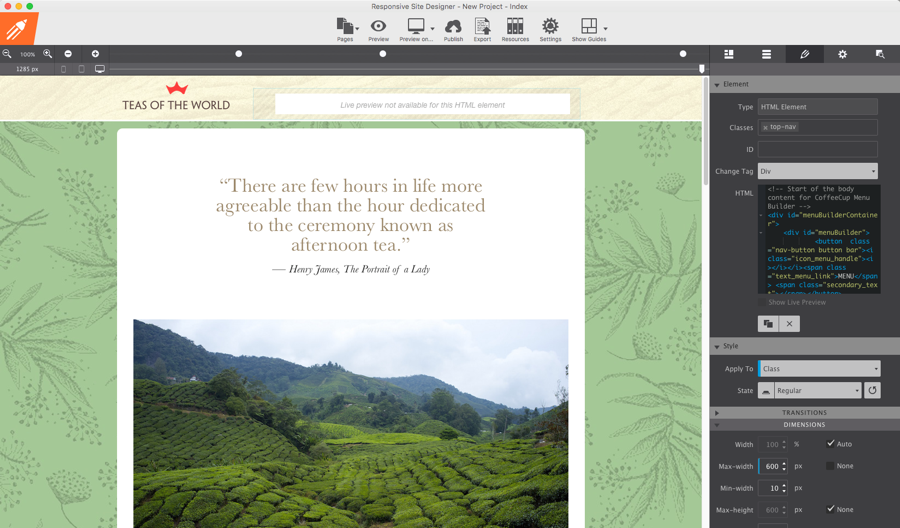
Be sure to use a good semantic CLASS or ID name for the HTML Element!
While adding the code to the HTML Element it would be a good time to create a semantic <CLASS> name. Use simple descriptive words like top-menu, bottom-menu, navigation-menu etc. If you are not familiar with these yet, read over the article on Working with selectors.
Step 4:
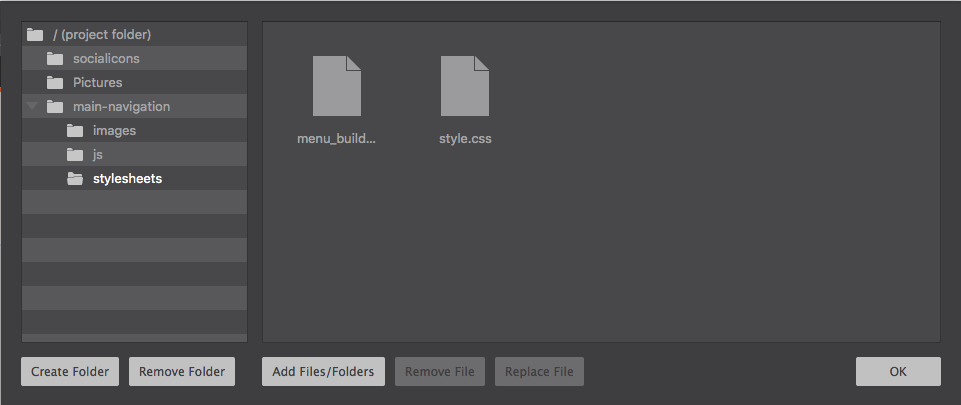
Next, we need to include the Menu Builder project files that were generated when exporting your menu. In Responsive Site Designer, click Resources and make sure the top folder (project folder) is selected (it will be bolded white). By selecting that folder first, it will place all the files into the root folder of your project.
Step 5:
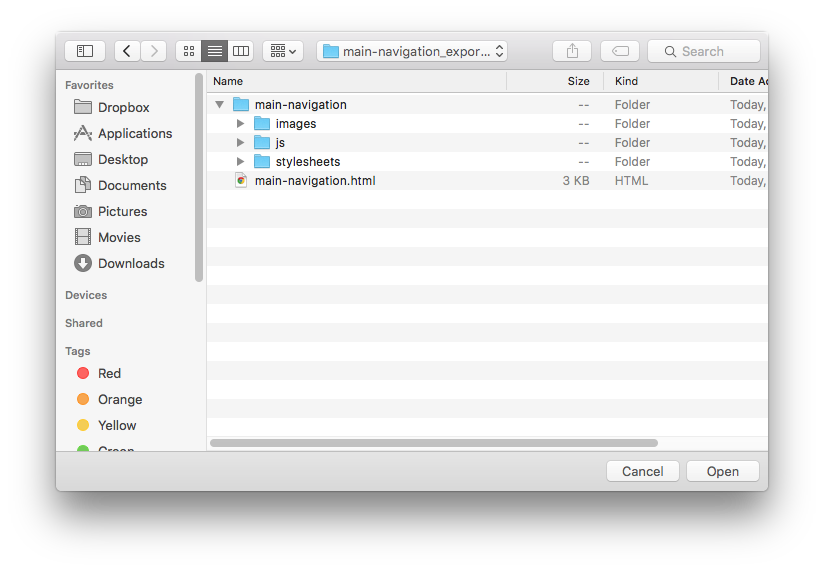
Next, click ADD FILES/FOLDERS button. This will bring up a file browse dialog. Navigate to where you exported your menu.
Step 6:
All you now need to do is select the top folder (i.e. main-navigation) and click the Open button. RSD will then bring in all files, folders and sub-folders for your menu.
Success!
Ta Da!! Your menu has now been added to your page! Just upload your website and you are good to go!
For any feedback or questions, you can message Scott or Adam on Facebook, leave a note in the CoffeeCup user forums, or on our Facebook page. Want to share this article? Please help make RSD known to the world by sharing it on any (or all) of the buttons at the top of the page, Twitter, Facebook, Pinterest or Google+.