Buy the best Apps
for Windows & macOS
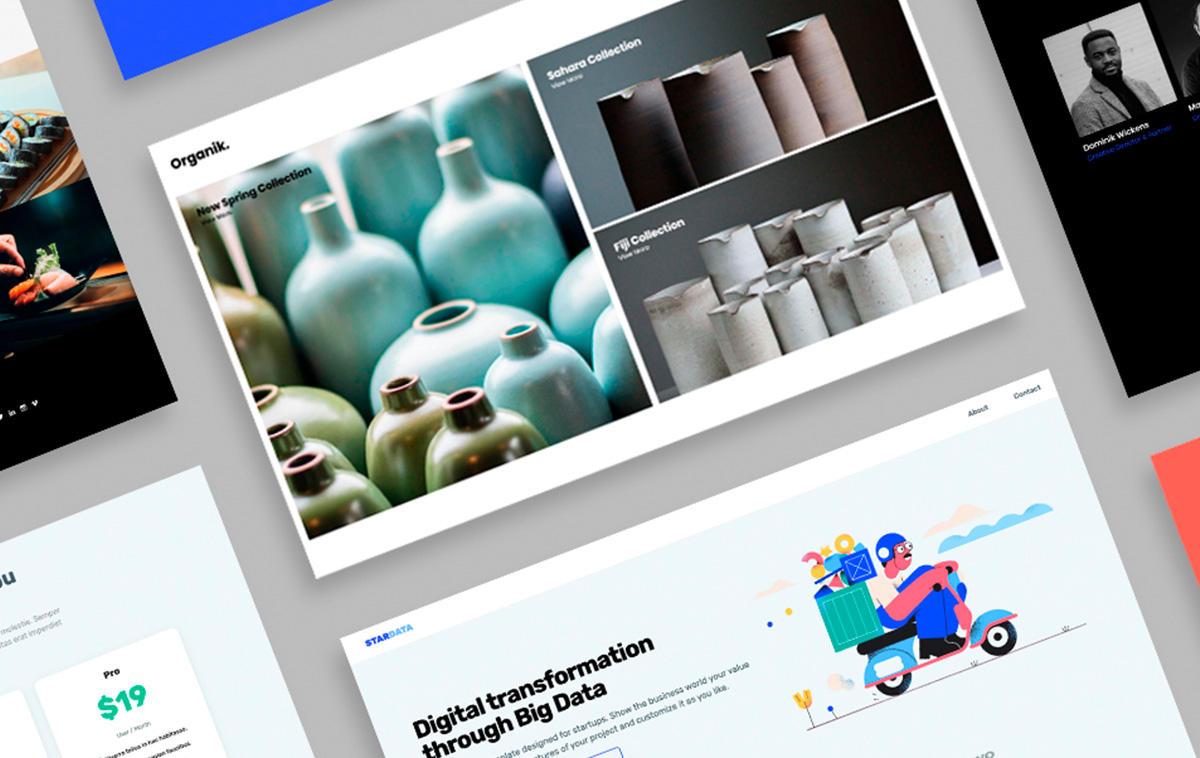

Site Designer
$99
Design visually with intuitive CSS style controls. Ultimate creativity.


Email Designer
$129
Build and send newsletters and sales campaigns that display consistently.
Learn More

Web Form Builder
$149
Full-service web forms that custom-fit any device, boosting submit rates.


Website Insight
$19
Analyze 70+ factors that improve your site's usability and search rank.


Save money,
buy a pack
Get the right set of tools for your design needs. Create beautiful and usable forms to collect info from your visitors with our Forms Pack. Marketers, we recommend for you the Email Pack for better engagement with your audience. If you’d prefer an all-in-one solution with all our software and services, grab the Super Pack.
See all the PacksFree Web Design Software
Access complimentary software and design resources. Handpicked for your real life projects.