

Setting up a Google Workspace account.
Did you know that you can set up email accounts from your own domain using the power of the user-friendly Gmail browser-based email system? This means you can have any email address you want provided you own the domain name, and you’ll be able to access it from anywhere a browser is handy. Setting it up is a little intimidating, but if you follow these steps, you should be in the clear. (And you only have to set it up once!)
As an example, let’s assume you want to own the domain i-really-love-coffeecup.com and your name is Suzanne (awesome name BTW), you could easily set up suzanne@i-really-love-coffeecup.com as your email address.
This works only for the domains that you own. If you don’t have a domain name yet, you can always buy one from us.
Gmail is awesome, we’re using it ourselves!
We briefly considered creating our own email service, but a few things halted that process. First and foremost the simple observation that we have been using gmail for our email needs since somewhere in 2007 — and have always been more then happy with it. So why create something else for our customers?
We also wanted to keep the price of our publishing and form processing platform low and not clog our support center with email inquiries. Which is one of the main support topic for hosting providers… We also decided it should be open, so that you can use any email service you like. We happen to think that Gmail is a particularly good one.
Setting up a Google Workspace account
Step 1
Go to the Google Workspace and click the button that says Get Started.
Step 2
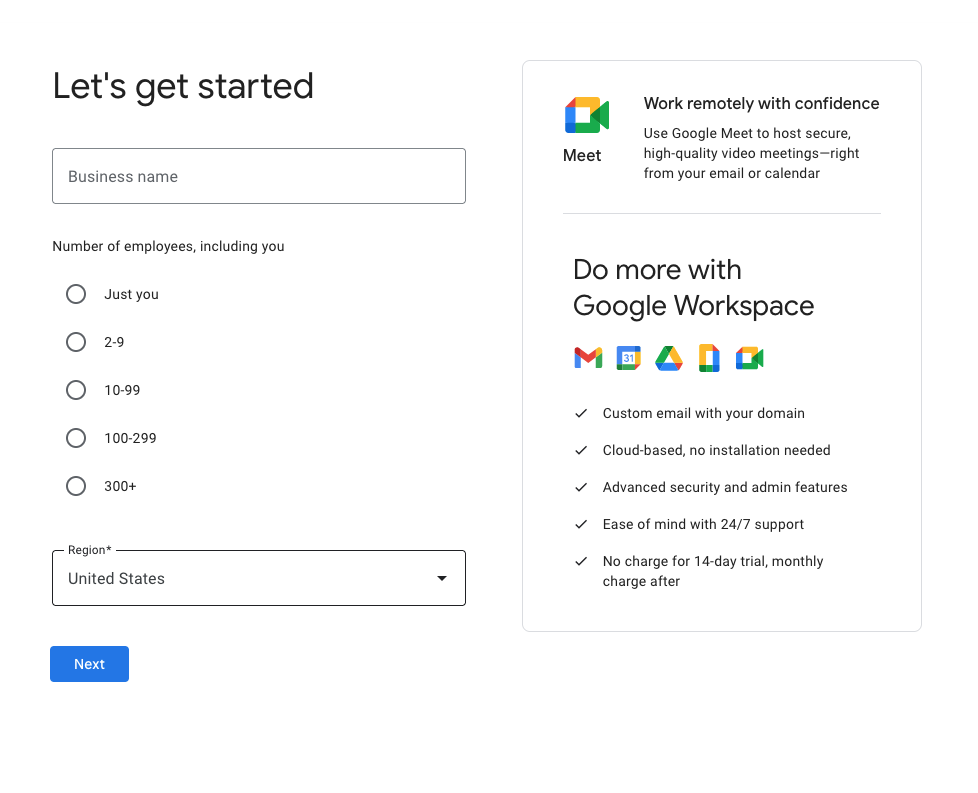
Enter your business name, region, and select the number of employees and click Next.
Step 3
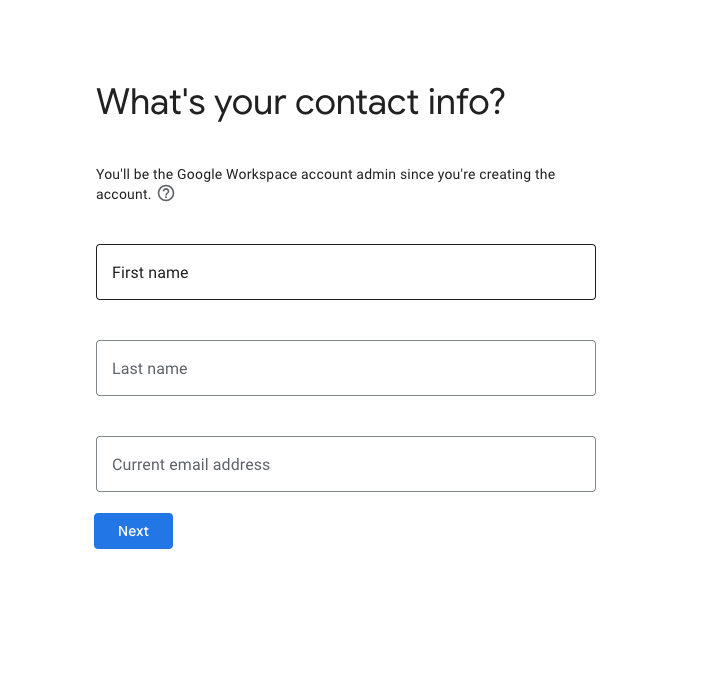
Enter your contact information and click Next.
Step 4
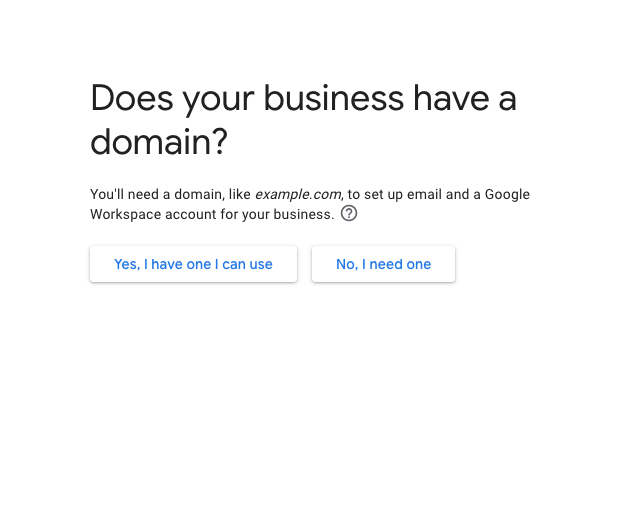
Click the Yes, I have one I can use button.
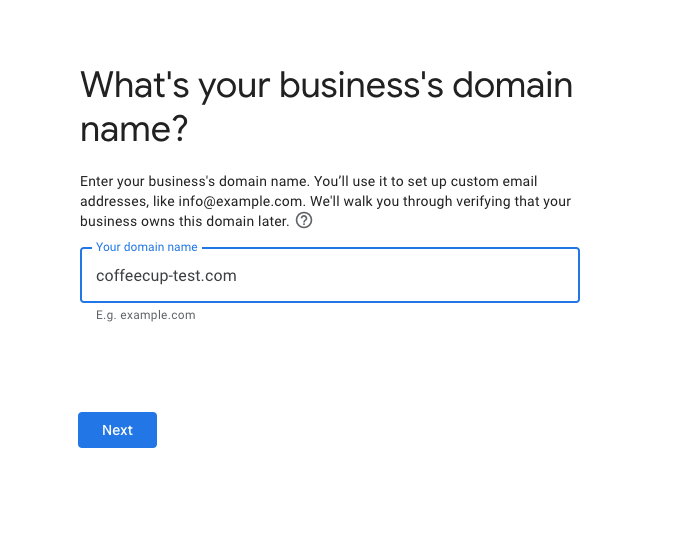
Step 5
Enter your domain name and click Next.
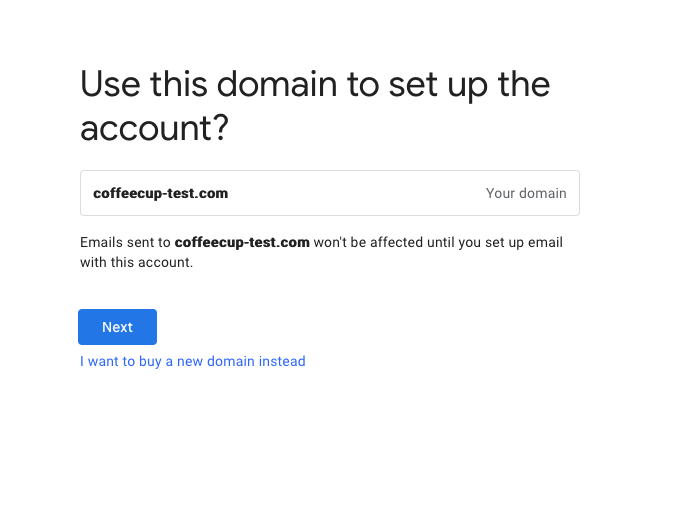
Step 6
Verify your domain name and click Next.
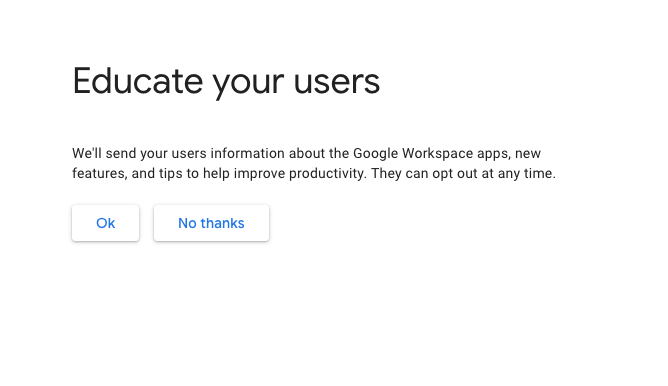
Step 7
Choose if you would like to educate your users and click Next.
Step 8
Configure how you will sign in. You will choose a user name for your email address and a password. Then hit Agree and Continue.

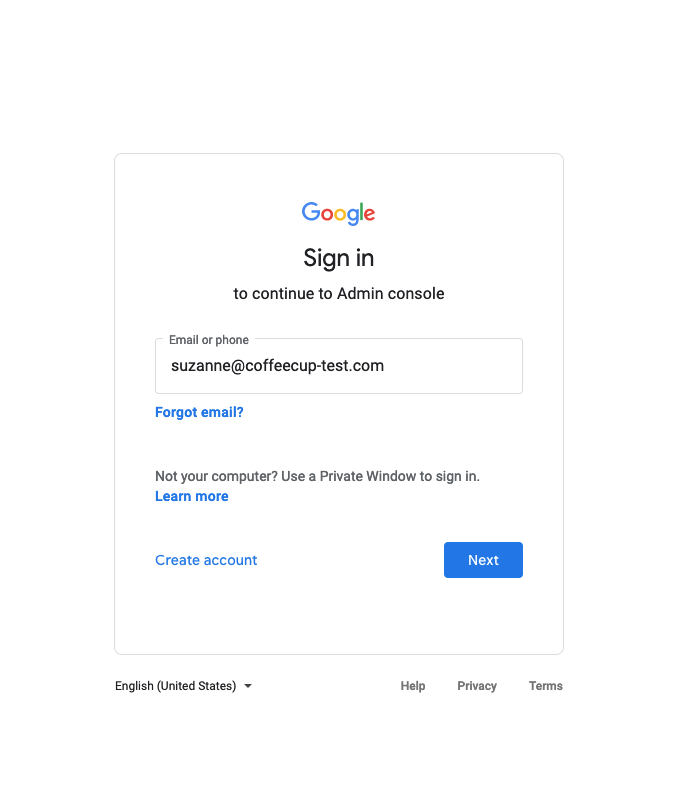
Step 9
Log into your new account using your new email address and password.
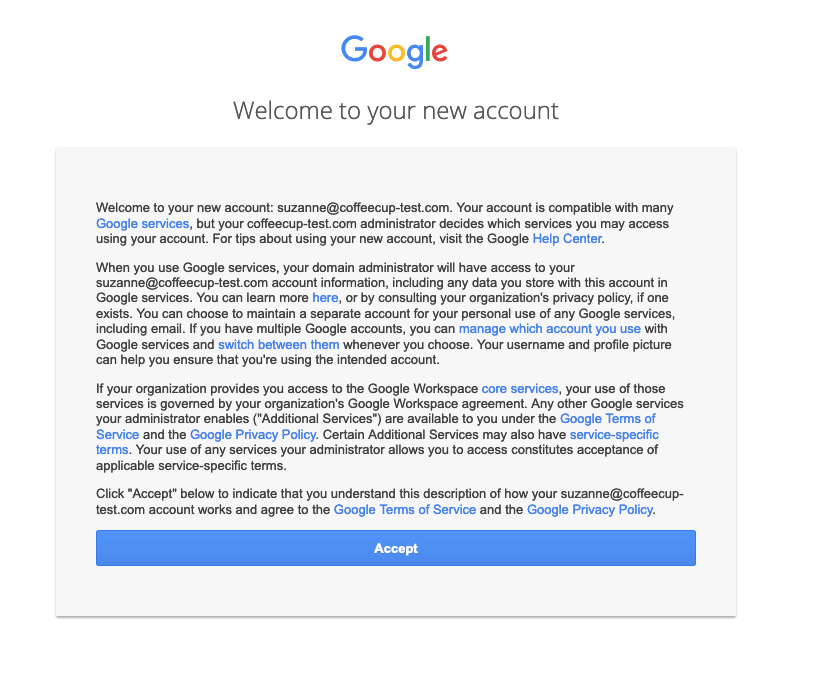
Step 10
Review and accept the Terms of Service.
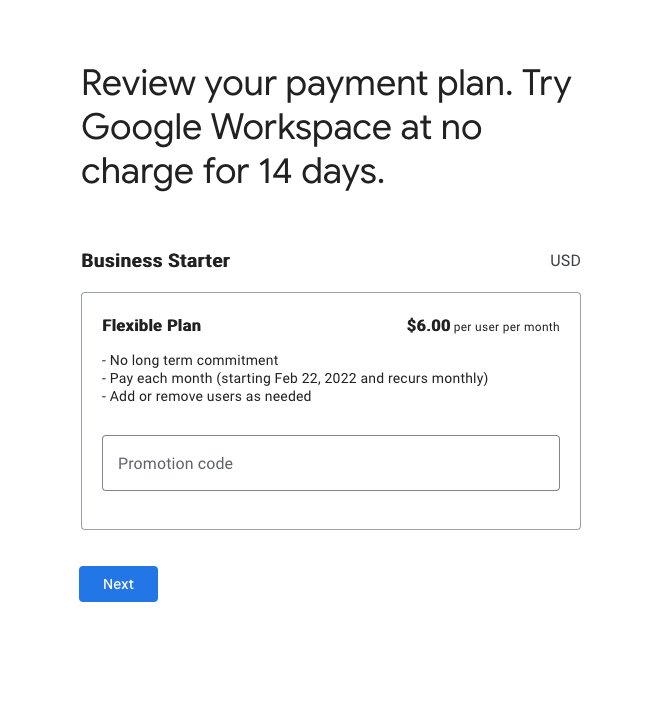
Step 11
Review trial details and payment terms and pricing.
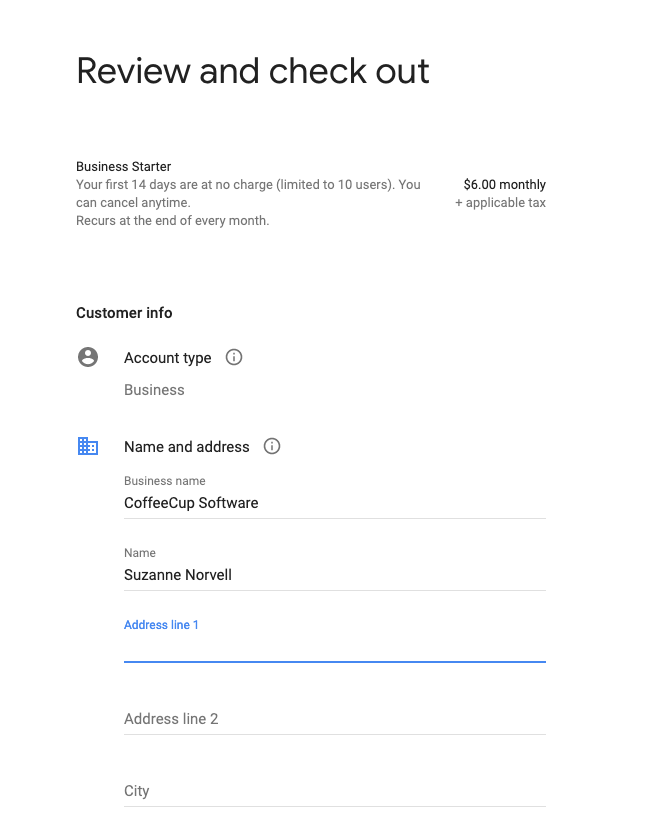
Step 12
Enter your billing details and then hit Agree and Continue.
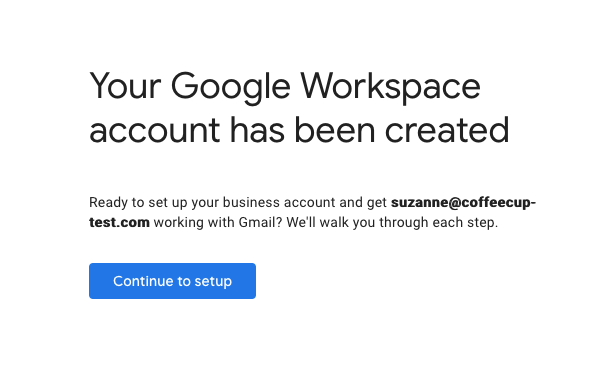
Step 13
Congratulations! Your Google workspace has been created.
Step 14
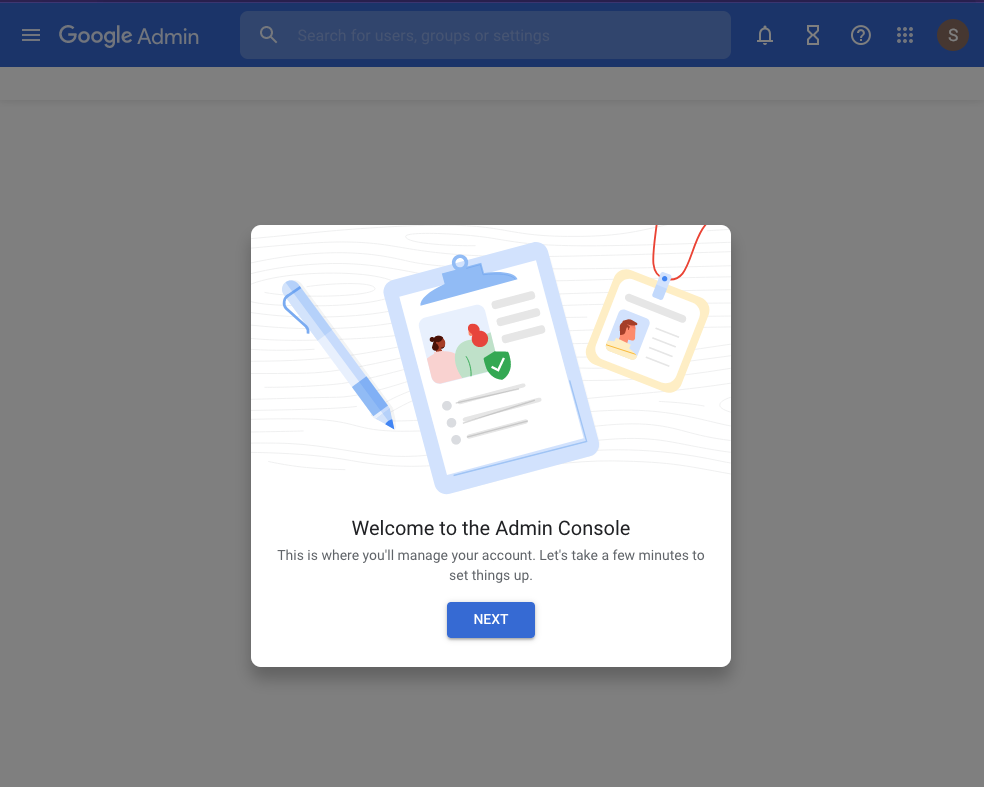
Welcome to the Admin Console. Click Next to continue.
Step 15
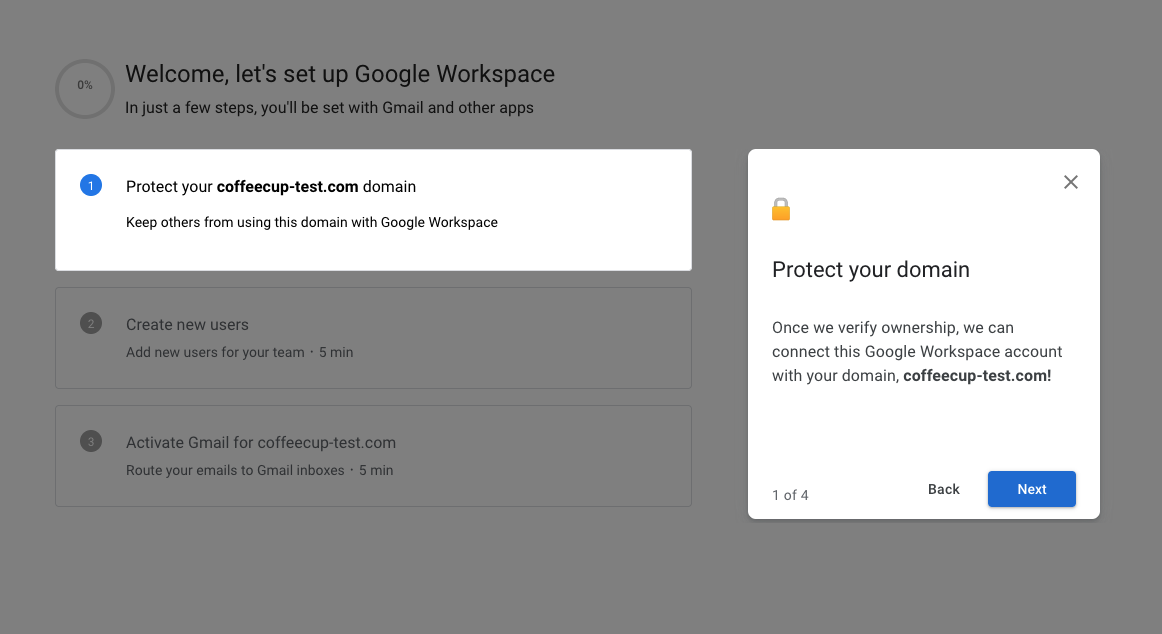
Google Workspace will give you a brief overview of the steps you need to take to complete your set up. This includes verifying your domain, creating any additional users, and activate your Gmail account. Click the Next button to review the short prompts.
Step 16
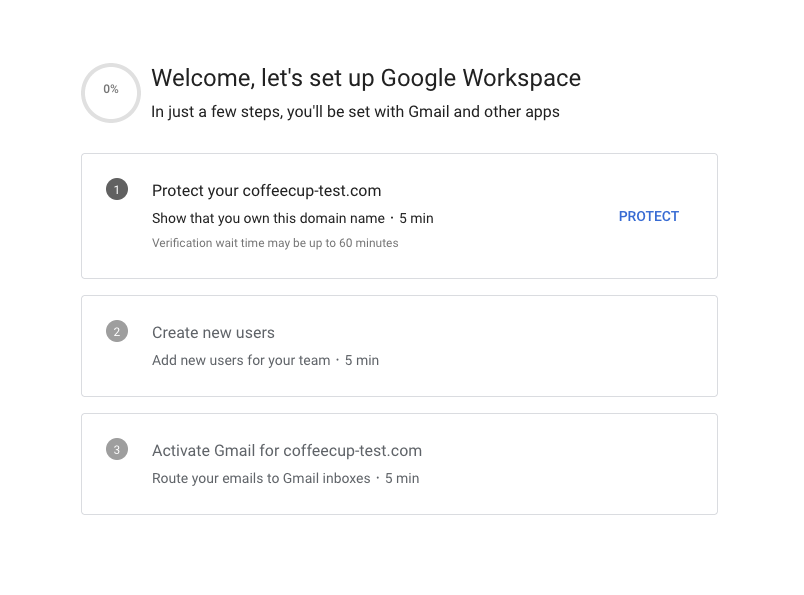
Set up Google Workspace. Click Protect to begin the domain verification process.
Step 17
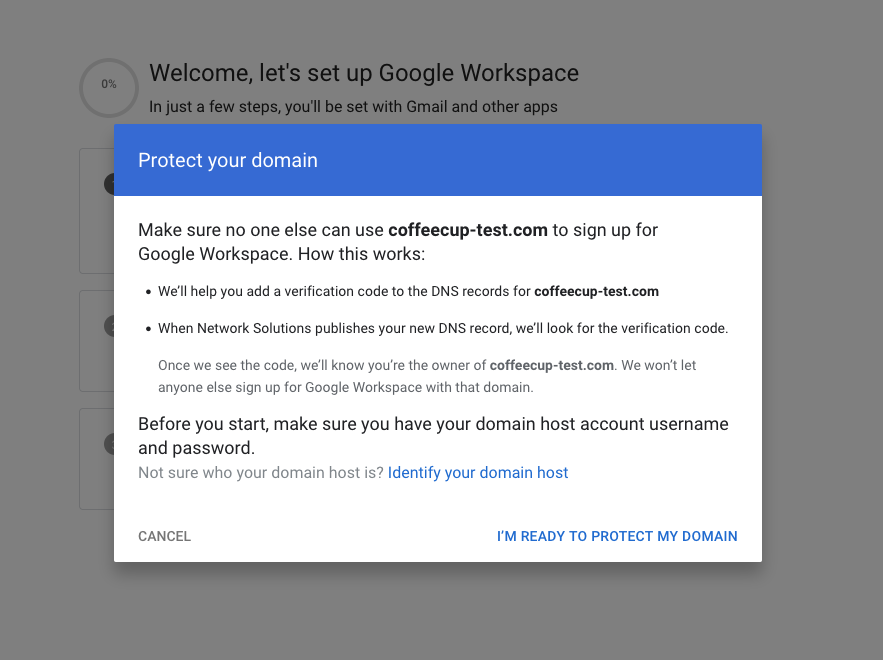
Review the prompt about protecting your domain and click I’m Ready To Protect My Domain.
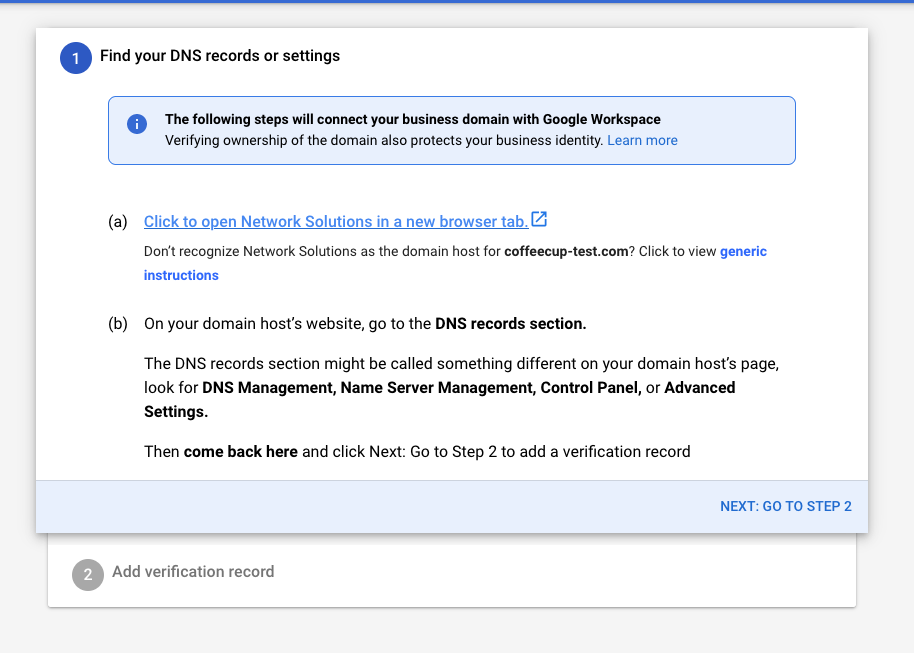
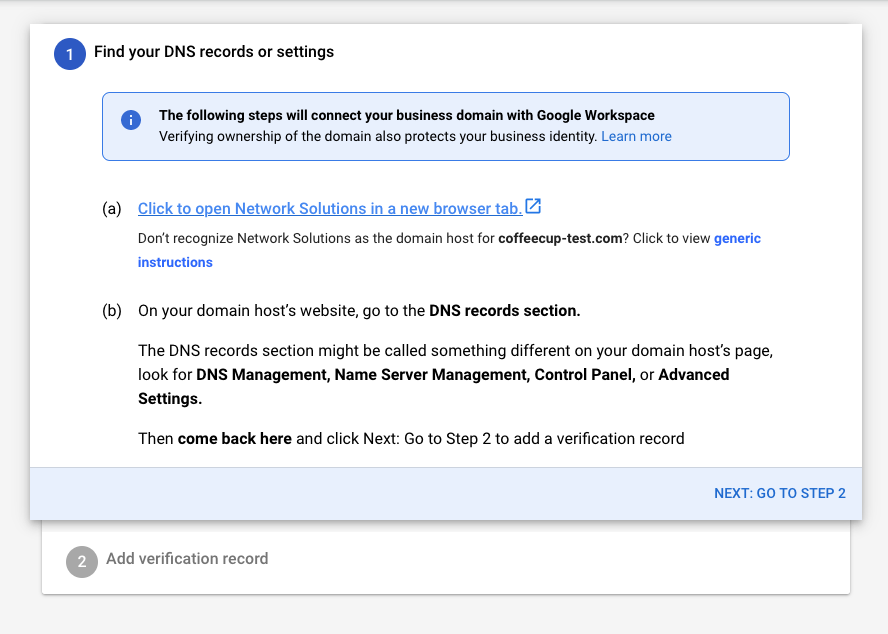
Step 18
Next you’ll need to access your DNS records. You will NOT go to the Network Solutions site as the prompt instructs. Domains purchased with CoffeeCup Software would be managed on the CoffeeCup website. CoffeeCup Software is a domain partner of Network Solutions. However, all DNS entries would be modified through your CoffeeCup dashboard.
Click Next: Go to Step 2
Step 19
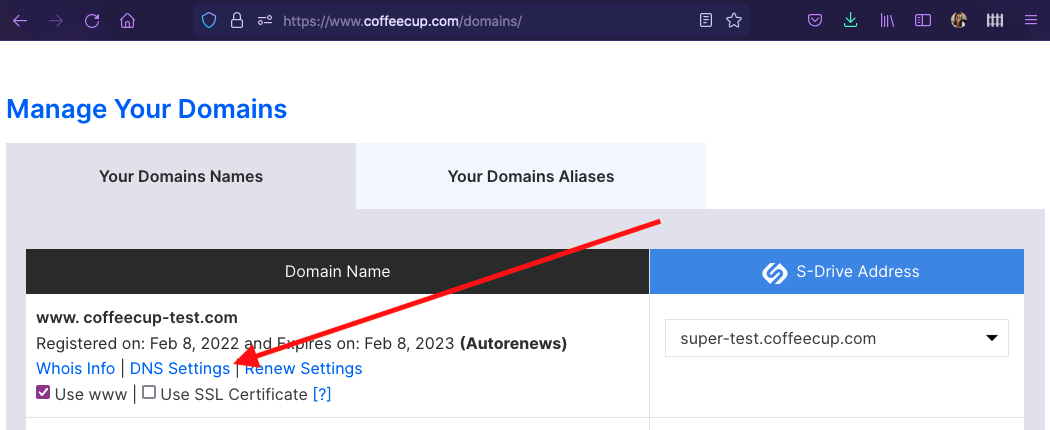
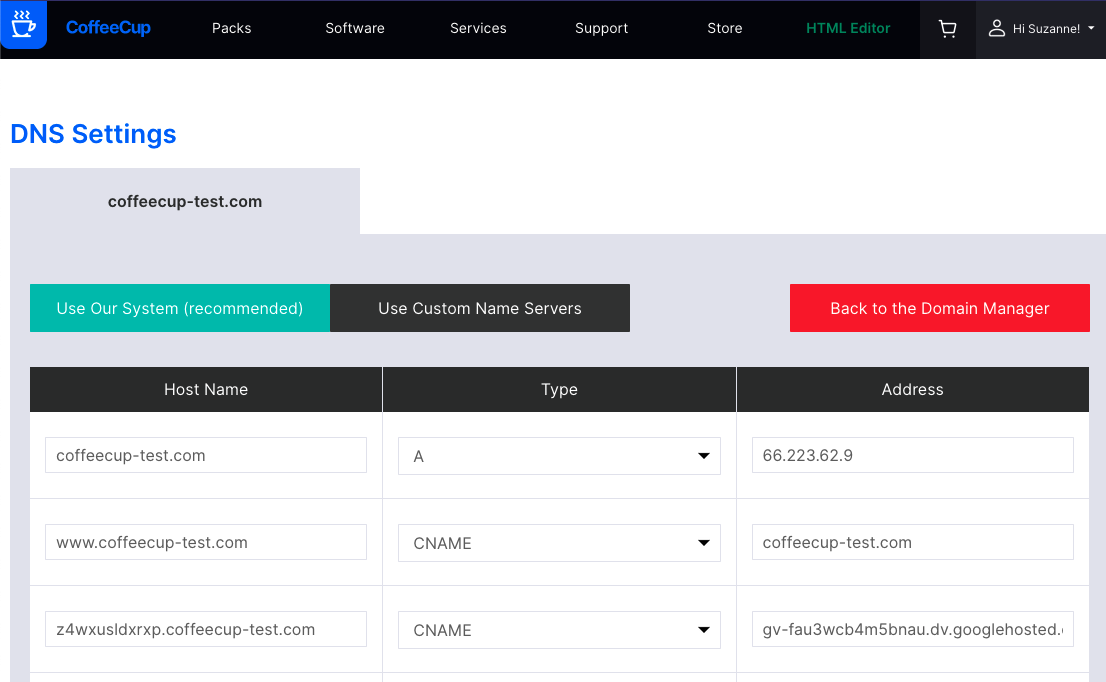
In a new website tab log into your CoffeeCup account and go to: https://www.coffeecup.com/domains/
Click on DNS Settings located below your domain information.
Step 20
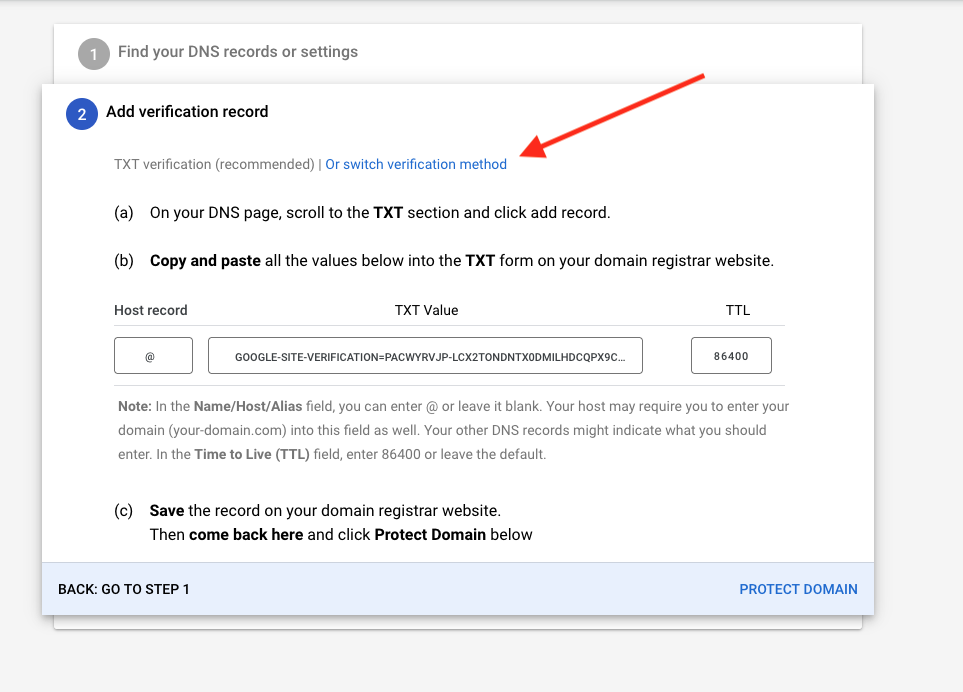
Go back to the Google Workspaces verification prompt and choose Switch Verification Method.
Step 21
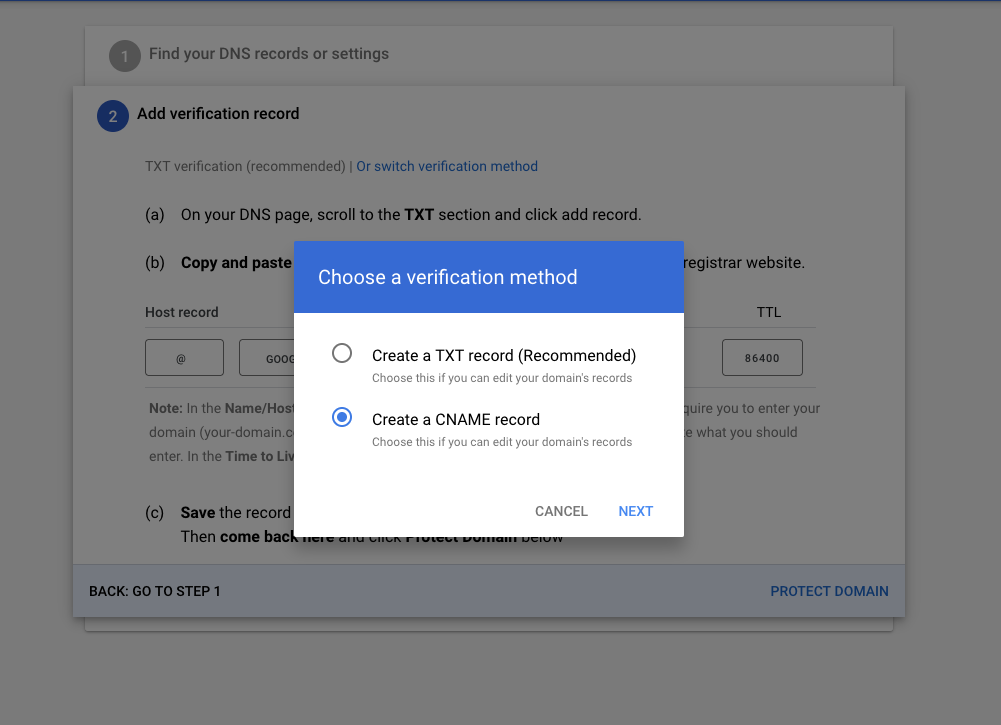
From the pop-up options, select Create a CNAME Record. Then click Next to continue.
Step 22
The DNS record overview will be listed once again. You will NOT go to the Network Solutions site as the prompt instructs. Domains purchased with CoffeeCup Software would be managed on the CoffeeCup website. CoffeeCup Software is a domain partner of Network Solutions. Though all DNS entries would be modified through your CoffeeCup dashboard.
Click Next: Go to Step 2.
Step 23
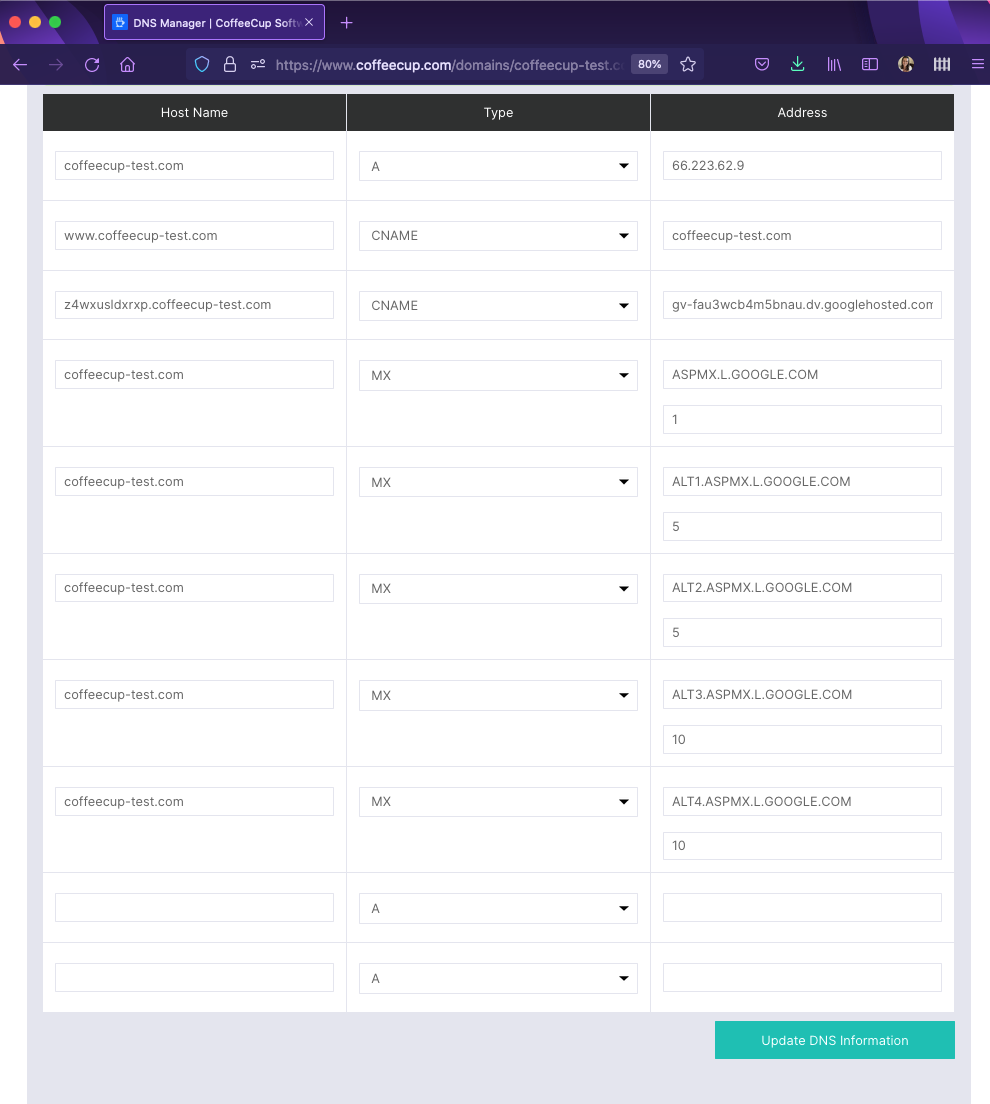
Next you will get access to the verification record needed to confirm you own the domain name. You will copy the Label/Host value and paste that into your CoffeeCup DNS record under the Host Name.
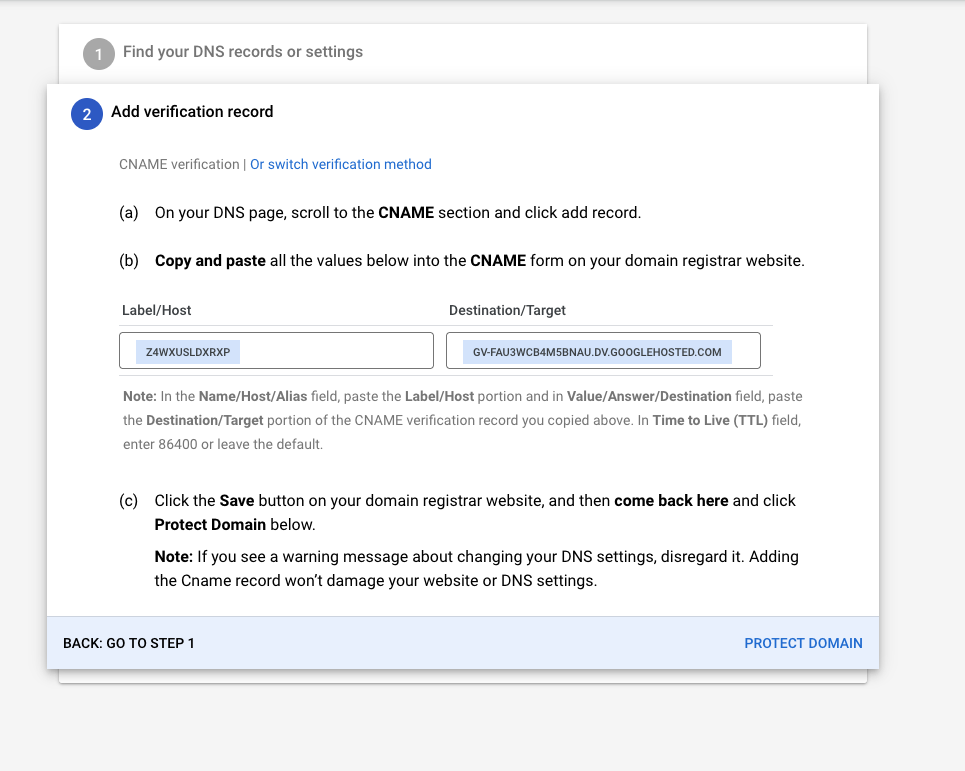
Important: you will need to add your domain name to the end of that string. For example: z4wxusldxrxp.coffeecup-test.com
You will then paste the Destination/Target into the Address field. Change the DNS Type to CNAME.
Click Update DNS Information at the bottom.
Step 24
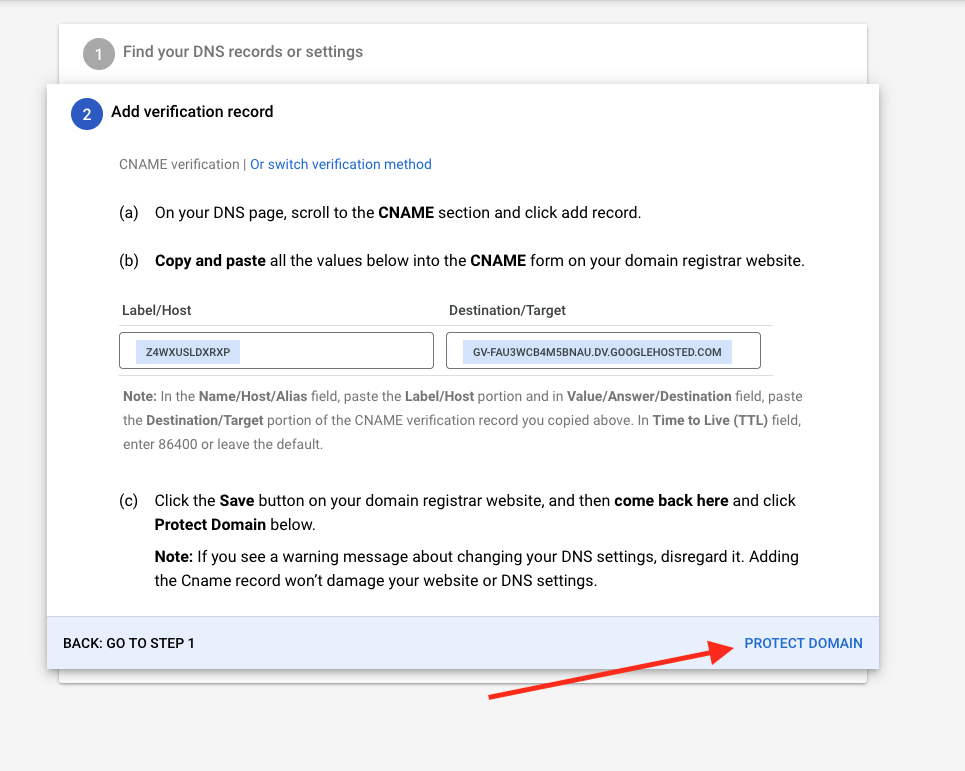
Go back to the Google Workspaces window and click Protect Domain.
Step 25
Google Workspaces will verify your domain DNS record. You’re ready to move on to the next steps in your email set up.
Step 26
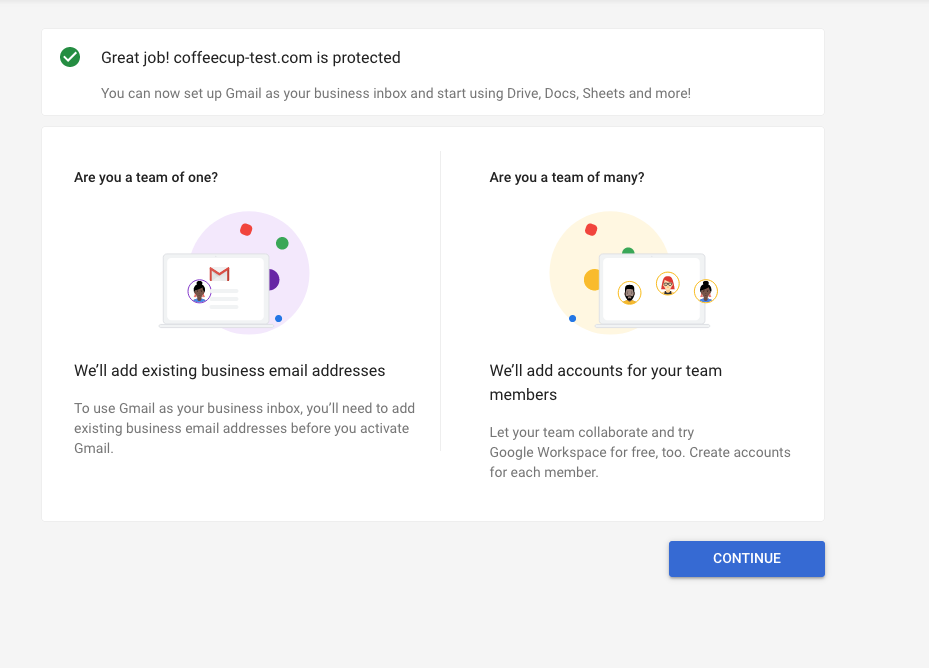
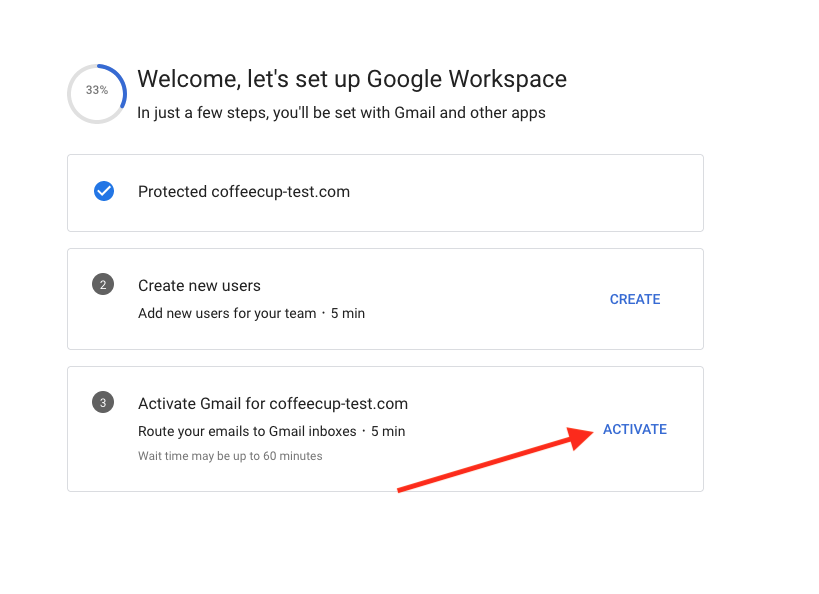
If you want to create additional user accounts for colleagues you would go to Step 2. If you don’t require additional users at this time, you can skip to step 3 to activate Gmail for your domain.
Step 27
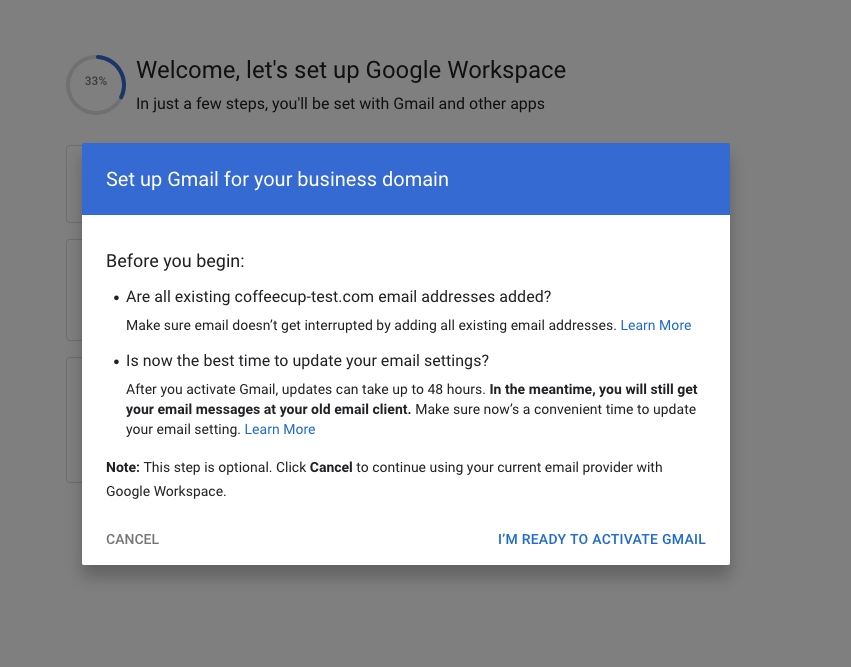
You will review a prompt about setting up your business domain. Click I’m Ready to Activate.
Step 28
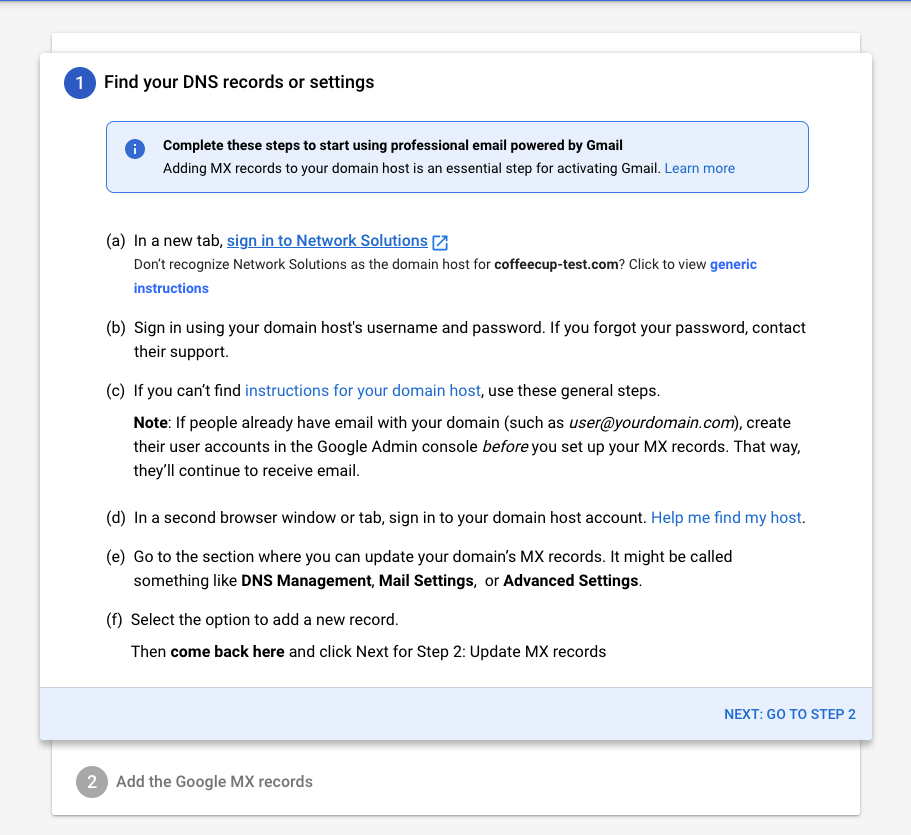
A prompt about your DNS records will appear with details about adding your email’s MX record. You will NOT go to the Network Solutions site as the prompt instructs. Domains purchased with CoffeeCup Software would be managed on the CoffeeCup website. CoffeeCup Software is a domain partner of Network Solutions. Though all DNS entries would be modified through your CoffeeCup dashboard. Click Next: Go To Step 2.
Step 29
Adding Google MX Records will be presented. These records will also be added to your CoffeeCup DNS dashboard.

In the CoffeeCup DNS dashboard, under Host Name you will add your domain name example.com. The Type will be set to MX. Under the Address field you will copy and paste the Points To value from Google Workspace.
The second field below the Address box you will add the corresponding Priority number.
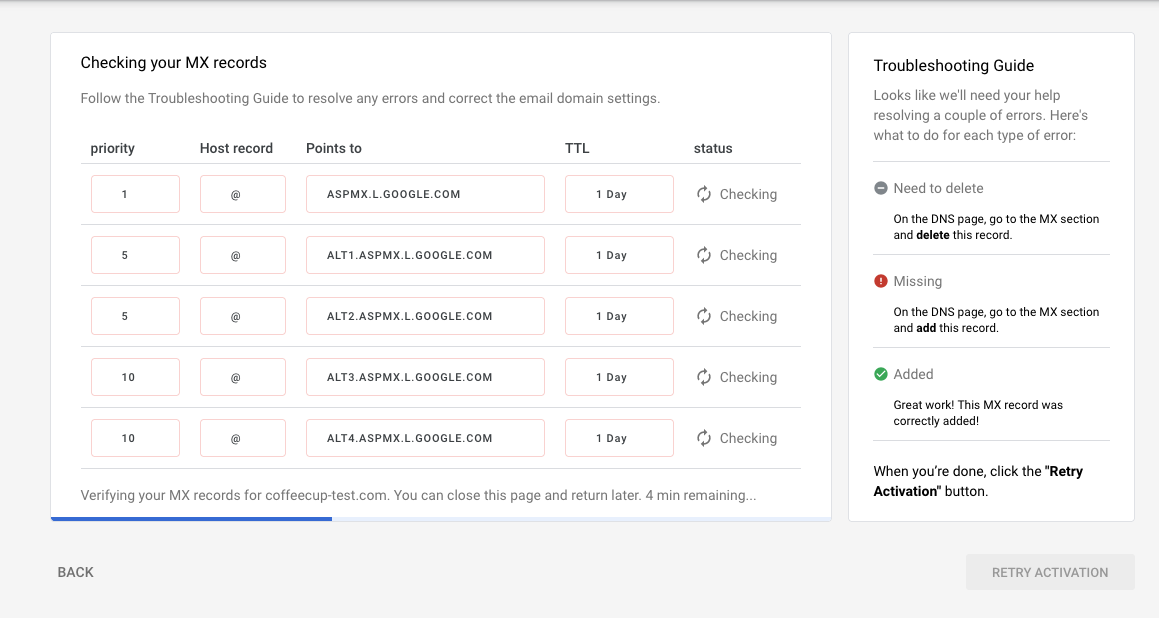
When all 5 entries have been entered, click Update DNS Information. On the Google Workspace tab click Continue to Verify.
Step 30
Google will begin to verify your MX records have been configured properly. This may take a several minutes depending on how fast the server updates your DNS records. Go ahead and grab a snack while you wait.
Step 31
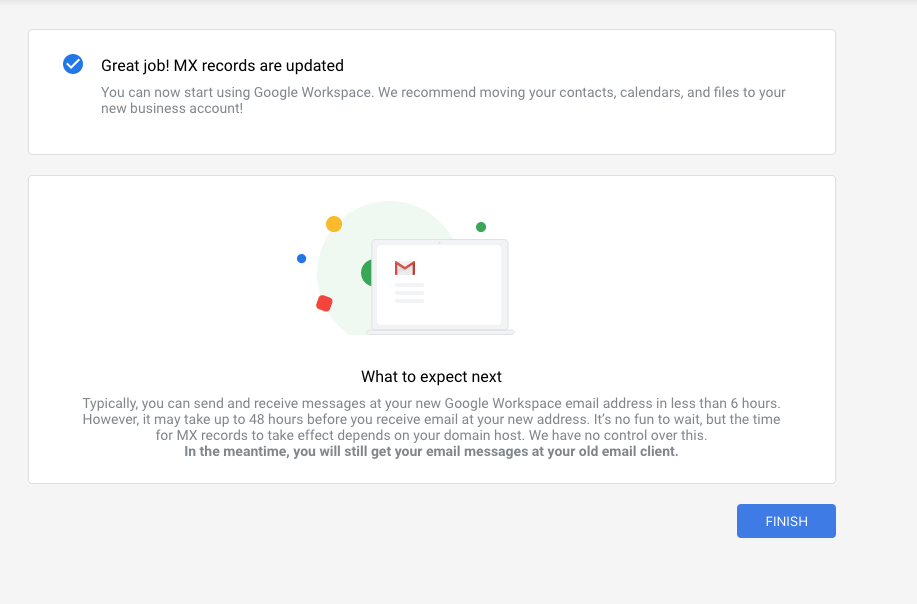
Once the verification completes your Gmail account is ready to go! Click Finish!
Step 32
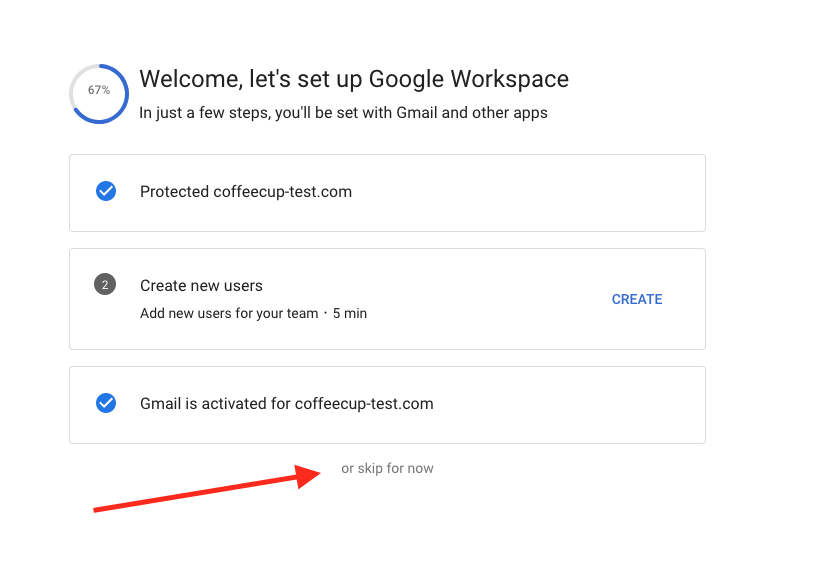
If you don’t need to set up additional users, simply click Skip For Now to go to your Workspace dashboard to review other services Google offers with the service.
Congratulations! You are Done!
Remember, DNS changes may take a few hours for them to filter through the 'net so if you do not start getting e-mail right away, give it time for these settings to propagate.