Embed a web form into your website
So, you want to add your form to a web editor such as the Site Designer, HTML Editor, or Dreamweaver? Well, here are two options to help you on your way.
Option1:
Uploading the Form to your S-Drive account.
Step 1:
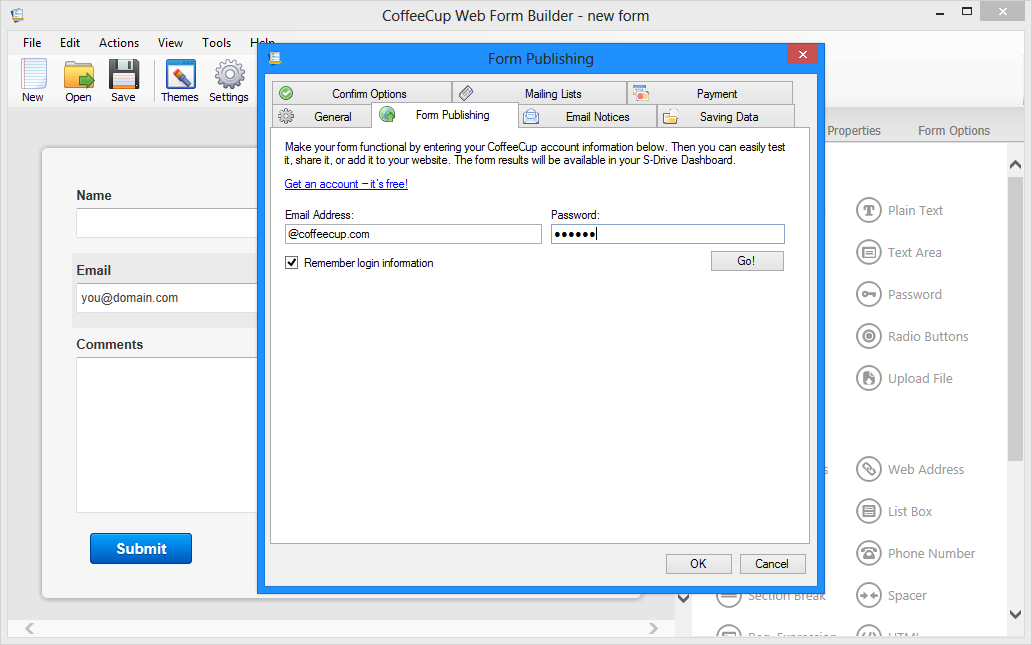
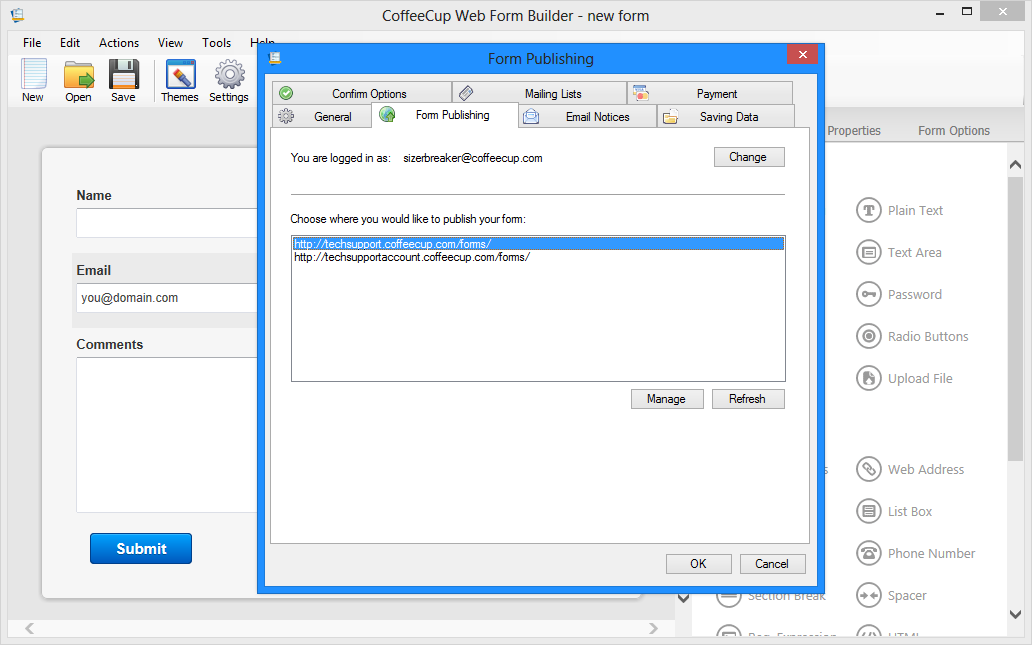
Once you have created your form and are ready to upload, you will want to select Settings > Form Publishing, then enter your CoffeeCup Credentials for your S-Drive account.
Step 2:
Choose the S-Drive domain you wish to upload to.
Step 3:
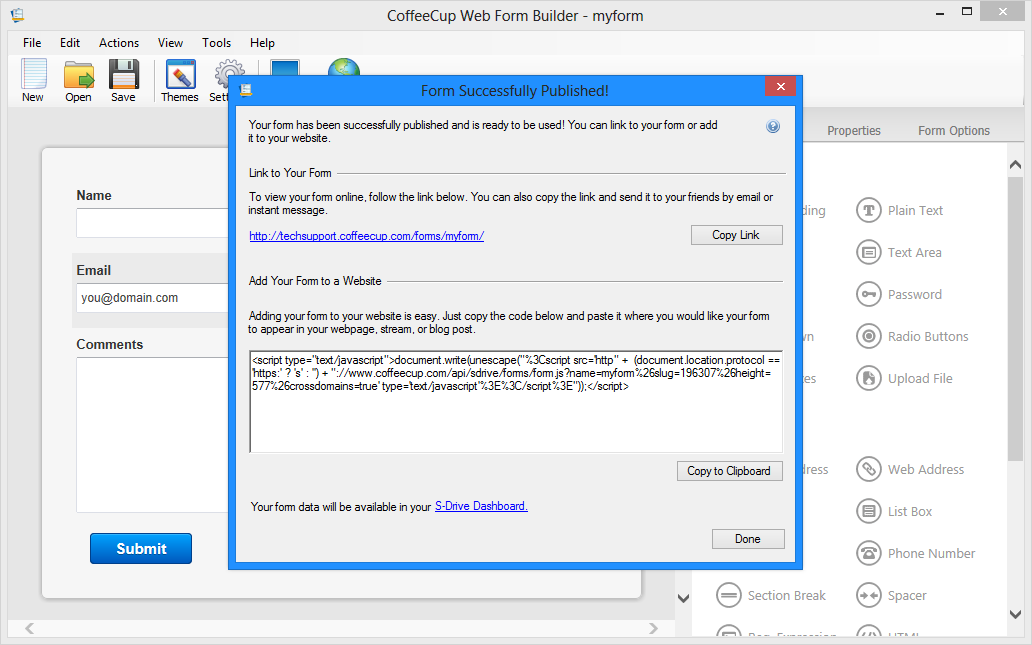
Once uploaded, Form Builder will provide you with a link to the form as well as the needed markup to add the form to your page. Simply copy the provided code and paste it to the body section of your page.
Embed your form in a Site Designer project.
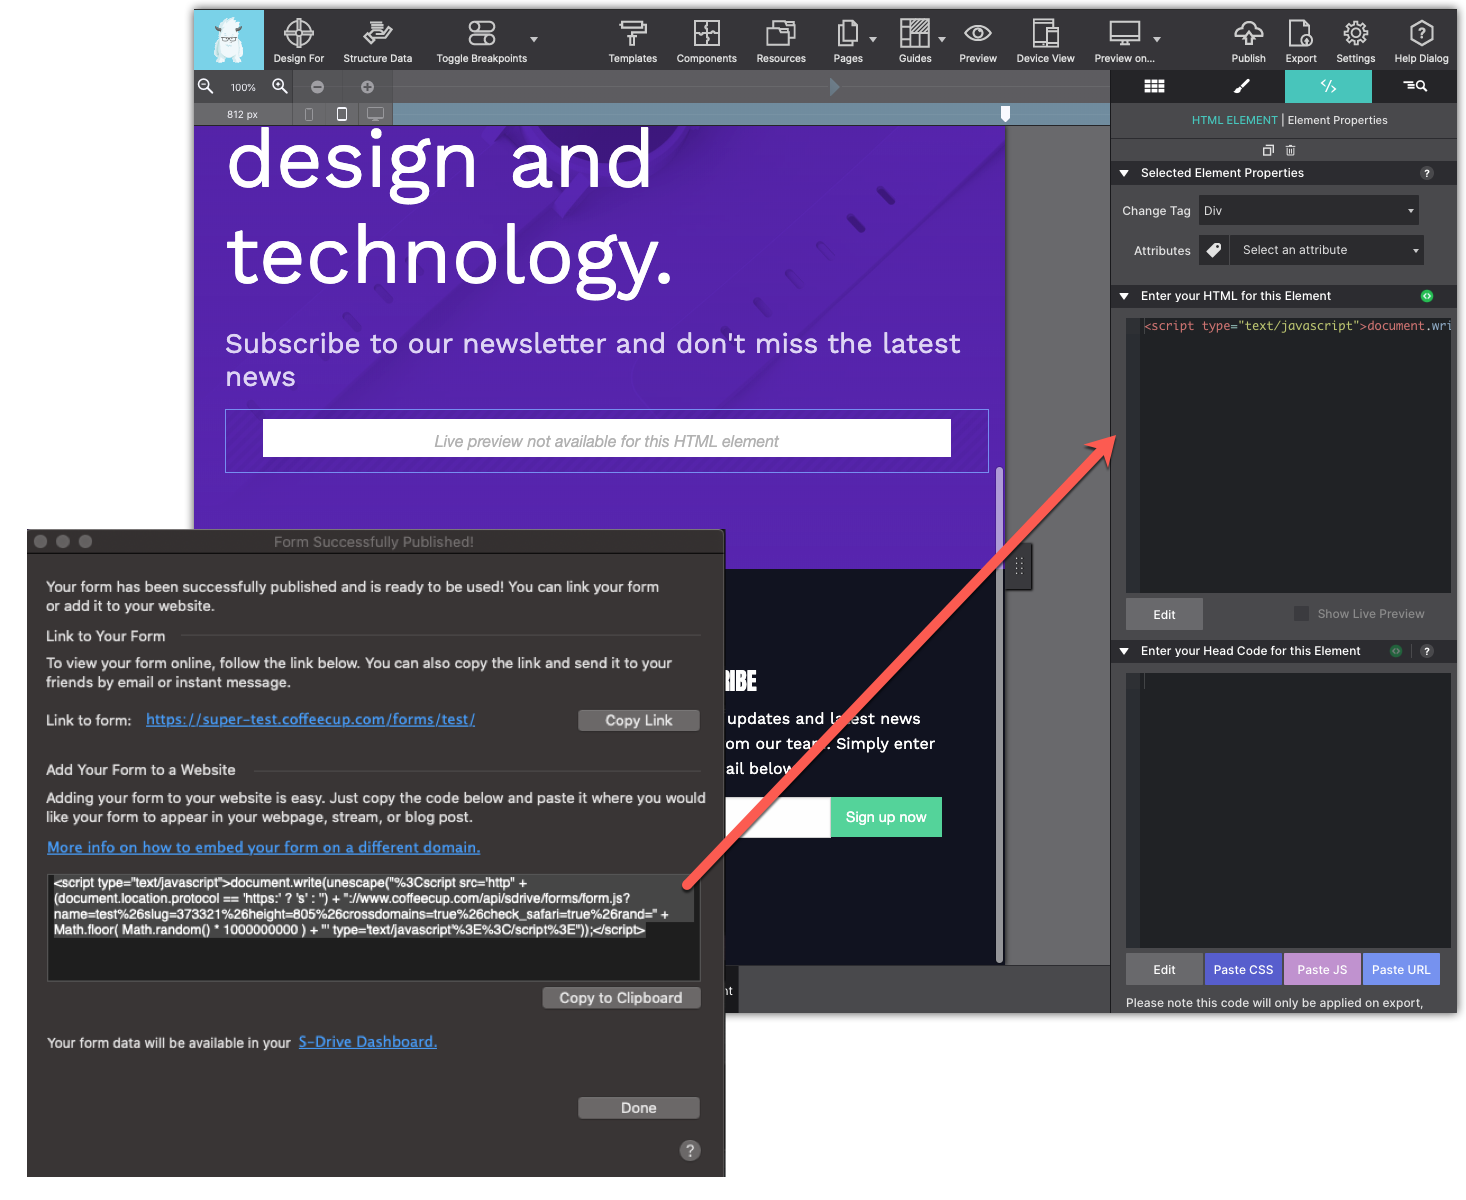
To add the form to Site Designer you will add a HTML Element to the canvas in the place where you want the form to appear. Once the HTML Element is in position, click on the Element pane.
Then, copy code Form Builder generates and paste it into the box that says Enter HTML for This Element on the Element pane.
On the canvas you will see a message "Live preview not avialable for this HTML Element. Publish your web page to see your embedded web form live in action.
Option2:
Adding Form Directly to your personal hosted site.
Step 1:
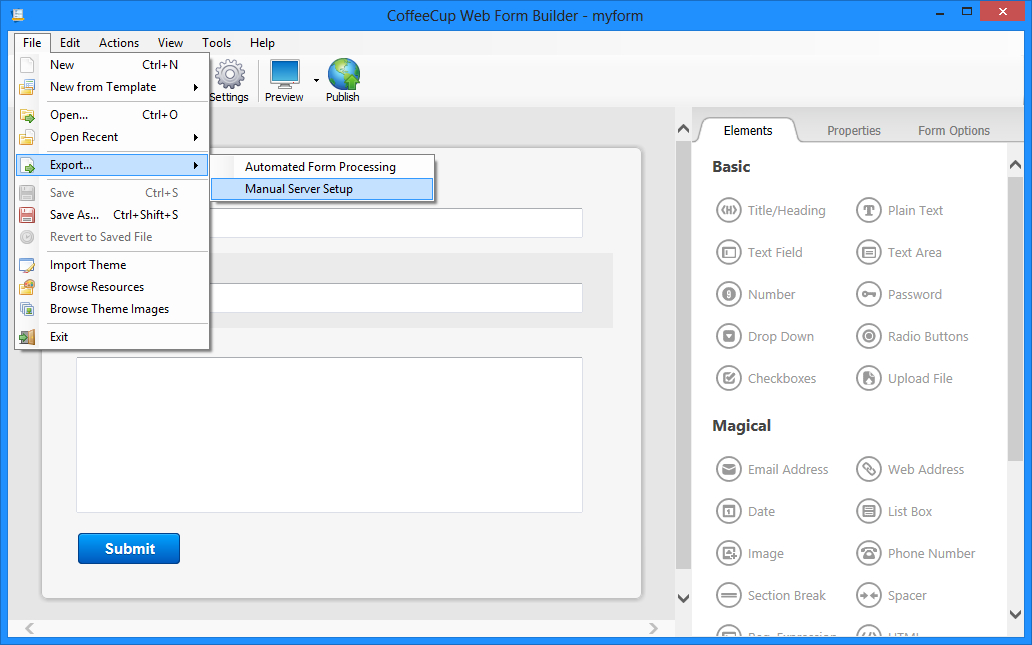
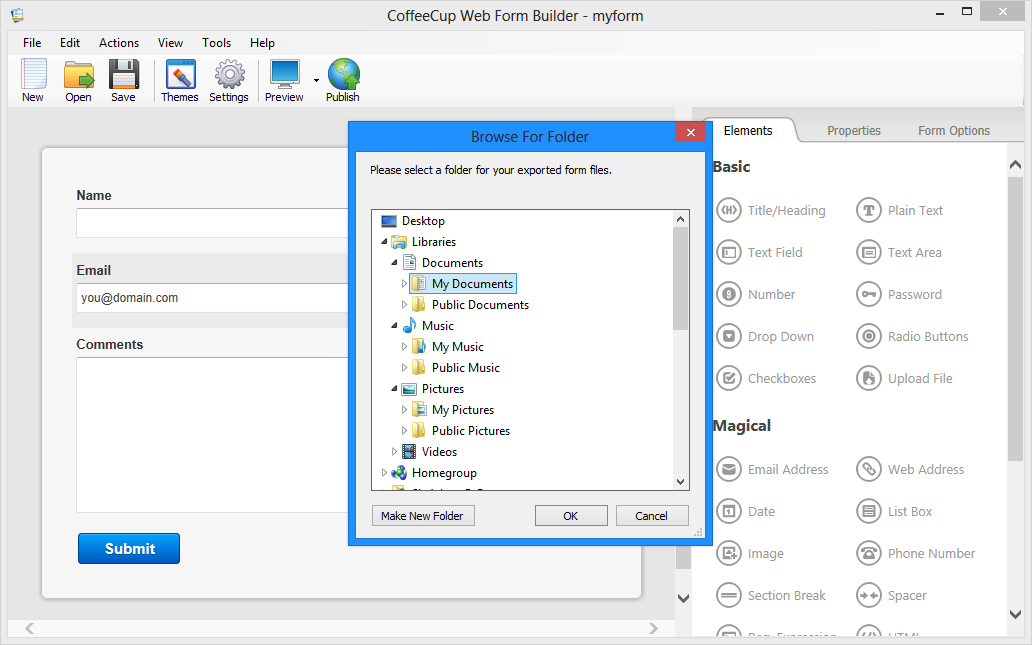
Once you have created your form and are ready to upload, you will need to export the form using the following options:
File > Export > Manual Server Setup
Step 2:
Export the form to a known location i.e. Documents.
Step 3:
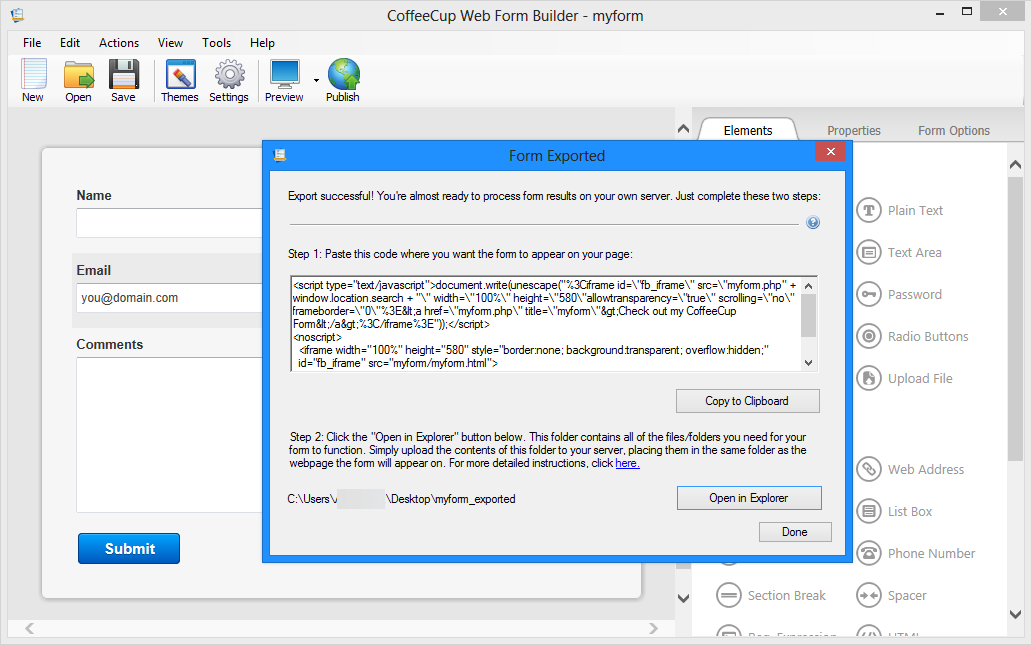
Once exported, you will have an exported folder i.e. form named myform, exported folder will state myform_exported.
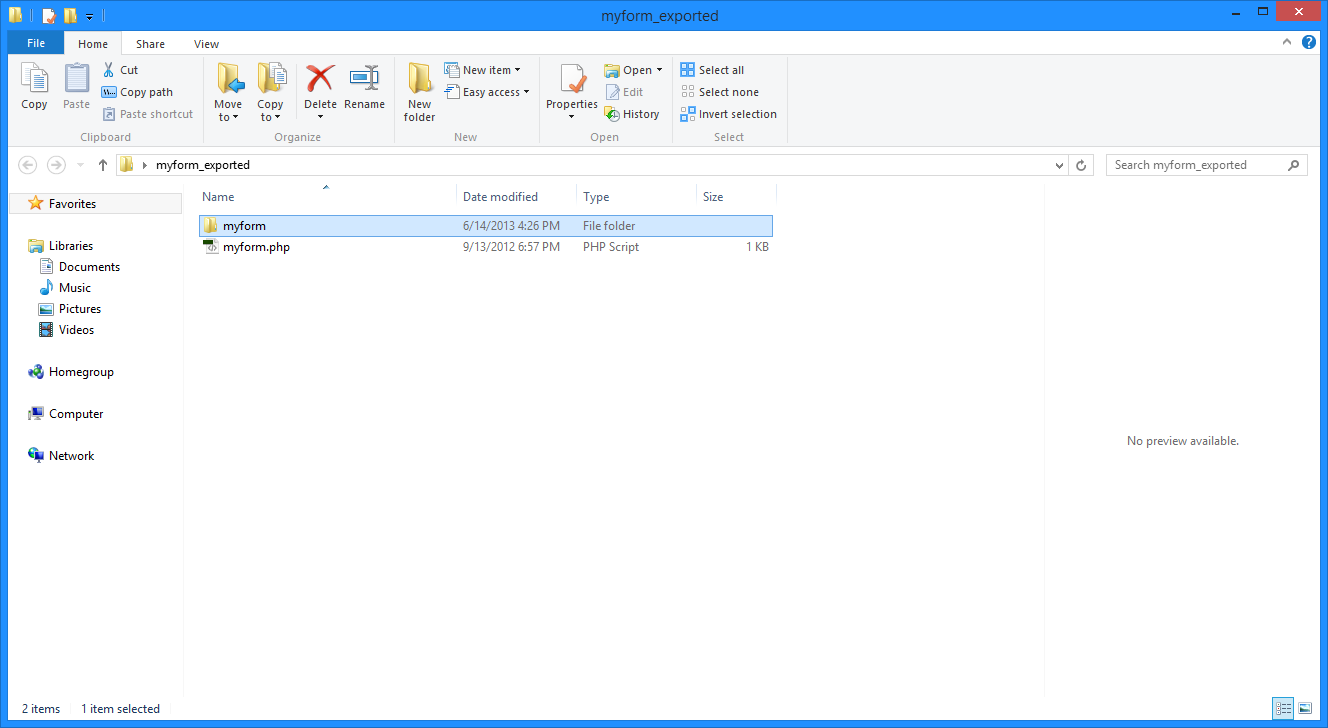
Step 4:
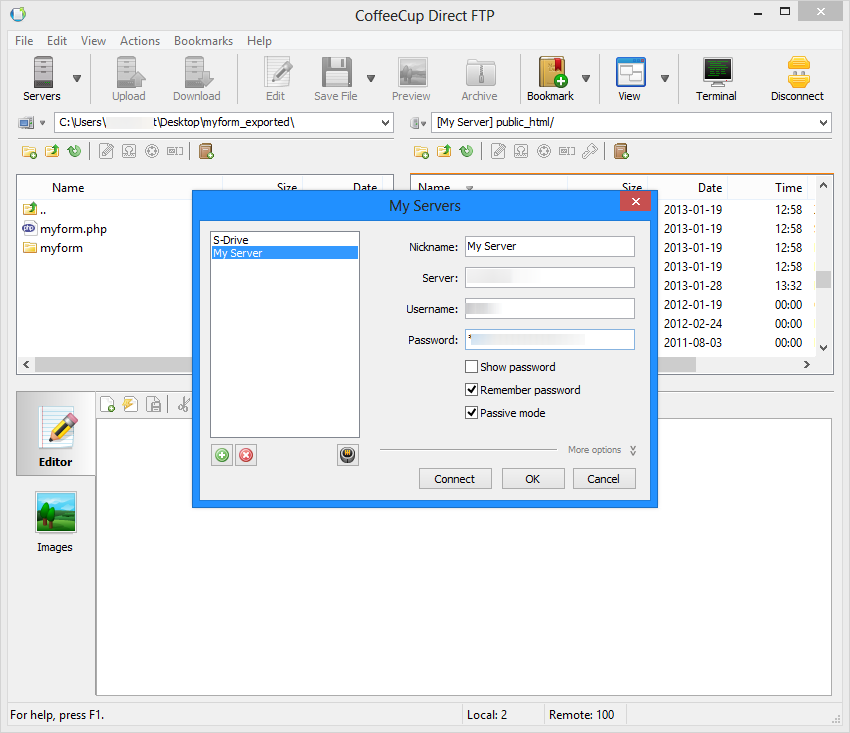
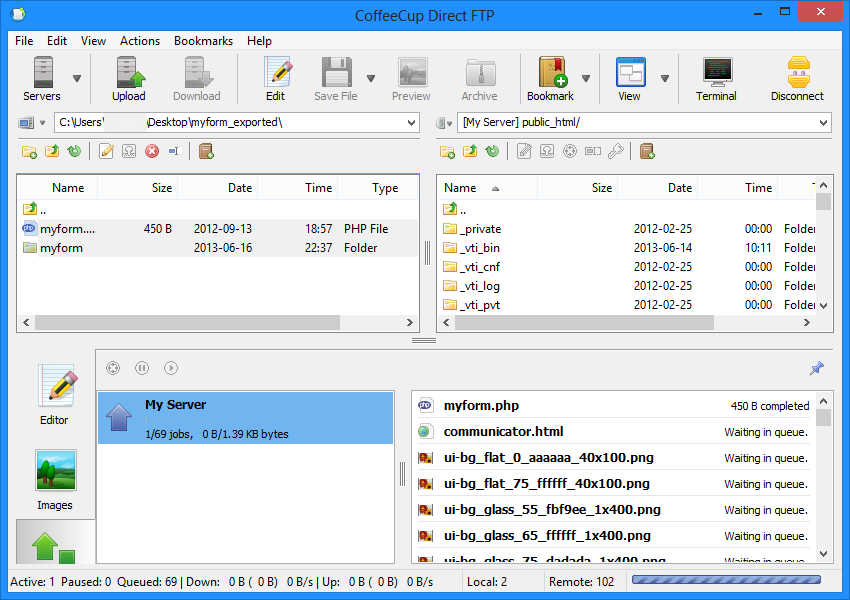
Now, you will want to copy the provided markup from Form Builder and paste it onto the page where you want it to appear. What you will need to do next is open the "exported" folder and upload the .php file and the folder within it ( myform.php & myform folder ) to the same location as your page using a separate FTP client such as Free/Direct FTP.