

With the release of Web Calendar 5.0, the process of adding your calendar to your website is a wee bit different than it used to be. This is because the latest version of Web Calendar no longer uses Flash — instead, it's powered by CSS, HTML, and JavaScript, which are far more stable, compatible, and accessible.
Here's what you gotta do to add your calendar to a website created with the HTML Editor
Step 1:
After you're done making your calendar, export it to the same folder where your website is saved. (Essentially what you're doing in this step is saving your calendar files to a specific location.) To do this, click the Export button on the toolbar, select the calendar(s) and date ranges you want to export, and then click Export Files. This opens a window that allows you to choose the location on the computer where you want to save your files. Remember, this has to be the same folder that contains your website files.
After you've chosen the folder where you want to save your files, click OK. This opens the Calendar Code window, which we'll talk about more in Step 2.
Step 2:
In the Calendar Code window, you'll see two blocks of code that you need to paste into the HTML Editor for your calendar to work.
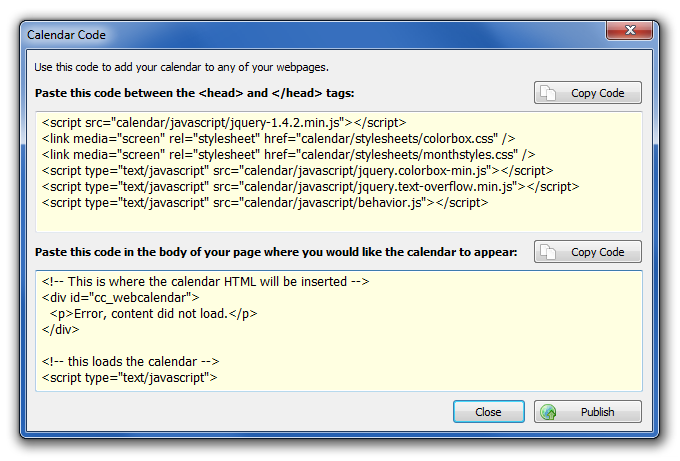
We'll start with the top block first. Click the first Copy Code button.
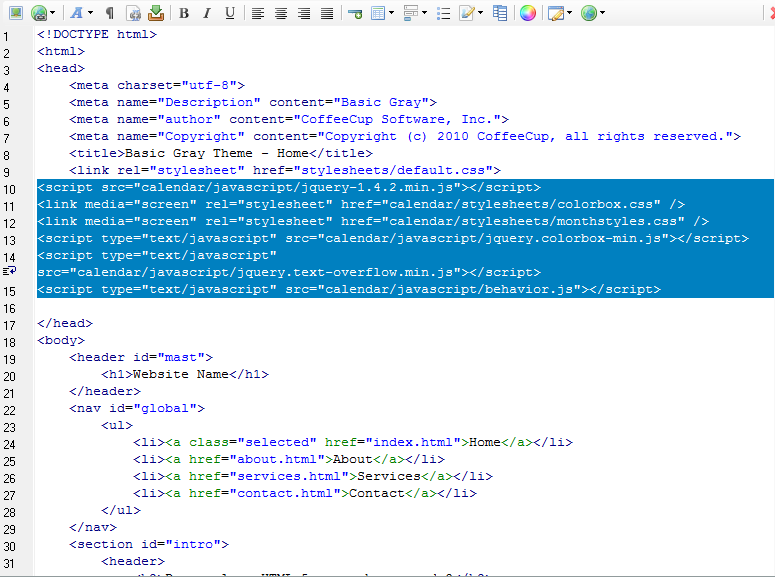
Step 3:
Switch on over to the HTML Editor and paste the code into the <head> section of your website.
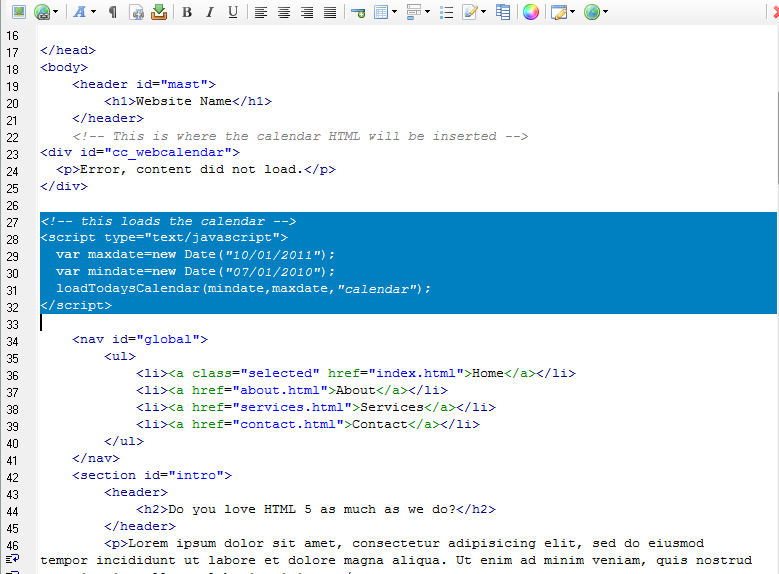
Step 4:
Now that all your files have been added; now we just need to add the calendar to your page. First, switch back to Web Calendar and copy the second block of code. Next, go back to the HTML Editor and paste the code in the location between the <body></body> tags where you would like your calendar to be located.
Step 5:
Now that you have added all the code and files to your website, you are ready to upload. If you look in your website folder, you should see something like this following:
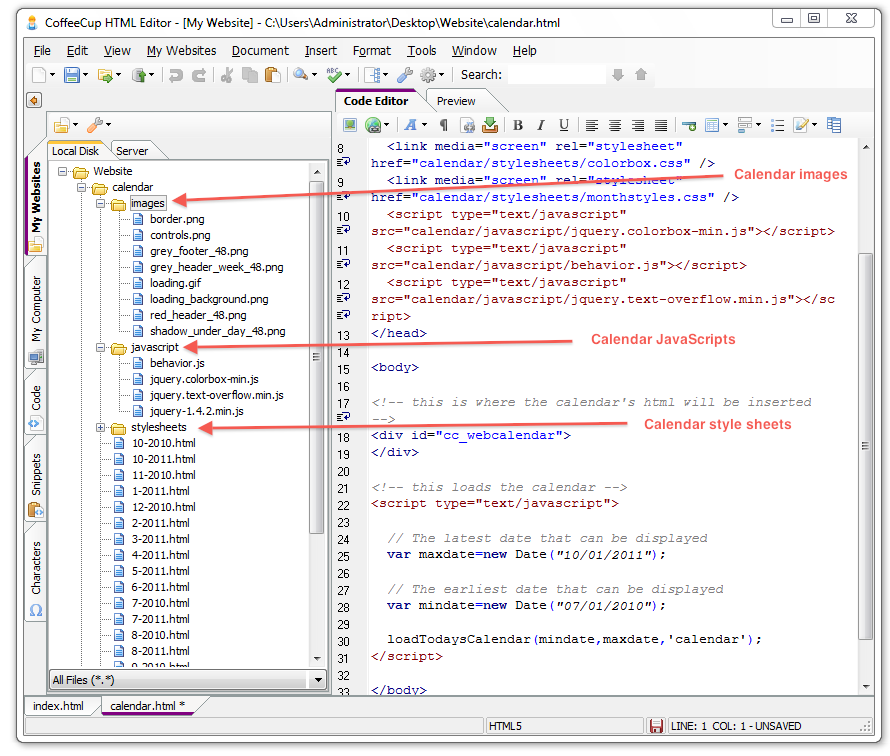
Congrats, you've just added your calendar to your website! Now all you have to do is upload it.