Ready to export your image map? When exporting, you have two choices to select from (responsive and non-responsive). To start the export process go to File > Export Image Map select the type of image map that you would like to have.
Exporting a Responsive Image Map
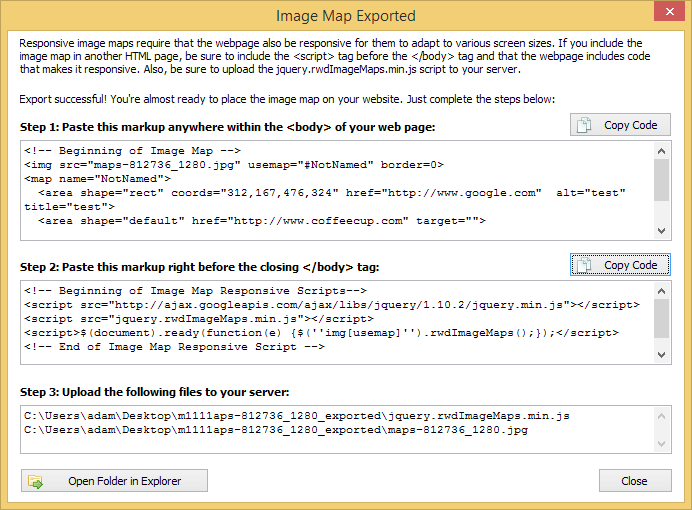
Exporting a responsive image map has just one added step then exporting a non-responsive image map. After creating your image map go to File > Export > Responsive Image Map. From here you will be asked to save your image map project file and select a folder where you wish to export your image map to. The exported file folder will be based on your image map file name appended with _exported. Once you select the folder, you then will be provided with the markup to add your image map to any web page. There are three steps that you must follow to correctly add a responsive image map to your web page.
Step 1:
Copy and paste the markup provided between the body tag of your web page.
Step 2:
Copy and paste the Image Map Responsive Scripts markup into the footer area of your website (right before the closing body tag).
Using Responsive Site Designer?
If you are using RSD, paste the Step 2 markup into the Footer section found on the Settings pane.
Step 3:
Make sure to upload both the jquery.rwdImageMaps.min.js and the image used to create your image map to the same folder the page your image map markup was pasted to.
Responsive Image Maps, must have responsive site!
That’s right! If you are using a responsive image map, it will not be responsive unless the page you are adding it to is also responsive. If your website is not responsive, download our trial version of Responsive Site Designer today and design responsively!
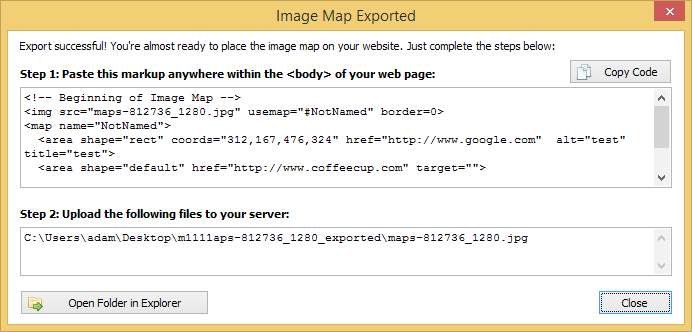
Exporting a Non-Responsive Image Map
After creating your image map go to File > Export > Non-Responsive Image Map. From here you will be asked to save your image map project file and select a folder where you wish to export your image map to. The exported file folder will be based on your image map file name appended with _exported. Once you select the folder, you then will be provided with the markup to add your image map to any web page.
Step 1:
Copy and paste the markup provided between the body tag of your web page.
Step 2:
Make sure to upload the image used to create your image map to the same folder the page your image map markup was pasted to.