

Display Properties are used for controlling the way elements flow within your layout. All elements have a default display depending on what type element it is. Usually this is block or inline. Block elements are often called a block-level element and an inline element is called an inline element.
In Responsive Layout Maker, there are several choices for adjusting Display Properties each having a different function. However, there are only a few that are commonly used for most website designs. These are None, Inline, Block, and Inline-Block. While the other display settings do have useful purposes, we will primarily focus on these specific display types.

The Display Properties can be adjusted for all elements by first selecting the element and go to the Properties Tab.
Inline
Think of Inline as a friend that just sits WAY too close and does not respect your personal space. Display:inline is that friend. Elements that are set to display inline follow the flow of a line.
Images and links, are inline by default. These elements are generally the type of things that you would include in a paragraph or other block-level element. These elements are positioned next to each other and the width and height of these elements is determined by the amount of space the content inside the element takes up.
Want to take a look yourself? Download the layout here: Be-You.rlmp
Block
Block is a bit of a loner, it likes its space and pushes other elements away by taking up the entire width of its containing box, with a line break before and after it.
List items, paragraphs, headings and tables are all examples of block-level elements. These elements have a width, a height, and create a new row in the layout when added to the page. That is why the links are positioned below each other — perfect for a vertical menu, but not for a horizontal one.
Inline-Block
This property is very similar to inline but is taking medication for its personal space issues. It will set inline with the natural flow of text, however, it does allow a width and height to be set and respected.

None
None means none, nada, zilch, zip. If you set something to display:none it simply does not show. Which may sound pretty useless, however, comes in very handy when you have a row, column, image or another element you wish to hide.
This is very useful as you get to lower breakpoints where not all content can easily fit on the screen.
It is recommended that you hide the entire column and or row (if possible) of the element you are setting to display:none. This will also hide any of the padding, margin, height, etc. settings associated with that row/column.
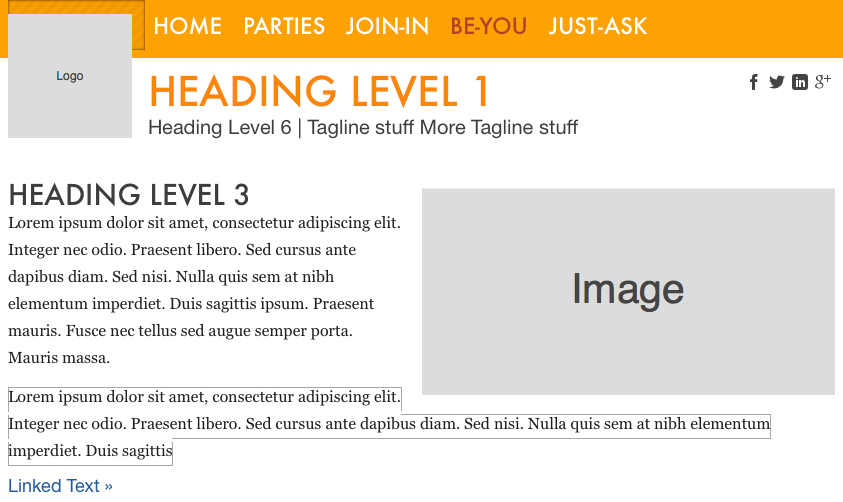
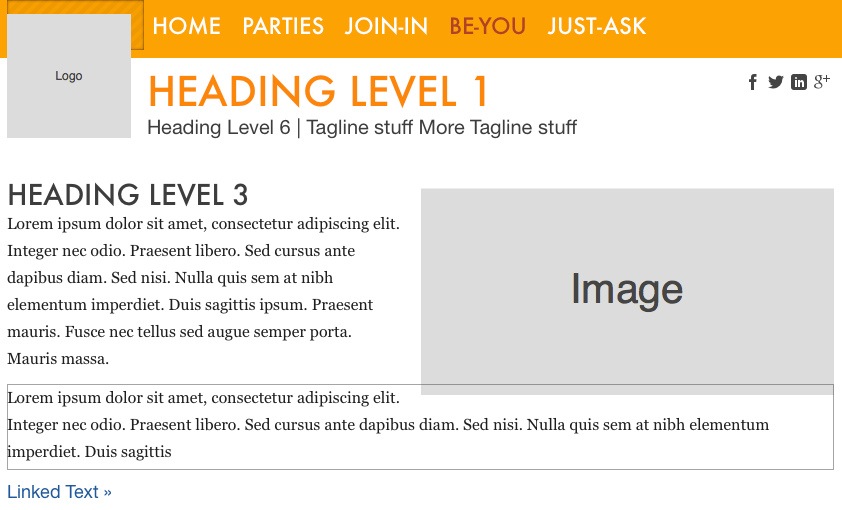
In the example below, we have one row that contains two columns. One with an image, and one with a heading.
As the display area gets smaller, the image disappears. That is because display:none has been applied to the image at a certain breakpoint which allows you to hide your image from view!
If you are interested in creating a winning website with display features or just trying it out for yourself you can download the project file here:
Demo.rlmpI am sure you are wondering, if the image is still loading even though you have set it to display:none. The answer is simple, yes. You see, the image is just playing hide and seek, it is still there and the browser still sees it and loads it. However, the customer does not. We could go into further details but then we would have to explain portals and other dimensions and that would just take too long. We are working on an alternative so that not only are your pages responsive, but your images, as well.
Now that we know about the most commonly used display properties let's find out a little about the others.
Tables
The best way to understand the table display property is to think of it in the terms of an HTML table. Table is the initial display and you can recreate the <tr> and <td> elements using the table-row and table-cell property values.
The tables display also offers groups, headers and footer groups which will allow you to build a table in columns rather than having to use a row based table as in HTML.
Almost forgot inline-table! This display sets the element without a line break before or after it. Hence the inline part. :P
Be wary when using CSS tables exclusively as it is completely unreadable without the CSS and can damage your accessibility.
List-item
This works just as the name suggests. You can set how you would normally expect an li to be shown. However just note that for it to function correctly the element should be nested inside a <UL> or <ol> element.
Float vs Display
Yes, it is true, if float and display ever went mad and started fighting each other; float would win and display would be whimpering in a corner somewhere until float left. What we are saying is the float property wins every time as it overrides the display property.
Missing some settings?
This is because Responsive Layout Maker Pro was used for the creation of this article. One or more of the settings used here might not be available in Responsive Layout Maker. For the most part however, you can continue through the article adjusting the settings that are available to you.