

With the ever changing world of web design and ever growing mobile market, your form notifications need to be crisp and responsive. By making this change, you are allowing customers to access the form notices from any device. With the introduction of Web Form Builder V2.5 you may now import responsive emails from RED, allowing you to customize your confirmation and notification emails easily. To get started, follow the steps below to edit your response emails quickly using RED.
Quick Links:
Quick tip before we get started
When building your form it is always good practice to adjust the name properties for each form field. Be sure to add identifying information under Properties > Name. This will help you recognize that specific field when customizing your and notification messages. If you choose to not label the Name property you'll end up with random tags such as text2 or text_area12 which may not represent what that field actually collects.
Customizing auto-response messages with RED
Step 1:
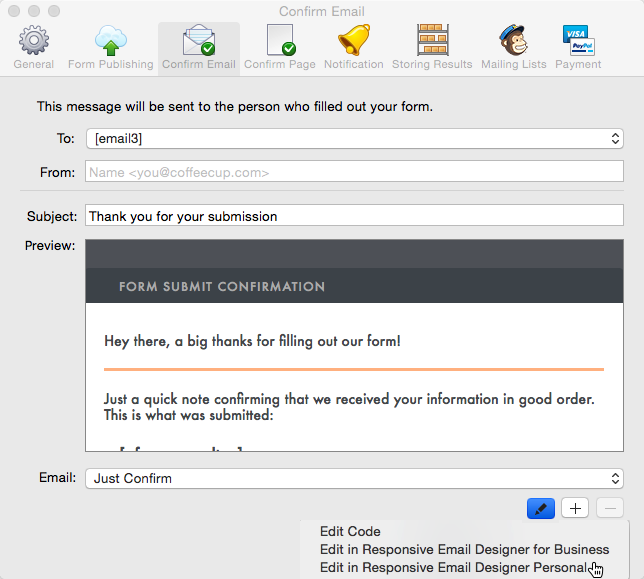
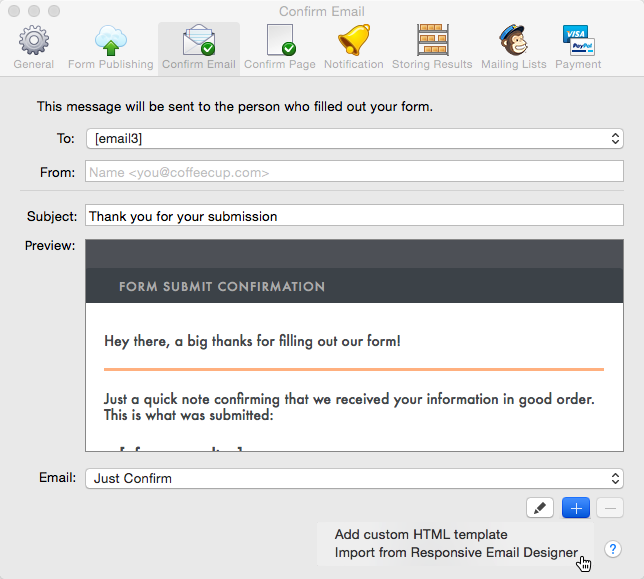
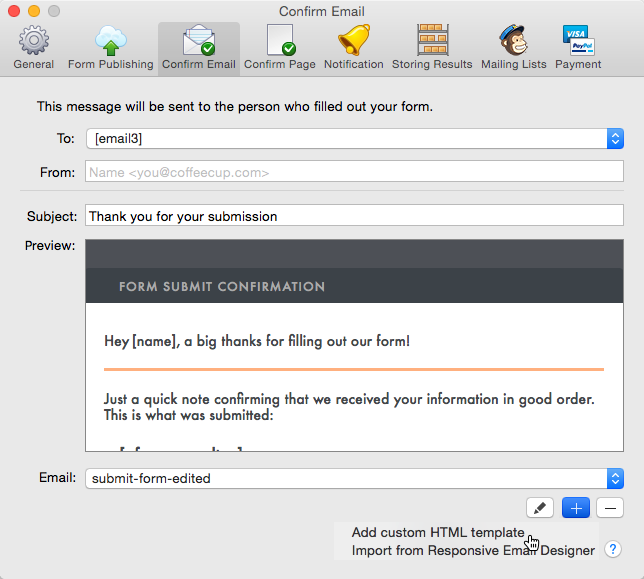
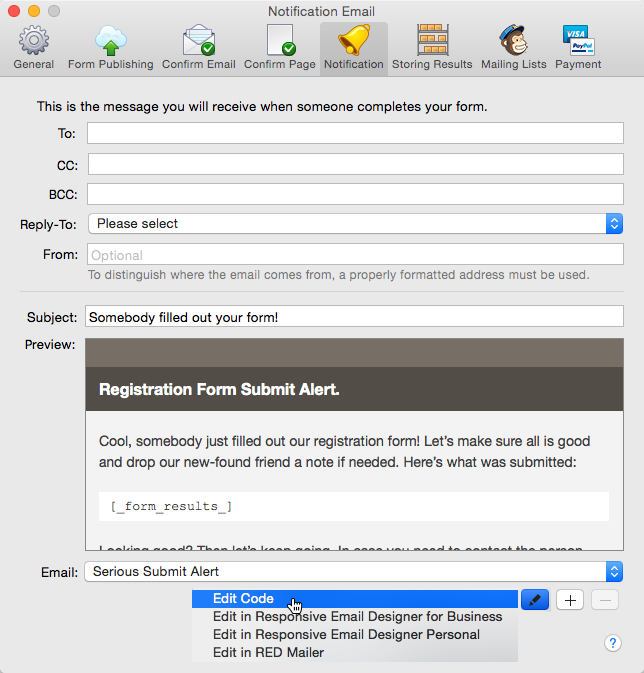
A confirmation email is sent to the user filling out your form and includes all the details that were submitted. Launch Form Builder and click Settings > Confirm Email to customize one of the default templates. While you may import a design already created in RED into Form Builder using the +, let’s instead first begin by using a default design. Select the template from the email drop-down that you wish to edit, then click the Pencil icon and select Edit in Responsive Email Designer.
Step 2:
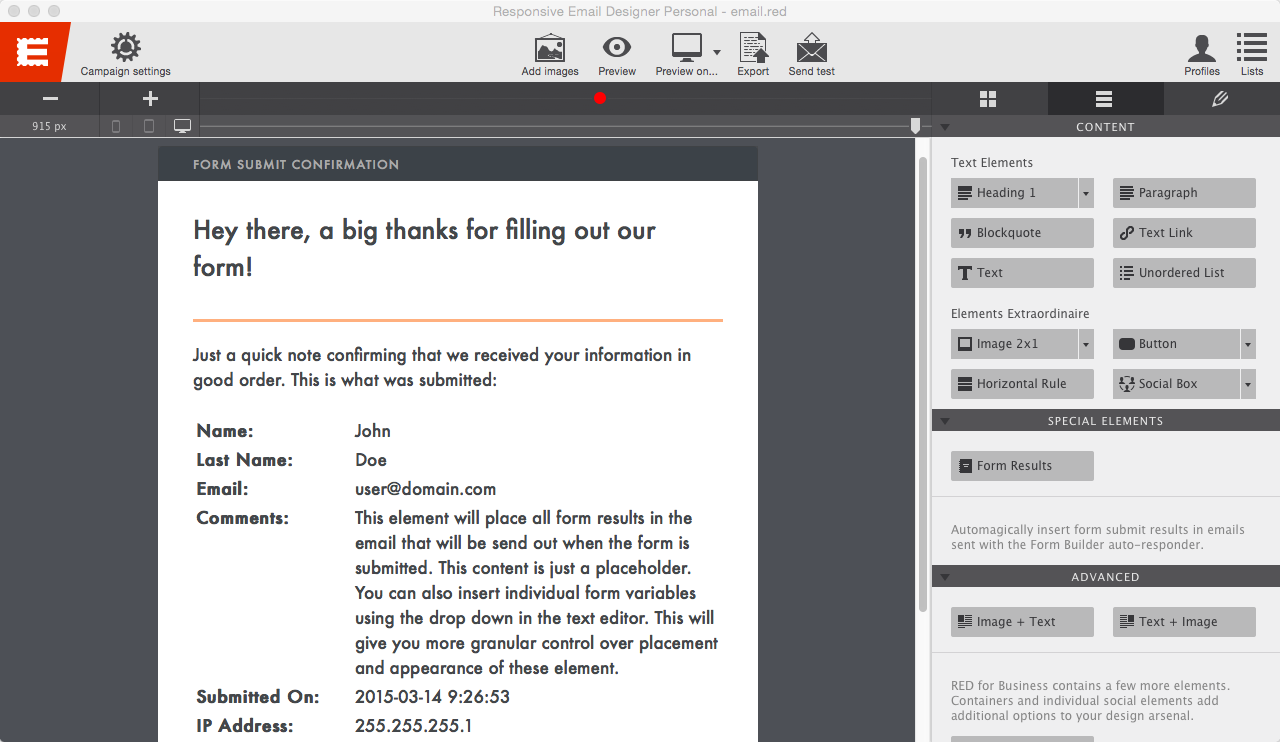
Responsive Email Designer will open and display the email template for editing. Here you may customize the design, add or edit text as well as apply cool styles to your email confirmation.
Editing in Responsive Email Designer
If you would like to learn more about how RED works please see our RED Quick Start Guide.
Step 3:
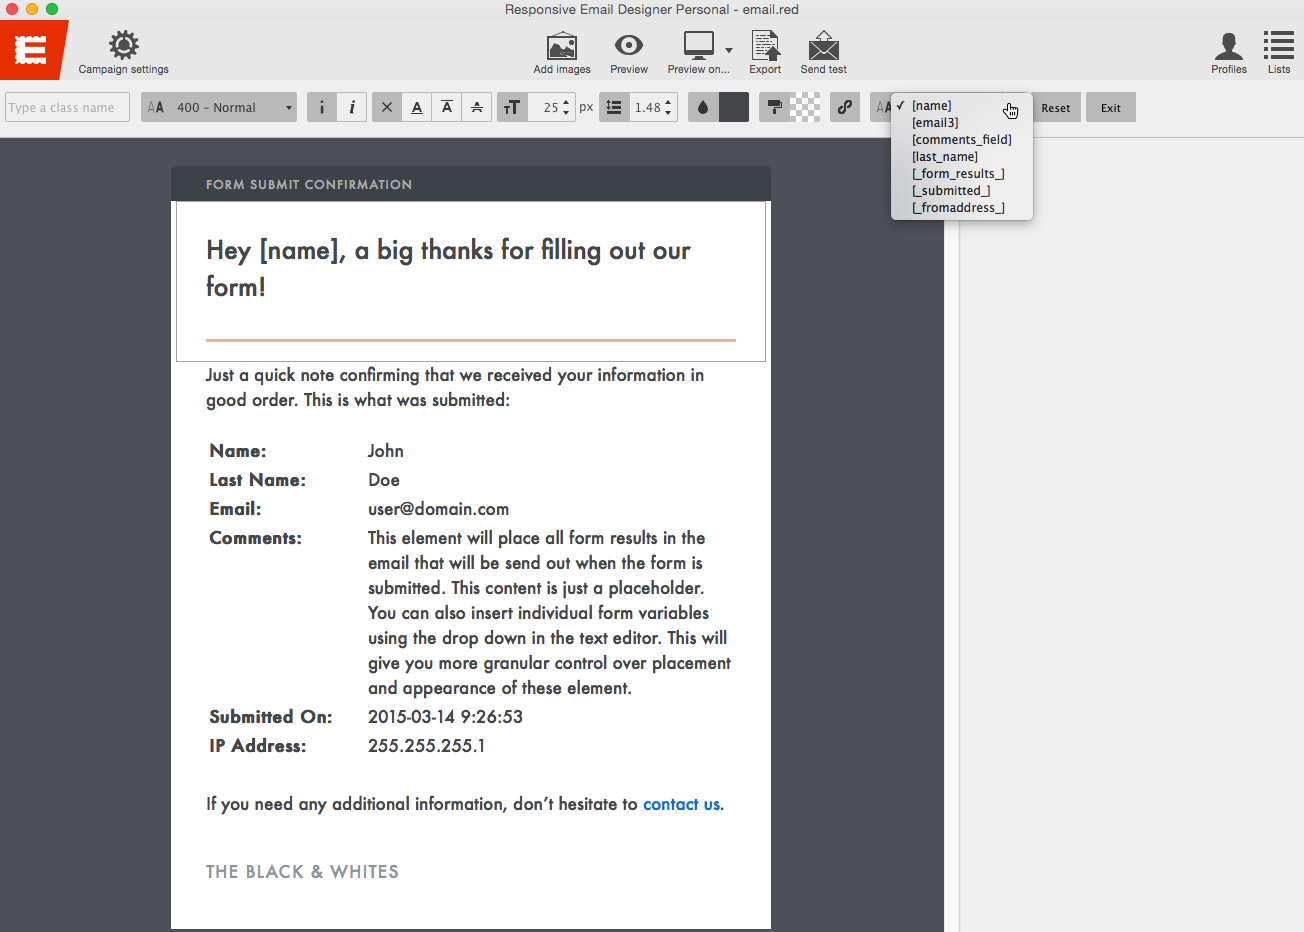
Every field that you have in Form Builder can be imported into RED and be inserted. These variables are represented within brackets in RED using the Name that was specified for each in the Form Builder properties (see Field Name Tip if you don't know what this means).
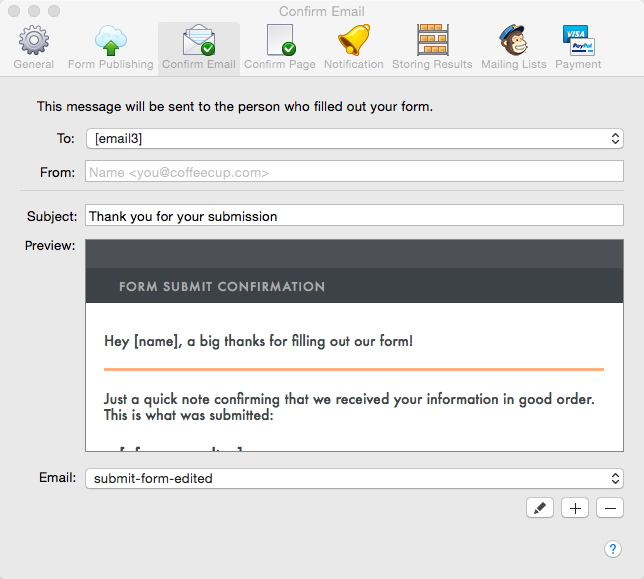
In the thank you message example, the text says "Hey there" which we want to replace with the submitter's first name. Tripple click the text to launch the inline editor, then highlight the word "there". Now in the top right use the drop-down to select name form element [name] to insert it into the message.
Starting from scratch in RED?
If so, the dropdown will not appear as in the image and the form data would have to be typed in manually. But don’t fret! All fields would still work as normal. The Form Results element also spits out a handy placeholder that allows you to edit the text’s design within the app.
Step 4:
After all your desired changes are completed, you will be ready to use the new design with Web Form Builder. Go to File > Export to Web Form Builder.

Naming your Theme
Adding a campaign name under the Campaign Settings will allow you to give your template a specific name otherwise the filename will be used instead. It is a good idea to save the template with a name that corresponds to the type of template it will be used for.
Step 5:
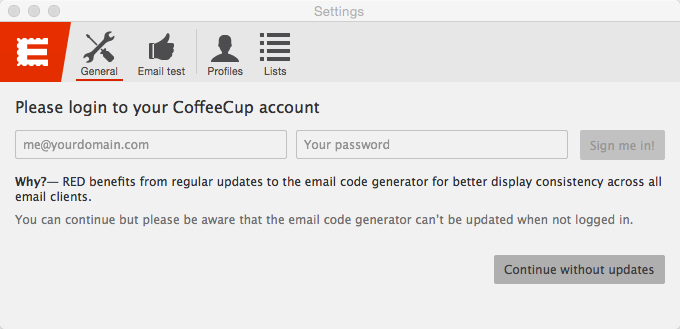
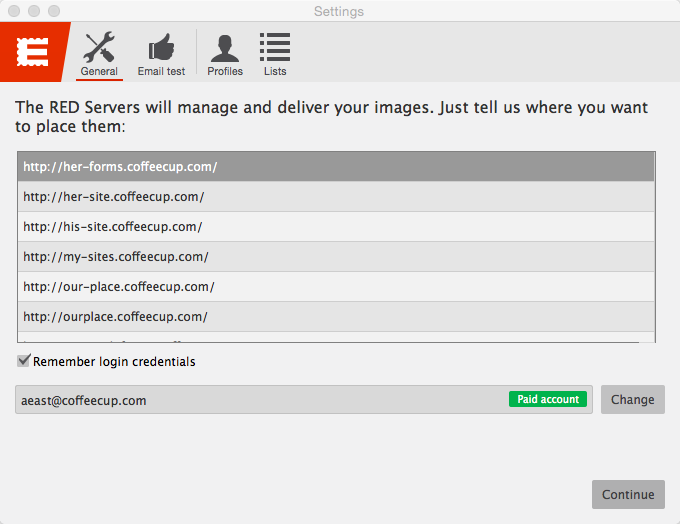
RED will ask you to log into your CoffeeCup Web Services account or you may choose to skip it by selecting "continue without updates". If you proceed without signing in, a window will pop-up allowing you to save the new design in a format Form Builder can read, then jump to Step 6.
If you are using a CoffeeCup Mailer account enter your credentials and hit Sign me in!
After logging in, choose the address you wish to publish to and click Continue.
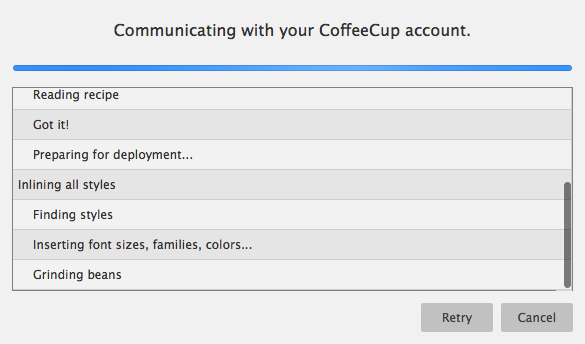
You will then be prompted to save your email and it will then be published to your Mailer account.
Why use your Mailer account?
When RED is used together with Mailer, the email generation scripts are updated before every send or export. These scripts take care of the display consistency across email clients. Plus images are automatically placed online.
A few additional perks are in the works, including email client testing (see what your email looks like in for example Gmail right in the app) and direct sending options (through Mailchimp or Campaign Monitor for example).
Step 6:
Switch back to Form Builder and go to Setting > Confirm Email and click the + (plus) icon and select Import from Responsive Email Designer then browse and select the email you just exported out of RED (locate the file that ends in .fbe).
Your new template will now appear in the Email dropdown.
Repeating the process
The same steps are used in Form Builder for internal notifications as well. Because these emails should be different, templates created under the Confirm Email tab and Notification tab are not shared.
All done! How awesome is the Form Builder integration with Email Designer? It takes the pain of hand-coding away.
Adding Custom HTML template
If for some reason you really, really don't want to use RED you may choose to add your own HTML. However, be aware that it's close to impossible to have emails render constantly across devices, and mail clients without special markup RED harnesses. Also, be aware that any custom HTML cannot be modified within RED.
Step 1:
To add your own custom HTML, click the + (plus) icon and select Add custom HTML template.
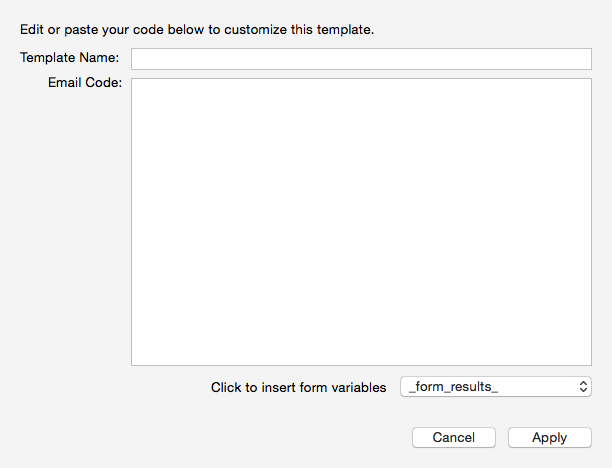
Step 2:
Here you can design or paste in the markup using your own HTML by inserting the elements individually wrapping them with HTML.
Check your markup
We recommend that you build your HTML template in our HTML Editor or Web Editor, which will make it easier to design your template. When editing your HTML be sure that no mistakes are made, such as forgetting to close a tag, or leaving extra empty HTML tags in the markup.
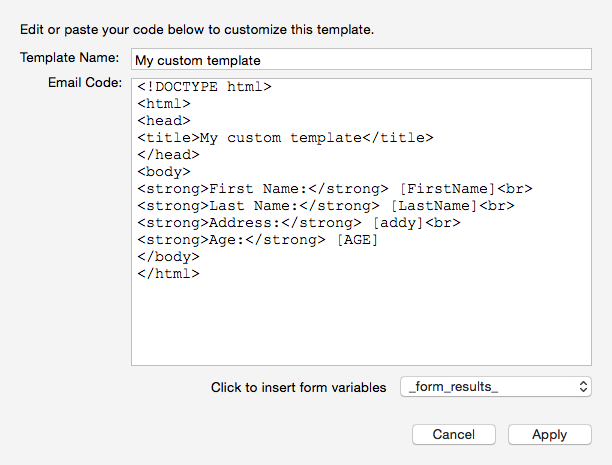
Step 3
Once you are done, give your template a name and click Apply.
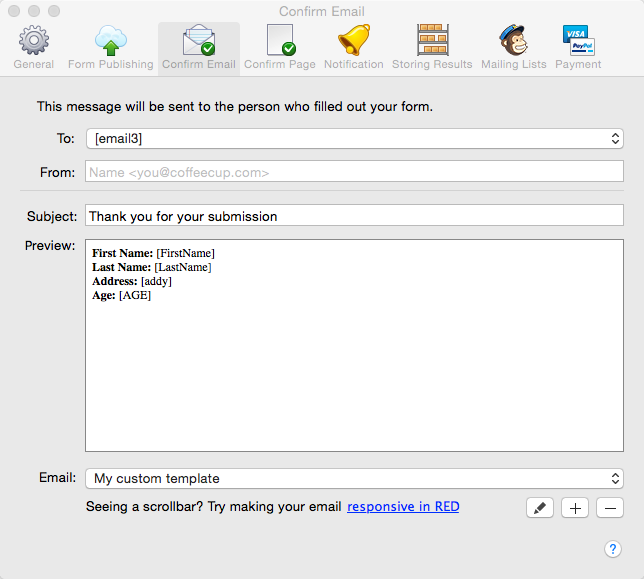
Step 4
Your new template will now appear in the Email dropdown.
Additionally, if you wish to make modifications to any WFB template, just open the project file that ends in .fbe and make your changes in RED and then import it to WFB.
Editing an HTML template
It's a cinch to edit any Responsive Email Designer theme within Form Builder by using our HTML editor or Web Editor. Follow the steps below to get started responsifying your custom Form Builder emails.
Buy HTML Editor for Windows Buy Web Editor for OS XStep 1:
To edit the markup of a RED theme, click the Pencil icon and then select Edit Code from the dropdown.
Step 2:
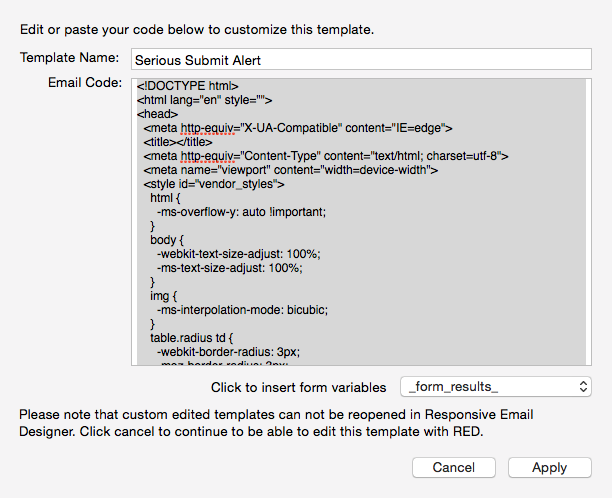
The markup for the theme will now appear, allowing you to either adjust it within Form Builder or copy it so that changes can be made in an HTML editor. For these instructions, we will be working with our HTML Editor and Web Editor. To start, select all the text and then copy it to your clipboard.
Step 3:
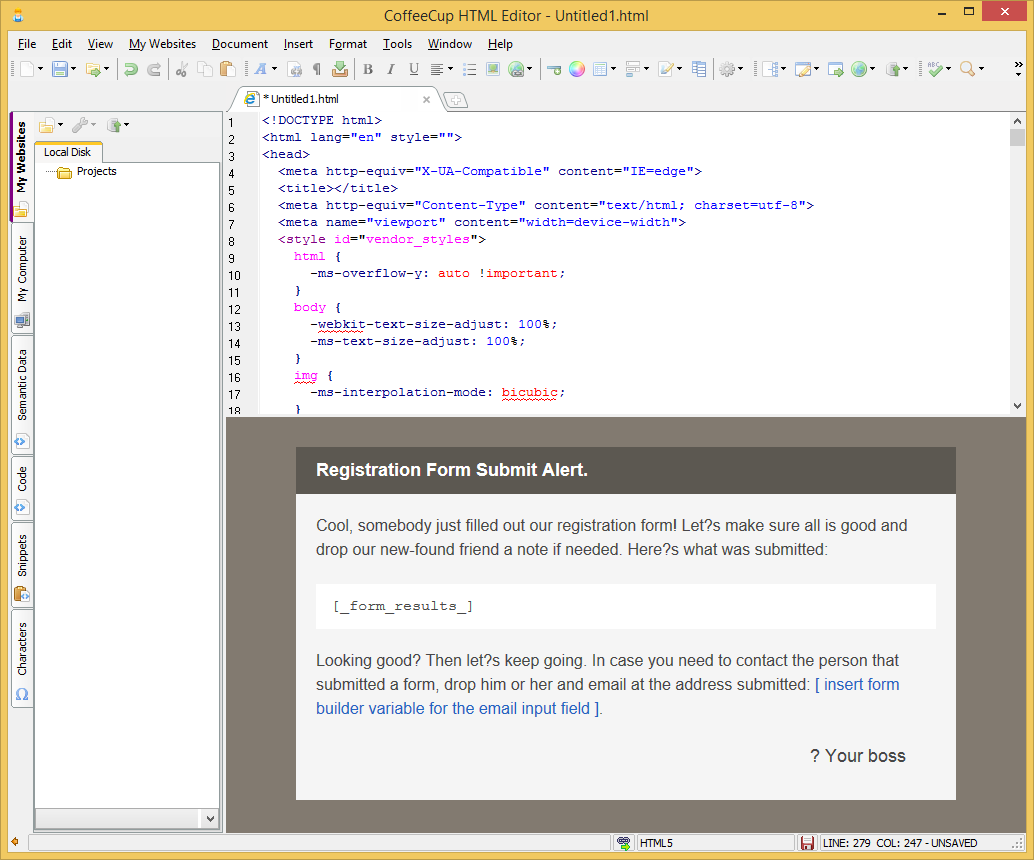
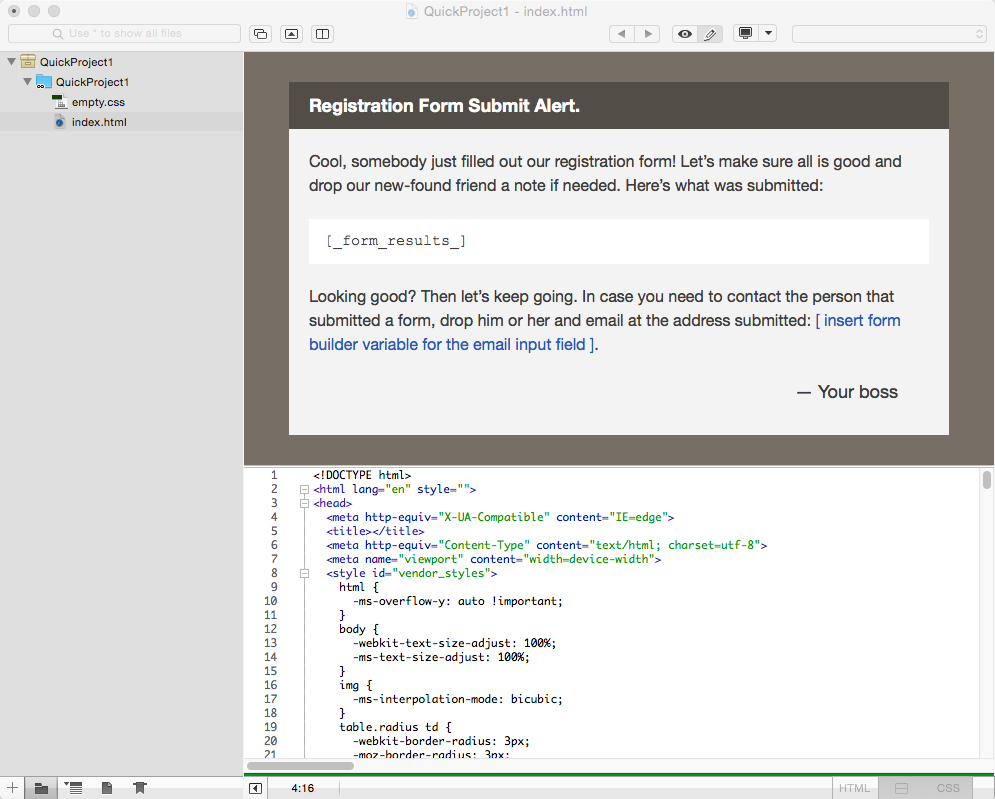
Open the HTML Editor (or Web Editor) and create a new document and paste in the markup.
Step 4:
Using the split-screen preview window, you can visually work on your HTML by customizing the markup to fit your needs.
Step 5:
Once your markup is ready, switch back to Form Builder and delete the current markup and replace it with the new markup you just created and then click Apply.
Want an easier way?
The code in the example above is very simplified. Given the complex markup that is required, adjusting the code manually is not recommended. You can always use our code-free Responsive Email Designer to visually spiff up your emails!