

Did you know that every CoffeeCup theme and graphic comes with its very own blueprint? Yep, when you buy and download themes and graphics, you get what you paid for, but you also get all the instructions on how those graphics were made, too.
The blueprints are in the form of another graphics format called WIF. For example, when you open a theme you've downloaded, you'll see two files:
The CCT file is your CoffeeCup Theme. This is the actual package that contains all the graphics your theme uses.
The WISP file is your Web Image Studio Package filled with WIF files. There is a WIF file for every graphic in your theme that you can open and adjust with Web Image Studio.
Click Extract all files and save these files to a location on your computer you're familiar with. For help adding your CoffeeCup theme to The HTML Editor, read this article. Then double-click the WISP file to install the Web Image Studio Package.
Now remember this location! You'll need to know exactly where to look for the WIF files that you'll use to create new graphics for your theme. Okay, let's take a look at this theme in The HTML Editor.
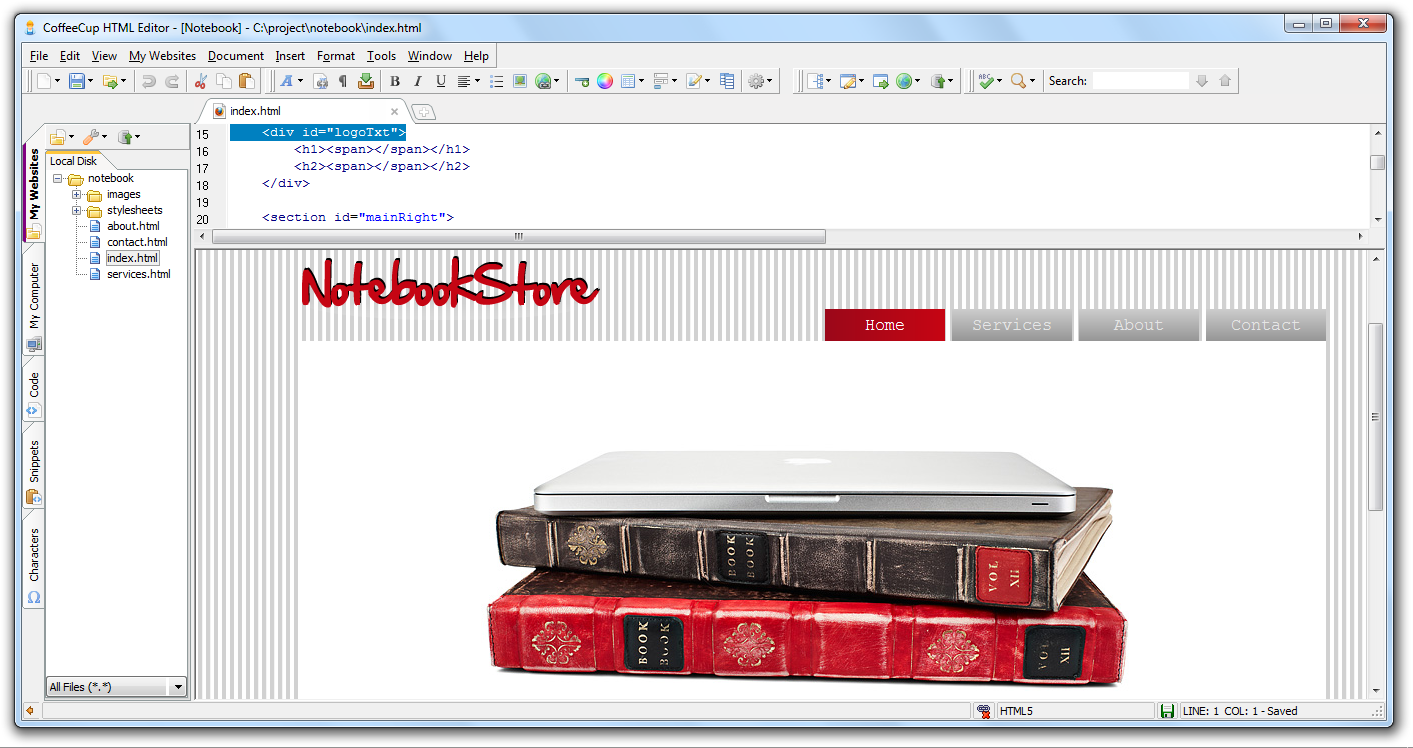
Let's say we want to change all the red graphics in this theme to blue. In a normal graphics editor, you'd need to draw over the graphics or use some flaky fill tool, or at best fiddle with a color adjustment tool that could mess with the other colors in your graphic. But using Web Image Studio, all it takes is to change the colors in the color palette to the ones you like. You'll see what we mean in a minute.
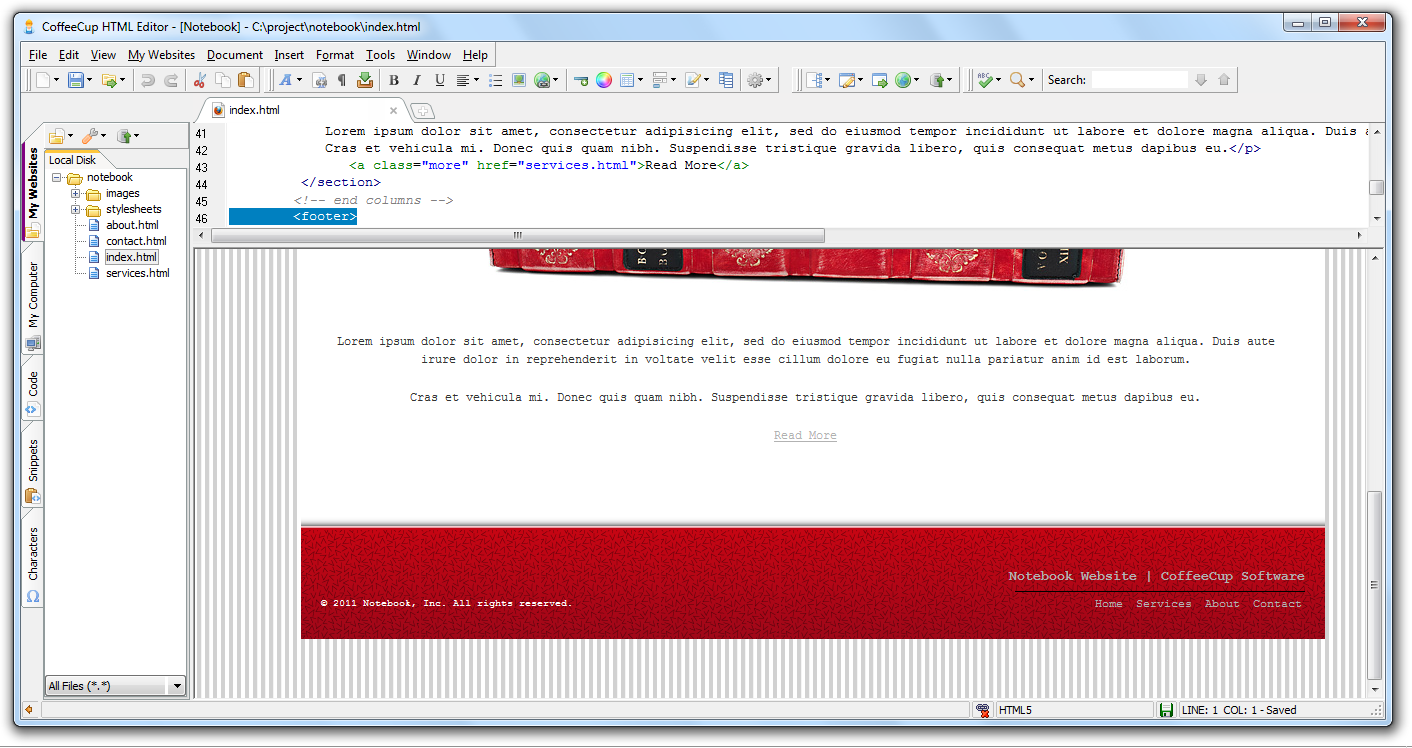
Here's the footer of our theme. We'll start by changing it from red to blue.
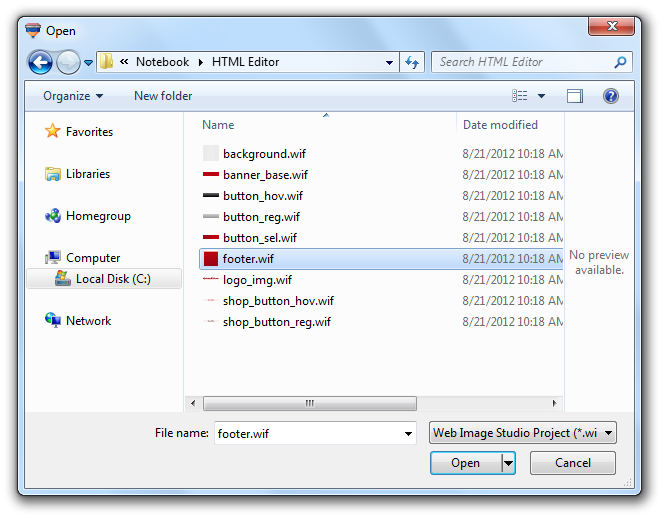
Open Web Image Studio and look in the folder mentioned above. Choose the WIF file for the footer, which has the appropriate file name of footer.wif.
Now the blueprints for the footer graphic are open in Web Image Studio. All we need to do is change the red colors in the color palette to comparable shades of blue! Here's a quick animation on how it's done:

And here's an explanation of what is happening:
- The footer graphic is opened.
- In the Color Palette section to the right, the brighter red is double-clicked to open the color picker.
- An equivalent shade of blue is selected, and then OK is clicked.
- Next, the darker shade of red is double-clicked to open the color picker.
- An equivalent shade of blue is selected, and then OK is clicked.
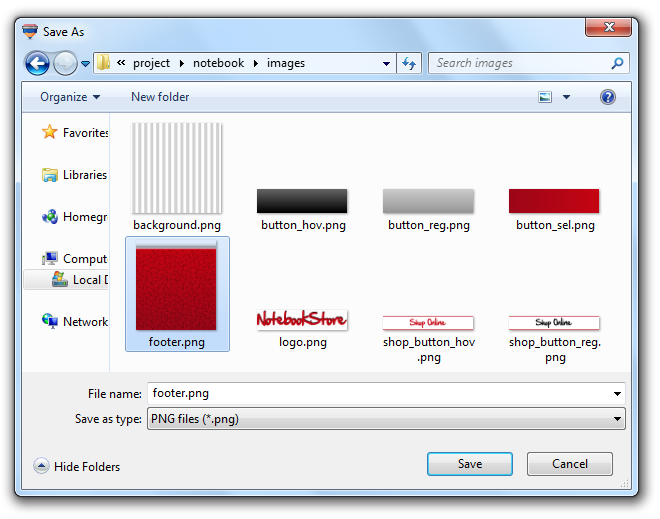
Now go to File > Save for Web so you can save your new blue footer image over the one in the current theme.

Find the location of your website project. (Not the location of the theme on your computer! Every website project has a copy of the theme in its /images folder.) Go to the /images folder inside your website project's folder, select footer.png, and click Save. Yes, overwrite it!
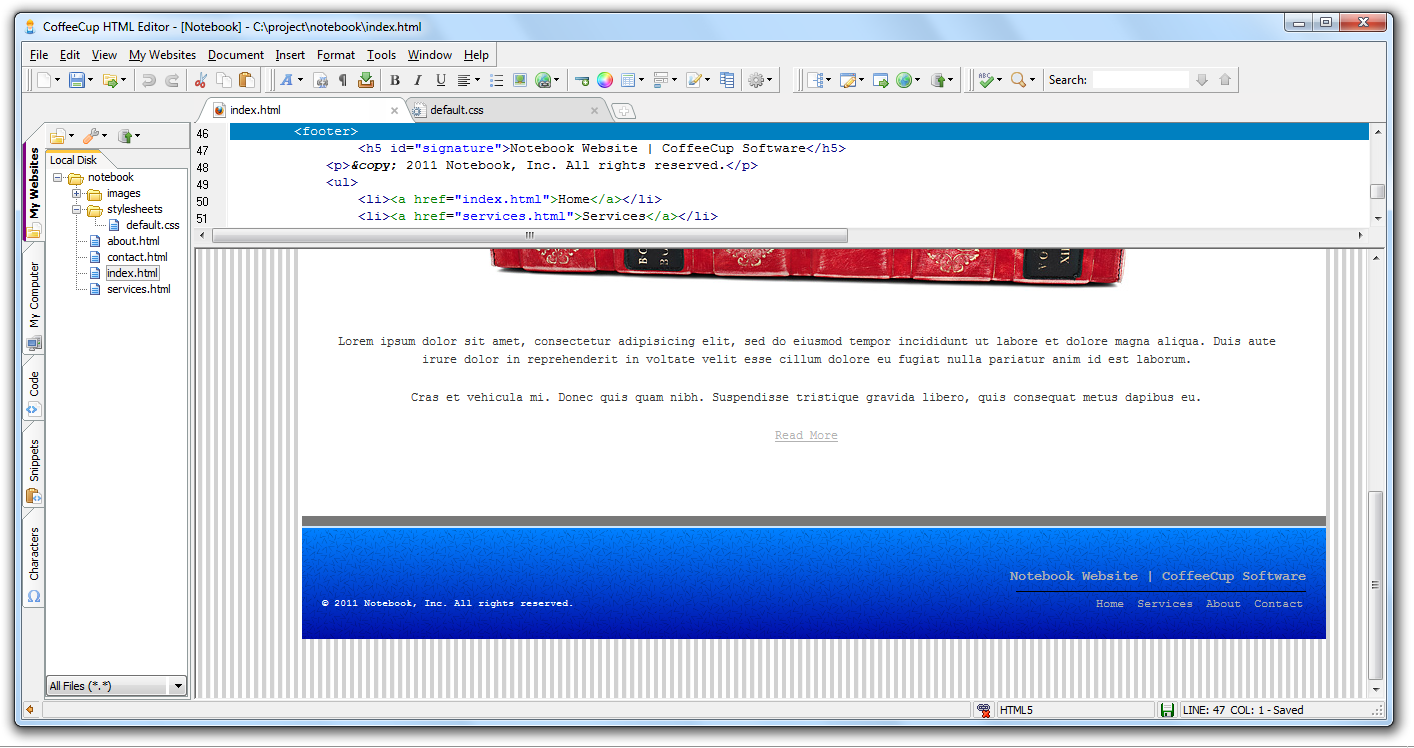
Now right click the preview pane in The HTML Editor and choose Refresh. Your new blue footer is now a part of your website!
You can perform this task for any image in your theme using its matching WIF file. Just open the WIF in Web Image Studio, make your changes, and save over the image in your website project.