

Got an HTML Editor theme you'd like to use? Adding it to your theme collection and starting a new project with your brand new professional design is really pretty simple.
If you're looking for new HTML Editor themes, you can browse through them here. Once you've found one you like, buy it and then download it.
Step 1: Download and Prepare Your Theme
When you download your theme, most likely you'll be prompted to open the ZIP file or save it to your computer.
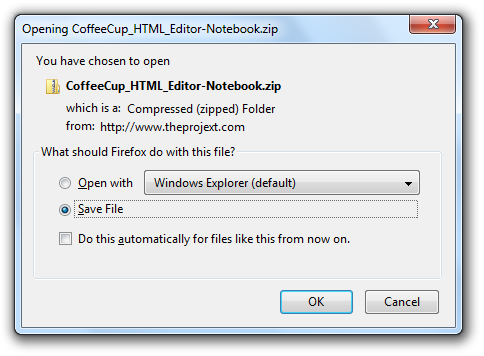
Choose Save File and click OK. Pick a folder on your computer that you're very familiar with. Now go to that folder and double-click the ZIP file to open it. Click Extract all files and choose a folder on your computer that you'd like to save the files to. You'll see two files:
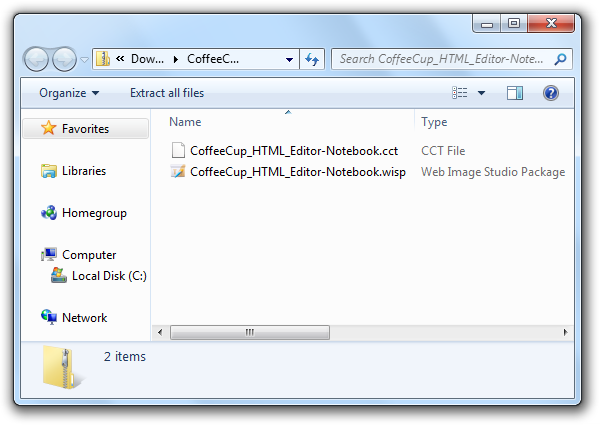
CCT file: CCT stands for CoffeeCup Theme, and it's the file you'll need to add to The HTML Editor.
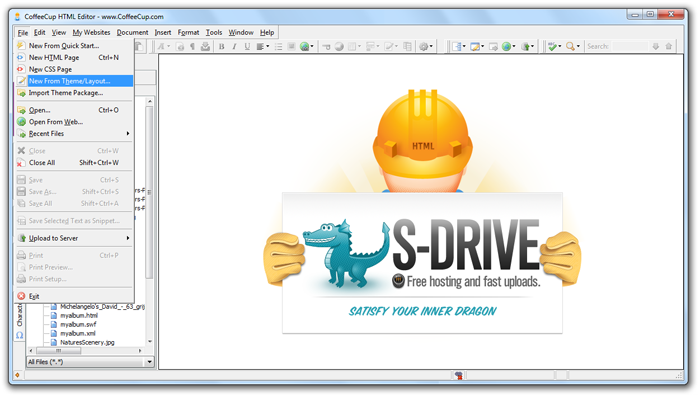
Step 2: Add Your Theme
Now open The HTML Editor and go to File > New From Theme/Layout.
You'll see a list of the themes that are available, and it won't include your new theme yet. Click Add in the bottom left corner.
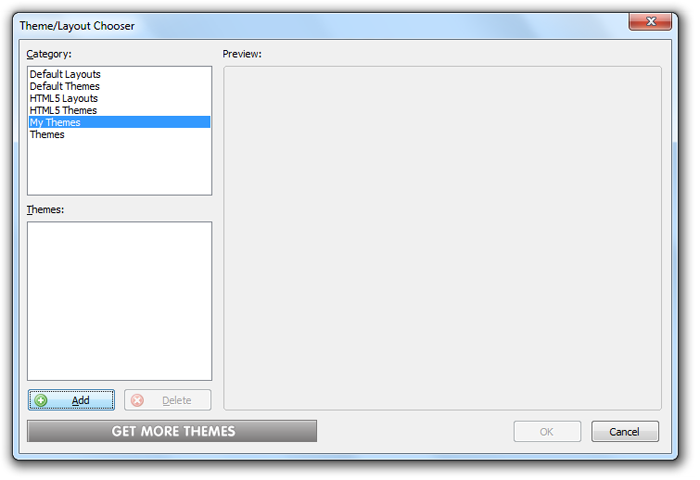
Select the CCT file you extracted to your computer and click OK.

Your theme has been added to the Theme/Layour Chooser! Click OK, then choose your new theme and click OK again. You can now select this theme as many times as you like in the future without having to add it again.
Step 3: Create a New Website Project
The Website Project Settings window will open.
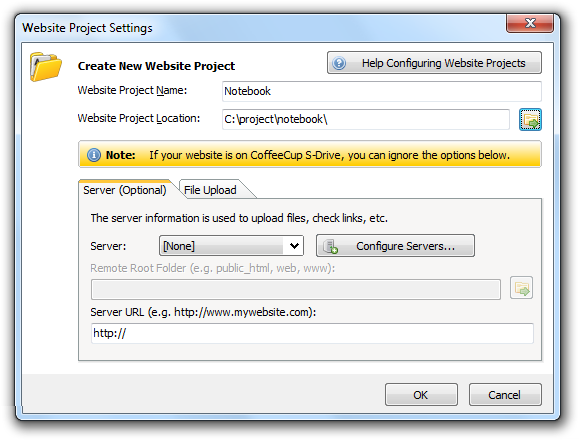
Enter a Website Project Name and choose a folder that the project will be saved into in the Website Project Location field. You can set up the Server settings below if you like, but you can ignore them if you publish to our web platform, S-Drive. Click OK.
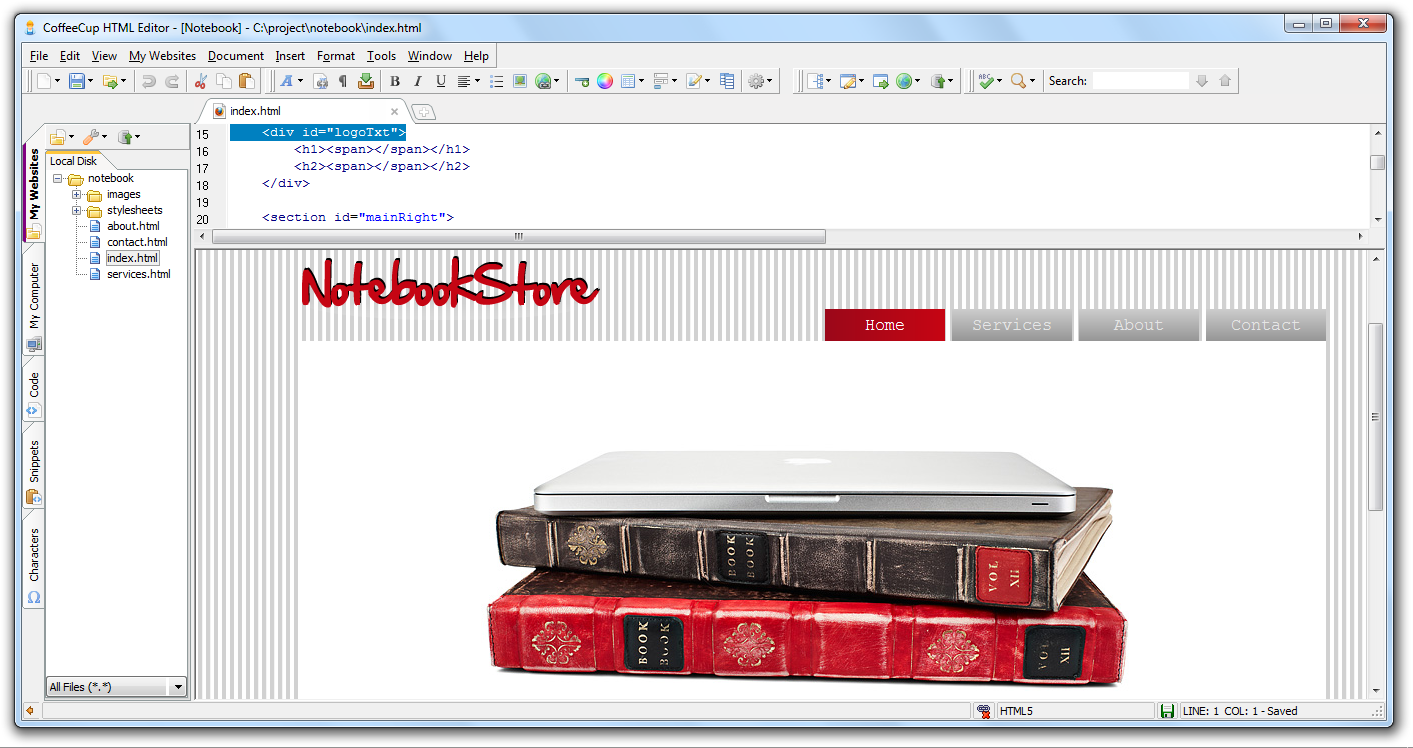
Your new website project is ready for you to work with! If you'd like to make further customizations to the theme, check out the next article in this series: Editing CoffeeCup Theme Graphics.