

Web browsers require special code for things like extra spaces and new lines. Luckily, the HTML editor comes with a set of tools that allow you to easily manipulate the appearance of your page. All of these buttons can be found in the Code Editor toolbar:
- Paragraph: Inserts paragraph tags (<p></p>) or applies them to the selected text. When rendered, this puts a line of white space before and after the text inside the paragraph tags.
- Break: Inserts a break tag (<br />). When rendered, this ends the current line and places the next element or text on the line just below the break tag.
- Non-Breaking Space: Inserts a non-breaking space character entity ( ), which is rendered by browsers as a single space.
- Left-Align: Inserts a div tag with the align attribute set to left (<div align="left"></div>) or applies it to the selected text. When rendered, this left-aligns the text inside the div tags.
- Center-Align: Inserts a div tag with the align attribute set to center (<div align="center"></div>) or applies it to the selected text. When rendered, this centers the text inside the div tags.
- Right-Align: Inserts a div tag with the align attribute set to right (<div align="right"></div>) or applies it to the selected text. When rendered, this right-aligns the text inside the div tags.
- Justify: Inserts a div tag with the align attribute set to justify (<div align="justify"></div>) or applies it to the selected text. When rendered, this aligns your text so each line is the same length.
These effects can also be used with images. For instance, if you want to center a picture, highlight the entire <img> tag, like so:

Next, click the Center-Align button.
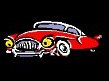 Now that you've got a handle on aligning objects, what about wrapping text around an object? Take a look at how this text wraps around the car on the right. You can achieve the same effect with a simple change in the document HTML. Just add align="right" to the <img> tag. The entire tag looks like this:
<img src="/help/images/hotrod.jpg" width="109" height="81" alt="" border="0" align="right">
This code places the image on the right, but keeps the text aligned normally.
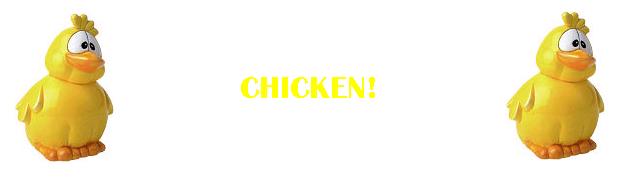
You may notice that this method doesn't give you complete control over where things appear on the page; instead, it just gives absolute values (right, left, center). What if you wanted two images on either side of some text, like so?
To accomplish an effect like this, it is best to use CSS to position your content. For more information about using CSS, check out the CSS tutorial at W3Schools.