

Everyone loves a toolbar. Why spend time digging around in menus when you can accomplish a task with the click of a button? Well, with the HTML Editor's customizable interface, you can get create a toolbar that contains the icons you use all the time with no superfluous elements. Follow these steps to create your own toolbar:
- Step 1: Open the Customize Window
- Step 2: Create a New Toolbar
- Step 3: Add Icons to Your Toolbar
- Step 4: Change the Orientation of Your Toolbar
- Step 5: Adjust Additional Toolbar Options
- Step 6: Dock Your Custom Toolbar
- Step 7: Further Customize Your Toolbar
- Step 8: Remove Your Toolbar
Step 1: Open the Customize Window
Open the Customize window using one of these options:
- Go to Tools > Toolbars and Menus > Customize
- Right-click any toolbar and select Customize
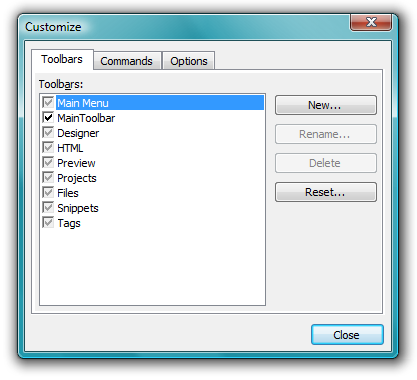
These options open the Customize window, which lists the toolbars in the program and allows you to create a custom toolbar or customize the main toolbar, which appears across the top of the HTML Editor workspace. In this tutorial, we will create our own custom toolbar.
Step 2: Create a New Toolbar
Click New. This opens the Add Toolbar window. Type a name for your new toolbar. In this tutorial, we'll call ours My Toolbar.
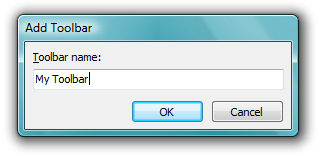
When you're done, click OK. The new toolbar will be added to the Toolbars list.

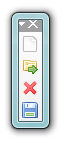
You'll also see a tiny, blank toolbar just to the left of the Customize window.

Step 3: Add Icons to Your Toolbar
To add buttons to your toolbar, switch over to the Commands tab.
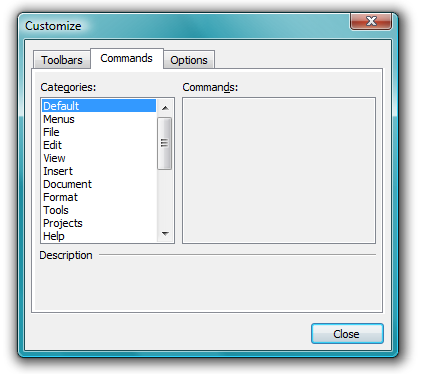
The Categories list contains broad categories of individual commands. You can't add these to a toolbar, but you can select them to view the commands they contain. For our toolbar, let's add some basic commands from the File menu. Click File to display these commands in the Commands list.
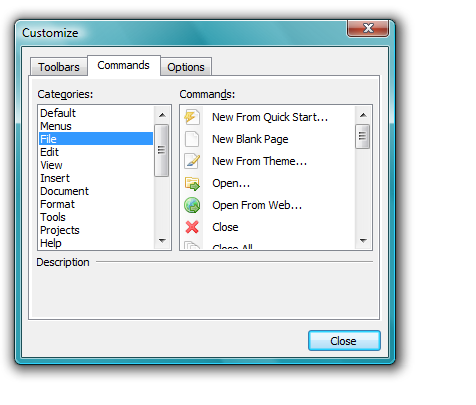
Let's add New Blank Page to our toolbar. To do this, just click and drag New Blank Page onto the toolbar. When you see the little plus sign, let go of the mouse.
![]()
Awesome! Let's add a few more icons — how about Open, Close, and Save?
Looks good!
Step 4: Change the Orientation of the Toolbar
Say you wanted your toolbar to be horizontal instead of vertical. No sweat! Just click one of the sides with your mouse and drag further to the side, or click the bottom and drag the bottom of the toolbar up. You can have your icons stacked or all in a line — it's up to you!
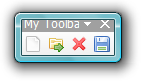
You may notice that the titlebar text "My Toolbar" doesn't display fully. That's because your custom toolbars only take up as much space as they need, which helps conserve space.
Step 5: Adjust Additional Toolbar Options
If you want to work with more toolbar options, switch over to the Options tab.
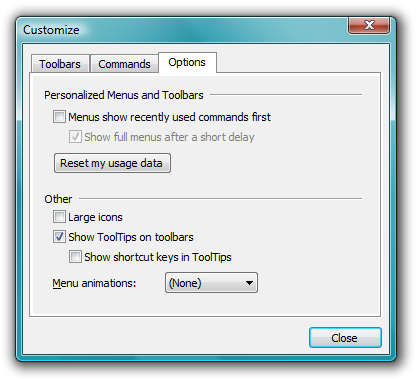
Let's take a look at what each of these options does.
Menus Show Recently Used Commands First
Select this checkbox if you want the most recently used commands to appear at the beginning of your custom toolbar.
Show Full Menus After a Short Delay
Select this checkbox if you want the drop-down menus in your custom toolbar to appear after a short delay.
Reset My Usage Data
Clicking this button resets your usage data so your commands appear in the order you originally specified instead of being ranked in order of use.
Large Icons
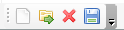
Select this checkbox to increase the size of the toolbar icons. Large toolbar icons look like this:
![]()
Show Tooltips on Toolbars
Select this checkbox to display tooltips when you mouse over toolbar icons. Tooltips state what the icons do.
Show Shortcut Keys in Tooltips
Select this checkbox to display keyboard shortcuts in the toolbar tooltips.
Menu Animations
Select the desired menu animation from this drop-down list. Your options are Random, Unfold, Slide, or Fade.
For now, let's leave these options alone — our toolbar is spiffy enough as is.
Step 6: Dock Your Custom Toolbar
You may notice that your custom toolbar is free-floating. However, you can dock your toolbar in several locations in the workspace: at the top, along the left or right side, or on the bottom. To do this, just click and drag the toolbar to the desired location. Once you have docked it, you can change its position by clicking and dragging the solid or dashed lines in the toolbar.
Step 7: Further Customize Your Toolbar
You also have the option to add or remove buttons right from inside the toolbar. To do this, click the downward-facing arrow:
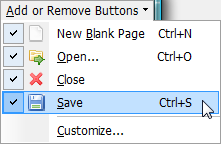
Uncheck a selection to remove it from your menu. You can always re-add it by reselecting it from the list.
Step 8: Remove Your Toolbar
If you decide you don't want your toolbar to display in your workspace, but you don't want to delete, it, you can remove it by clicking the X in the upper right-hand corner.